The best import export plugin for WordPress & WooCommerce.

Syncing Stock Levels
WooCommerce products use stock levels to keep track of the units you have available in your store. This guide explains how to use WP All Import to update and sync those stock levels.
Table of Contents
- Understanding How to Sync Your Product's Stock
- Step 1: Create Import Process as Existing Items
- Step 2: Review the Import File
- Step 3: Fill In and Map Import Fields
- Step 4: Match Products and Define What Fields to Update
- Step 5: Run the Import and Verify Changes
Understanding How to Sync Your Product's Stock
You’ve imported all of your products into WooCommerce. You have a separate XML or CSV file containing your stock levels, and you want to synchronize the stock levels on your site with the stock levels in your XML or CSV file. If so, this guide is for you.
You only need these instructions if you have a separate file with stock levels. If the same file you used to import your products also contains stock levels, just use the Run Import button to launch the import process again and update the stock that way (found in All Import › Manage Imports).
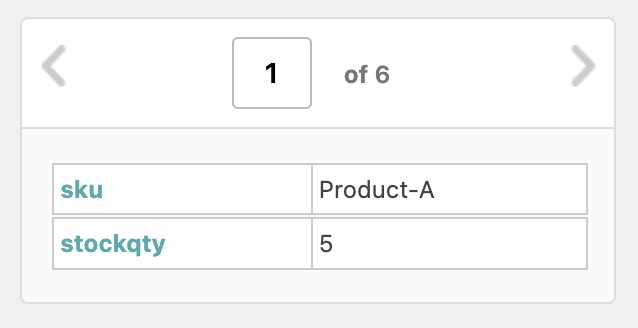
Each record in your stock level feed must contain the stock quantity or stock status and an identifier that will allow WP All Import to assign the correct stock level to the correct product. Usually, this is the product’s SKU.
Step 1: Create Import Process as Existing Items
Create a new import via All Import › New Import with the following settings:
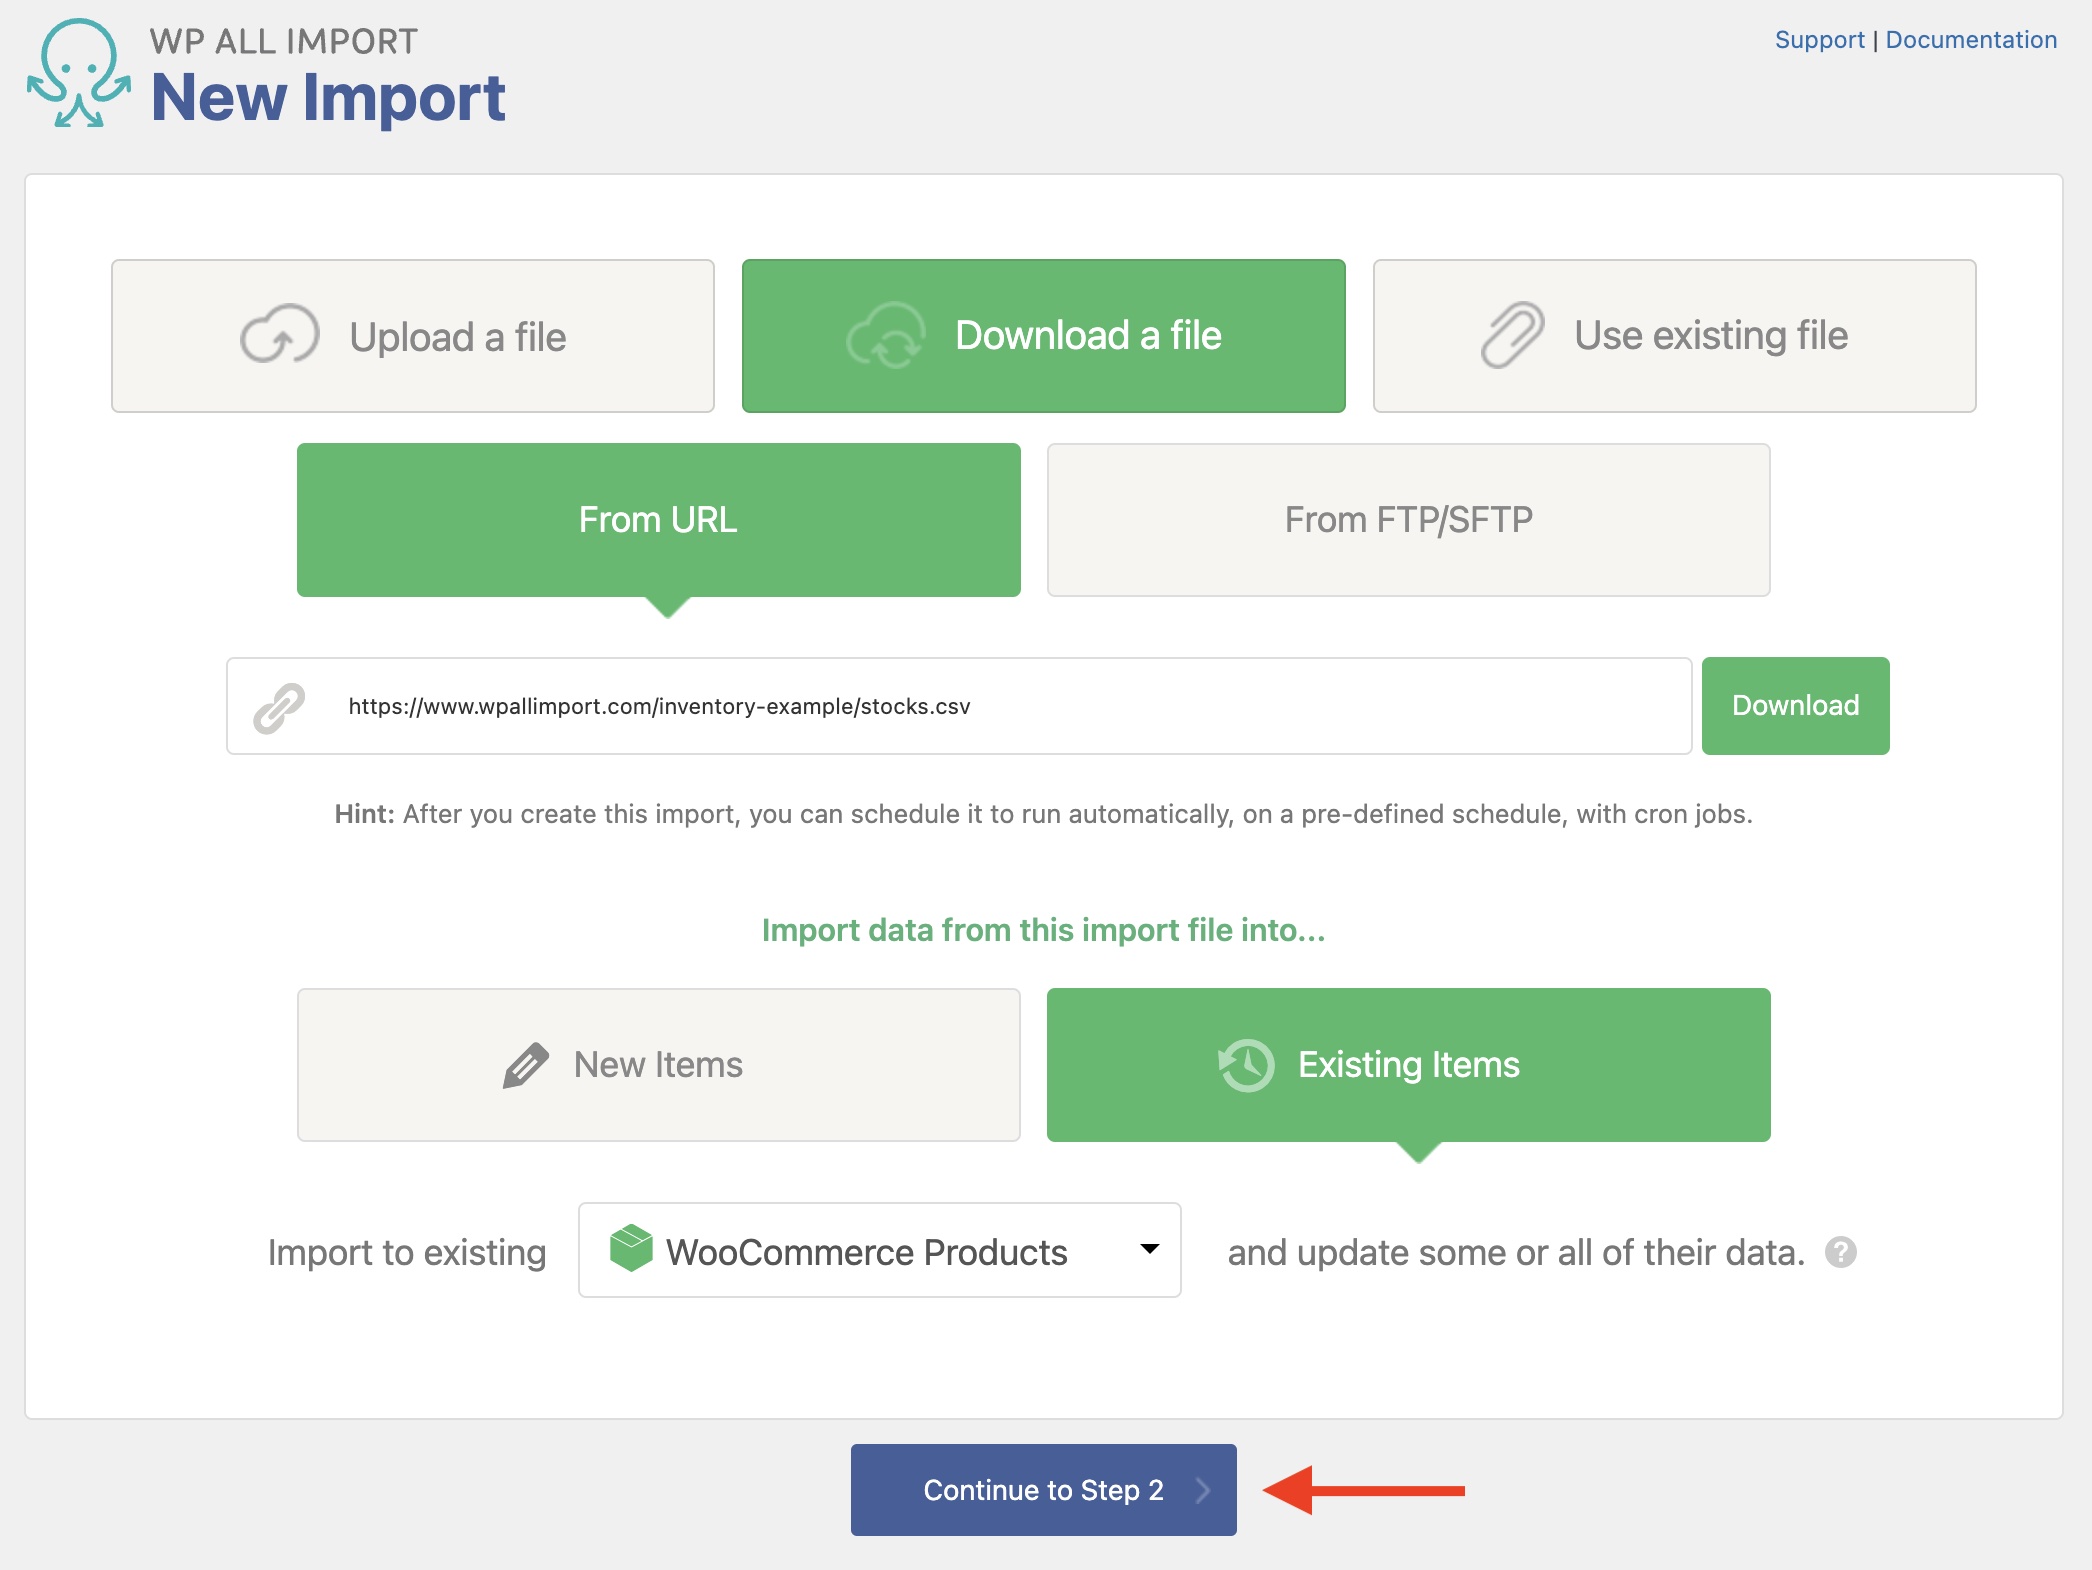
Note that we’ve specified a URL to our stock levels file. Later, this will allow us to set up a cron job to automatically download and import the stock levels from this URL every day.
Click Continue to Step 2.
Step 2: Review the Import File
In Step 2 of the import process, you will see the Review Import File screen.
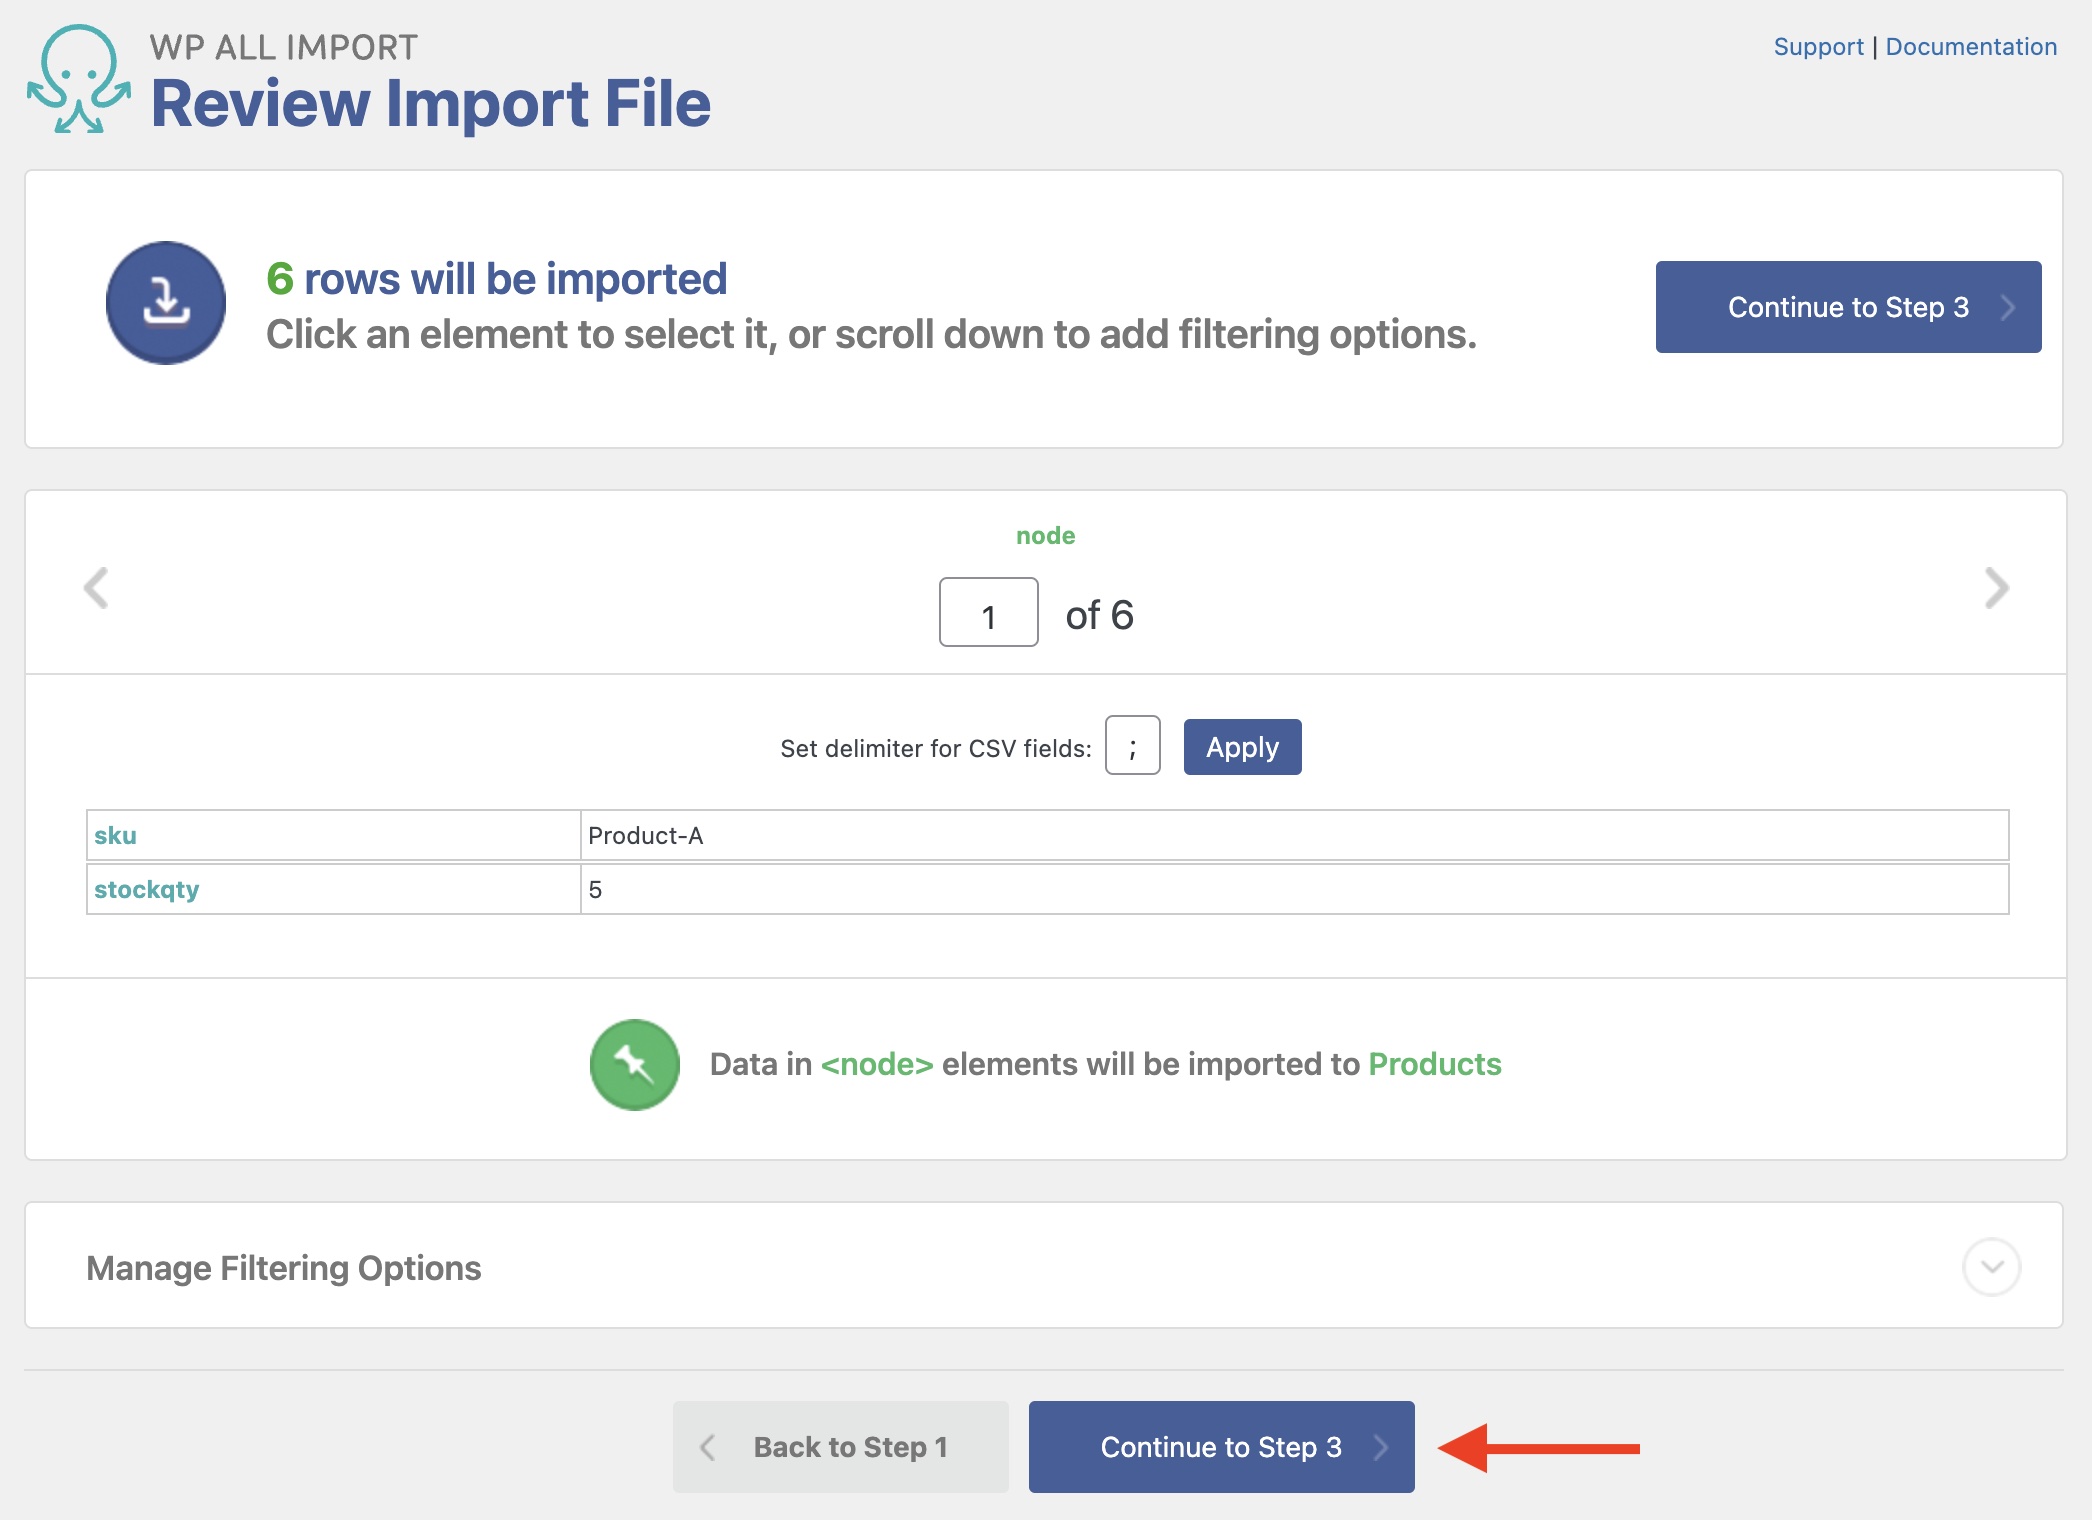
You can skip this for now and just click Continue to Step 3.
Step 3: Fill In and Map Import Fields
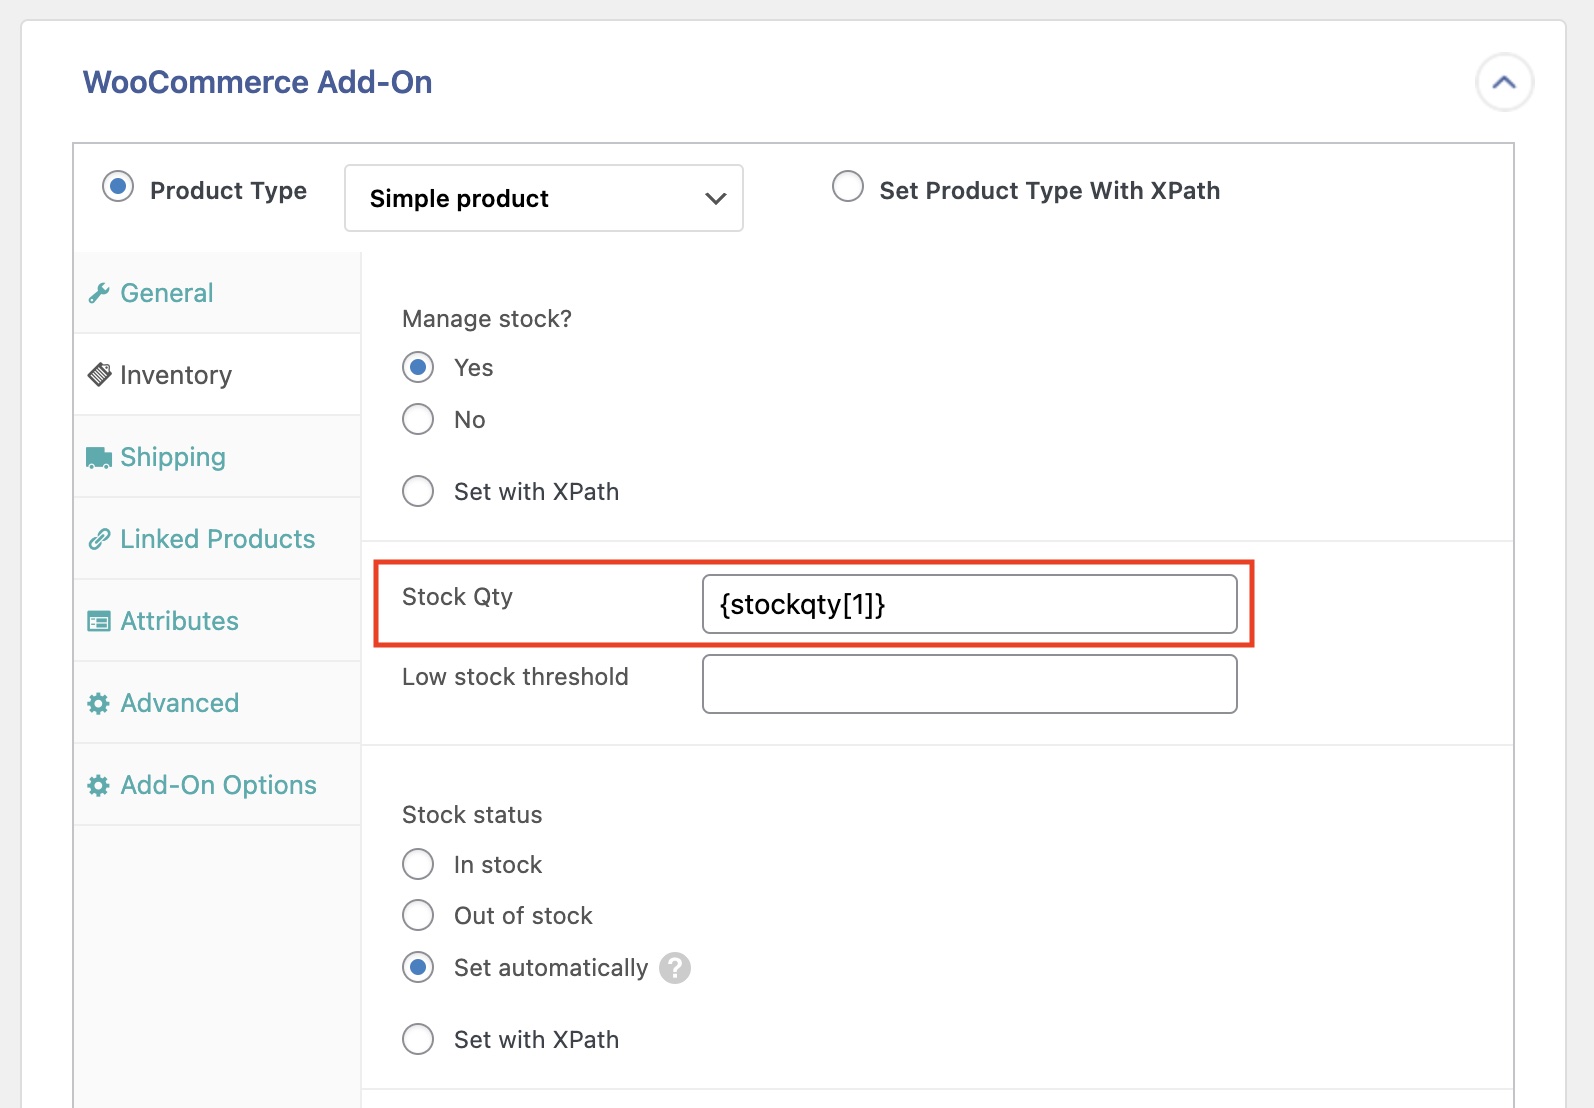
In Step 3, set your Stock Qty in the Inventory tab of the WooCommerce Add-On. You can leave all other settings and sections of Step 3 with their default values.
For example, Product Type can be left at Simple product even if you are updating stock for other types like Variable products. The only settings that WP All Import will pay attention to are those related to product stock.
Click Continue to Step 4 at the bottom (not shown).
Step 4: Match Products and Define What Fields to Update
In Step 4 of the import process. WP All Import may warn you that your post title and content are blank, but you can ignore this. We don’t need to import post titles and content, only stock levels.
Match Existing Products Using SKU
It's time to specify how WP All Import should match records in your XML or CSV file to your existing products.
Our file contains the SKU that each stock level is associated with, so we tell WP All Import that for each record or row in our file, it should search for a Product containing an _sku custom field with the value in our file’s SKU column, and then import data into that Product based on the options we specified in Step 3.

Specify Which Custom Fields to Update
Now we need to tell WP All Import to only update our product stock levels. WooCommerce stores these stock levels in custom fields called _stock and _manage_stock.
When the import is run, WP All Import needs to leave everything else alone. To do that, we use the Choose which data to update option.
You’ll also notice that we've unchecked the Create new and Remove options since we only want to import into existing products.
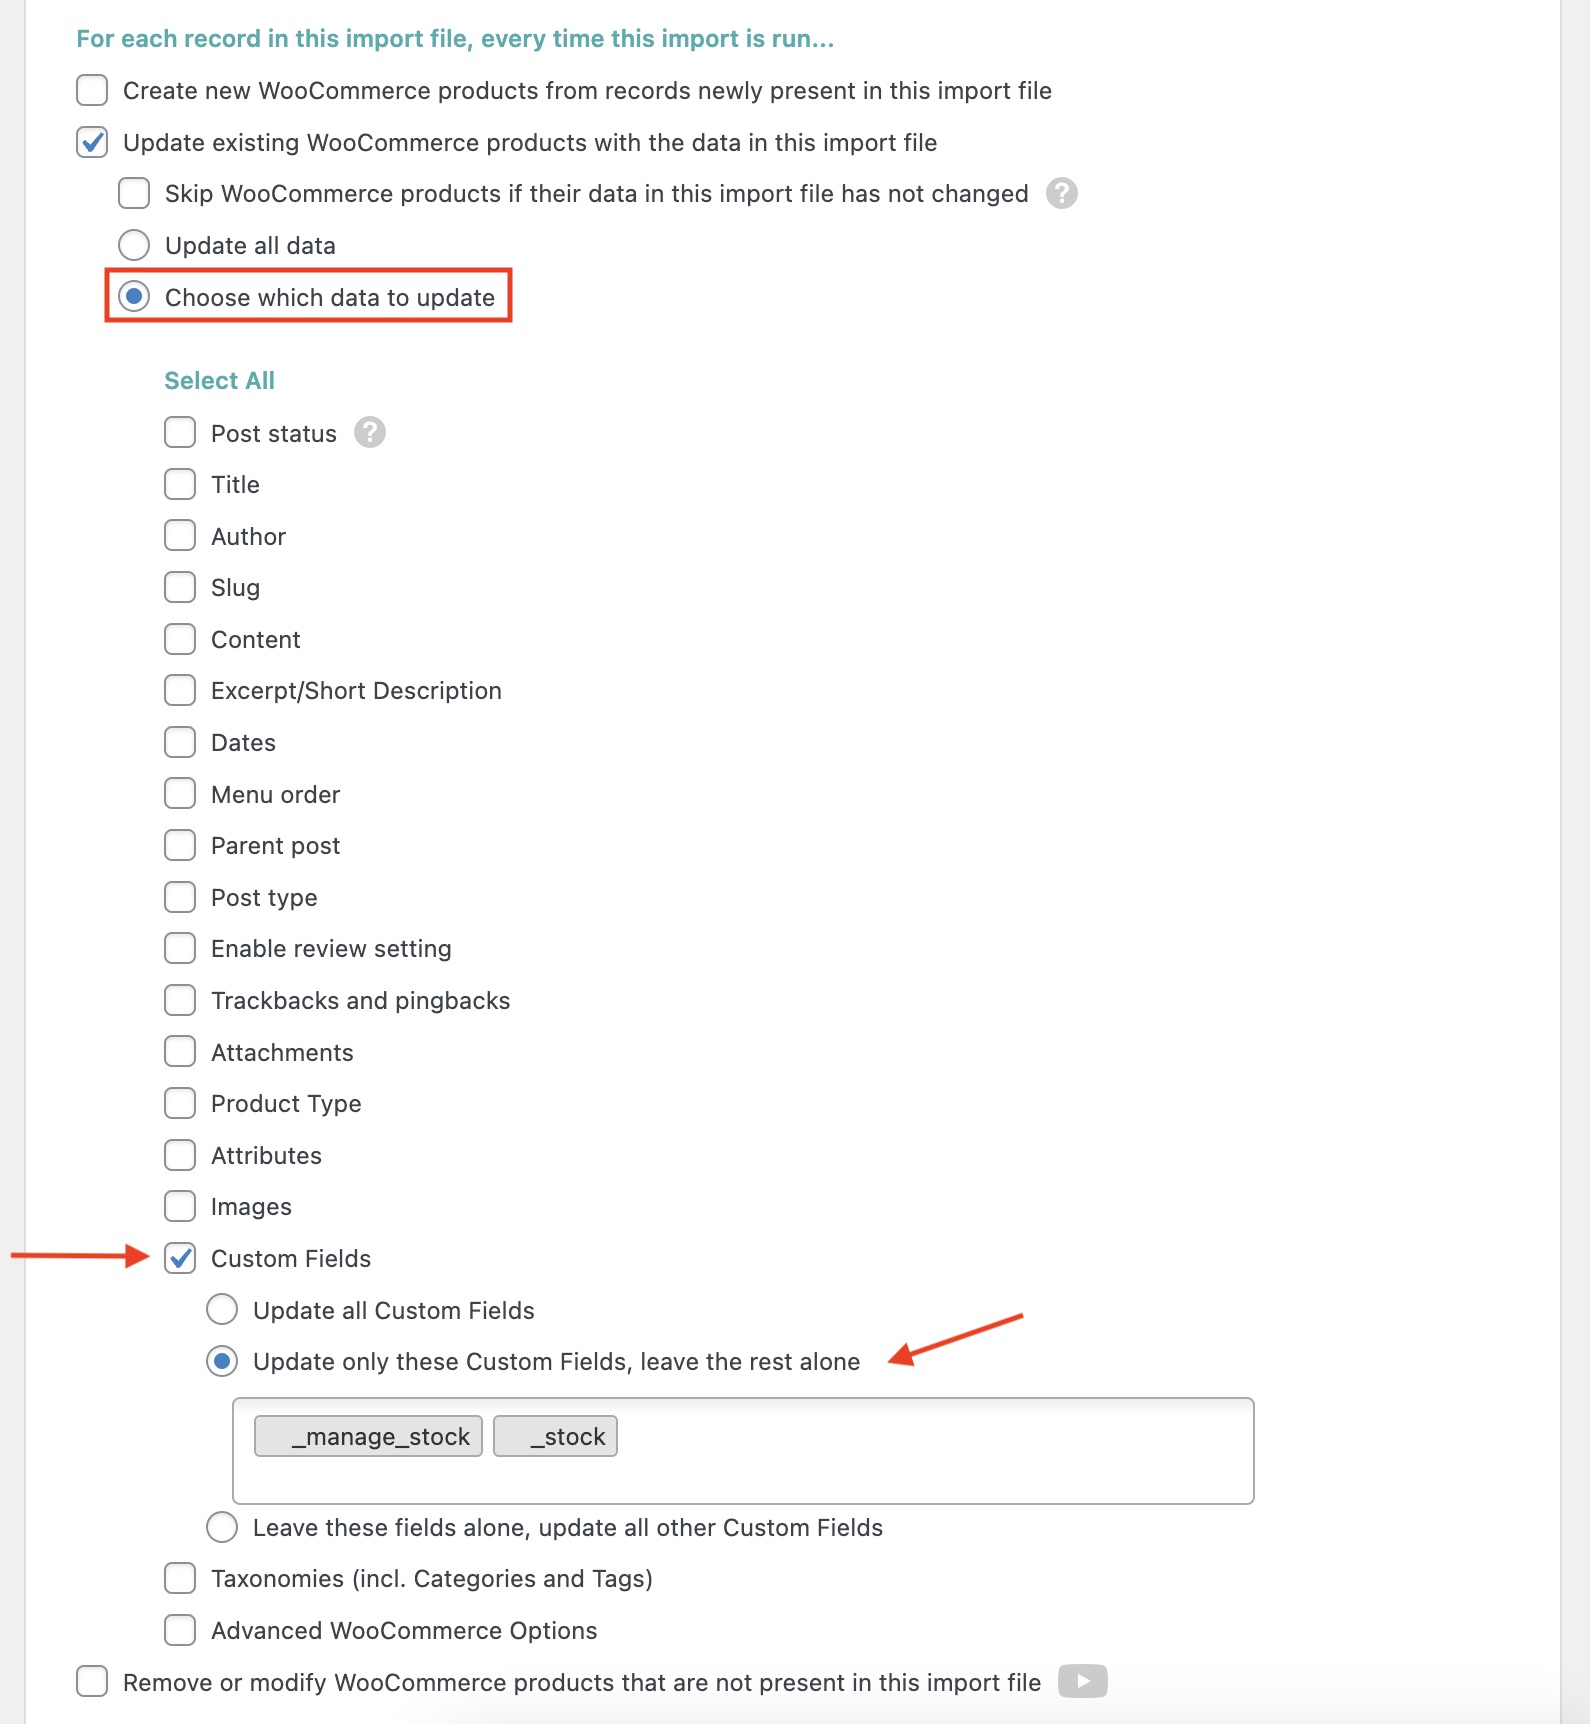
We've chosen to only update the _stock and _manage_stock custom fields. If the fields don't appear in the dropdown list, you can type them in and hit Return/Enter.
Step 5: Run the Import and Verify Changes
Run the import, and your products will now show the updated stock statuses and quantities. You can review the stock via Products › All Products.
You can easily configure WP All Import to automatically re-check the stock XML or CSV file at a specific interval to keep your product stock levels always up to date using cron jobs.
Update Stock for Thousands of Products in Minutes
- Sync only stock
- Easily edit
- Import from file or URL
- Simple & Variable Products
Frequently Asked Questions
How to Update Stock for Variable Products?
Just follow this guide. As seen in the guide itself, we left Simple Product as the Product Type in Step 3, and we left the Product Type unchecked in Step 4. This allows WP All Import to import stock levels to both simple and variable products at the same time, regardless of their product type.
How to Automate or Schedule the Stock Syncing Process?
You can do this using either of the available options within WP All Import:
- Automatic Scheduling Service: optional and paid monthly subscription that can be set up directly from within WP All Import's interface. Learn more here: Run WordPress Import on a Schedule.
- Manual Cron Jobs: set up manual cron jobs on your server to automate this process. This is included at no extra cost with WP All Import Pro. Learn more here: Scheduling Imports Using Cron Jobs.
What Add-Ons Do I Need to Update WooCommerce Products?
To update the stock in your WooCommerce products, you need to have the WooCommerce Import Add-On active on your site, along with WP All Import.
Related Docs
Step-by-step instructions on how to update prices to WooCommerce products.
Learn how to import WooCommerce products using WP All Import.
Provides instructions on how to perform a manual record-matching process.
