The best import export plugin for WordPress & WooCommerce.

How to Send Exported WordPress Data to Zapier
To send exported WordPress data to Zapier, create a Zap that triggers an action whenever the export runs, such as emailing the exported data to someone or sending it to Google Drive. Zapier helps you automate this process.
Table of Contents
- Step 1: Create and Customize Your Data Export
- Step 2: Connect Zapier And WordPress
- Step 3: Create An Action in Zapier
- Step 4: Publish The New Zap
Advanced Topics
Step 1: Create and Customize Your Data Export
Create your desired custom WordPress export. Once your export is complete, you can send the export files to any app enabled in Zapier.
Note that the Zapier integration can only process your export file, not the data contained inside the file. If you want to process the data itself, you should review this guide: Integrate Zapier with WooCommerce for Real-Time Exports.
Step 2: Connect Zapier And WordPress
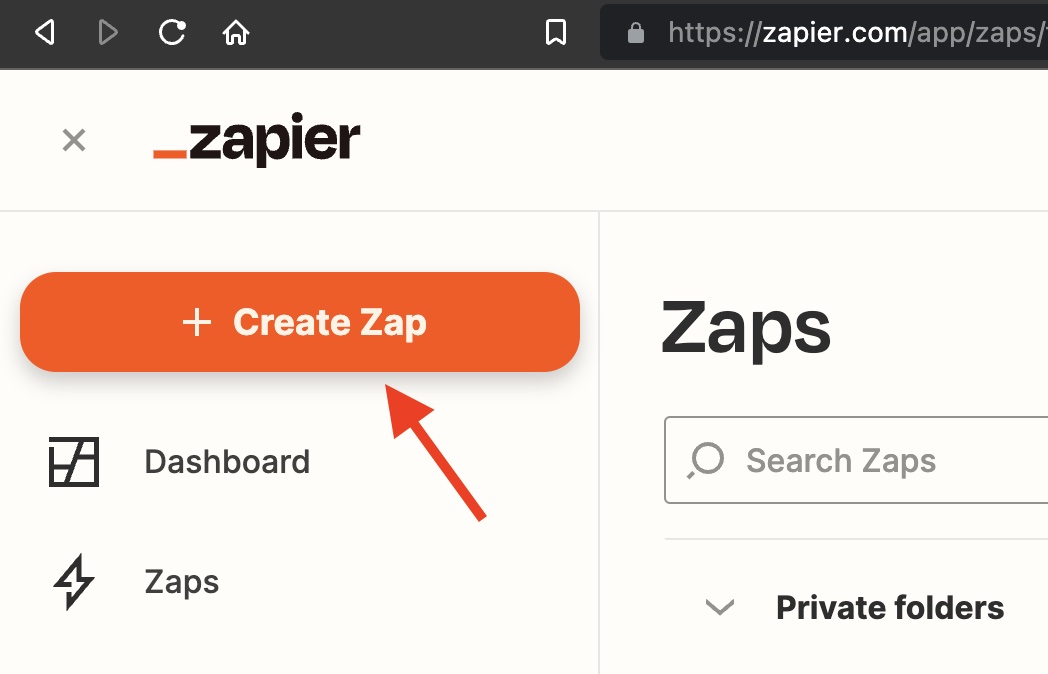
Go to Zapier.com, create an account (or login), and make a new Zap by using the + Create Zap button.
Trigger App & Event
First, select WP All Export Pro as the trigger app. The trigger is what initiates the connection between Zapier and WordPress.

After choosing the trigger app, select the trigger event next. Here, you select New Export File:
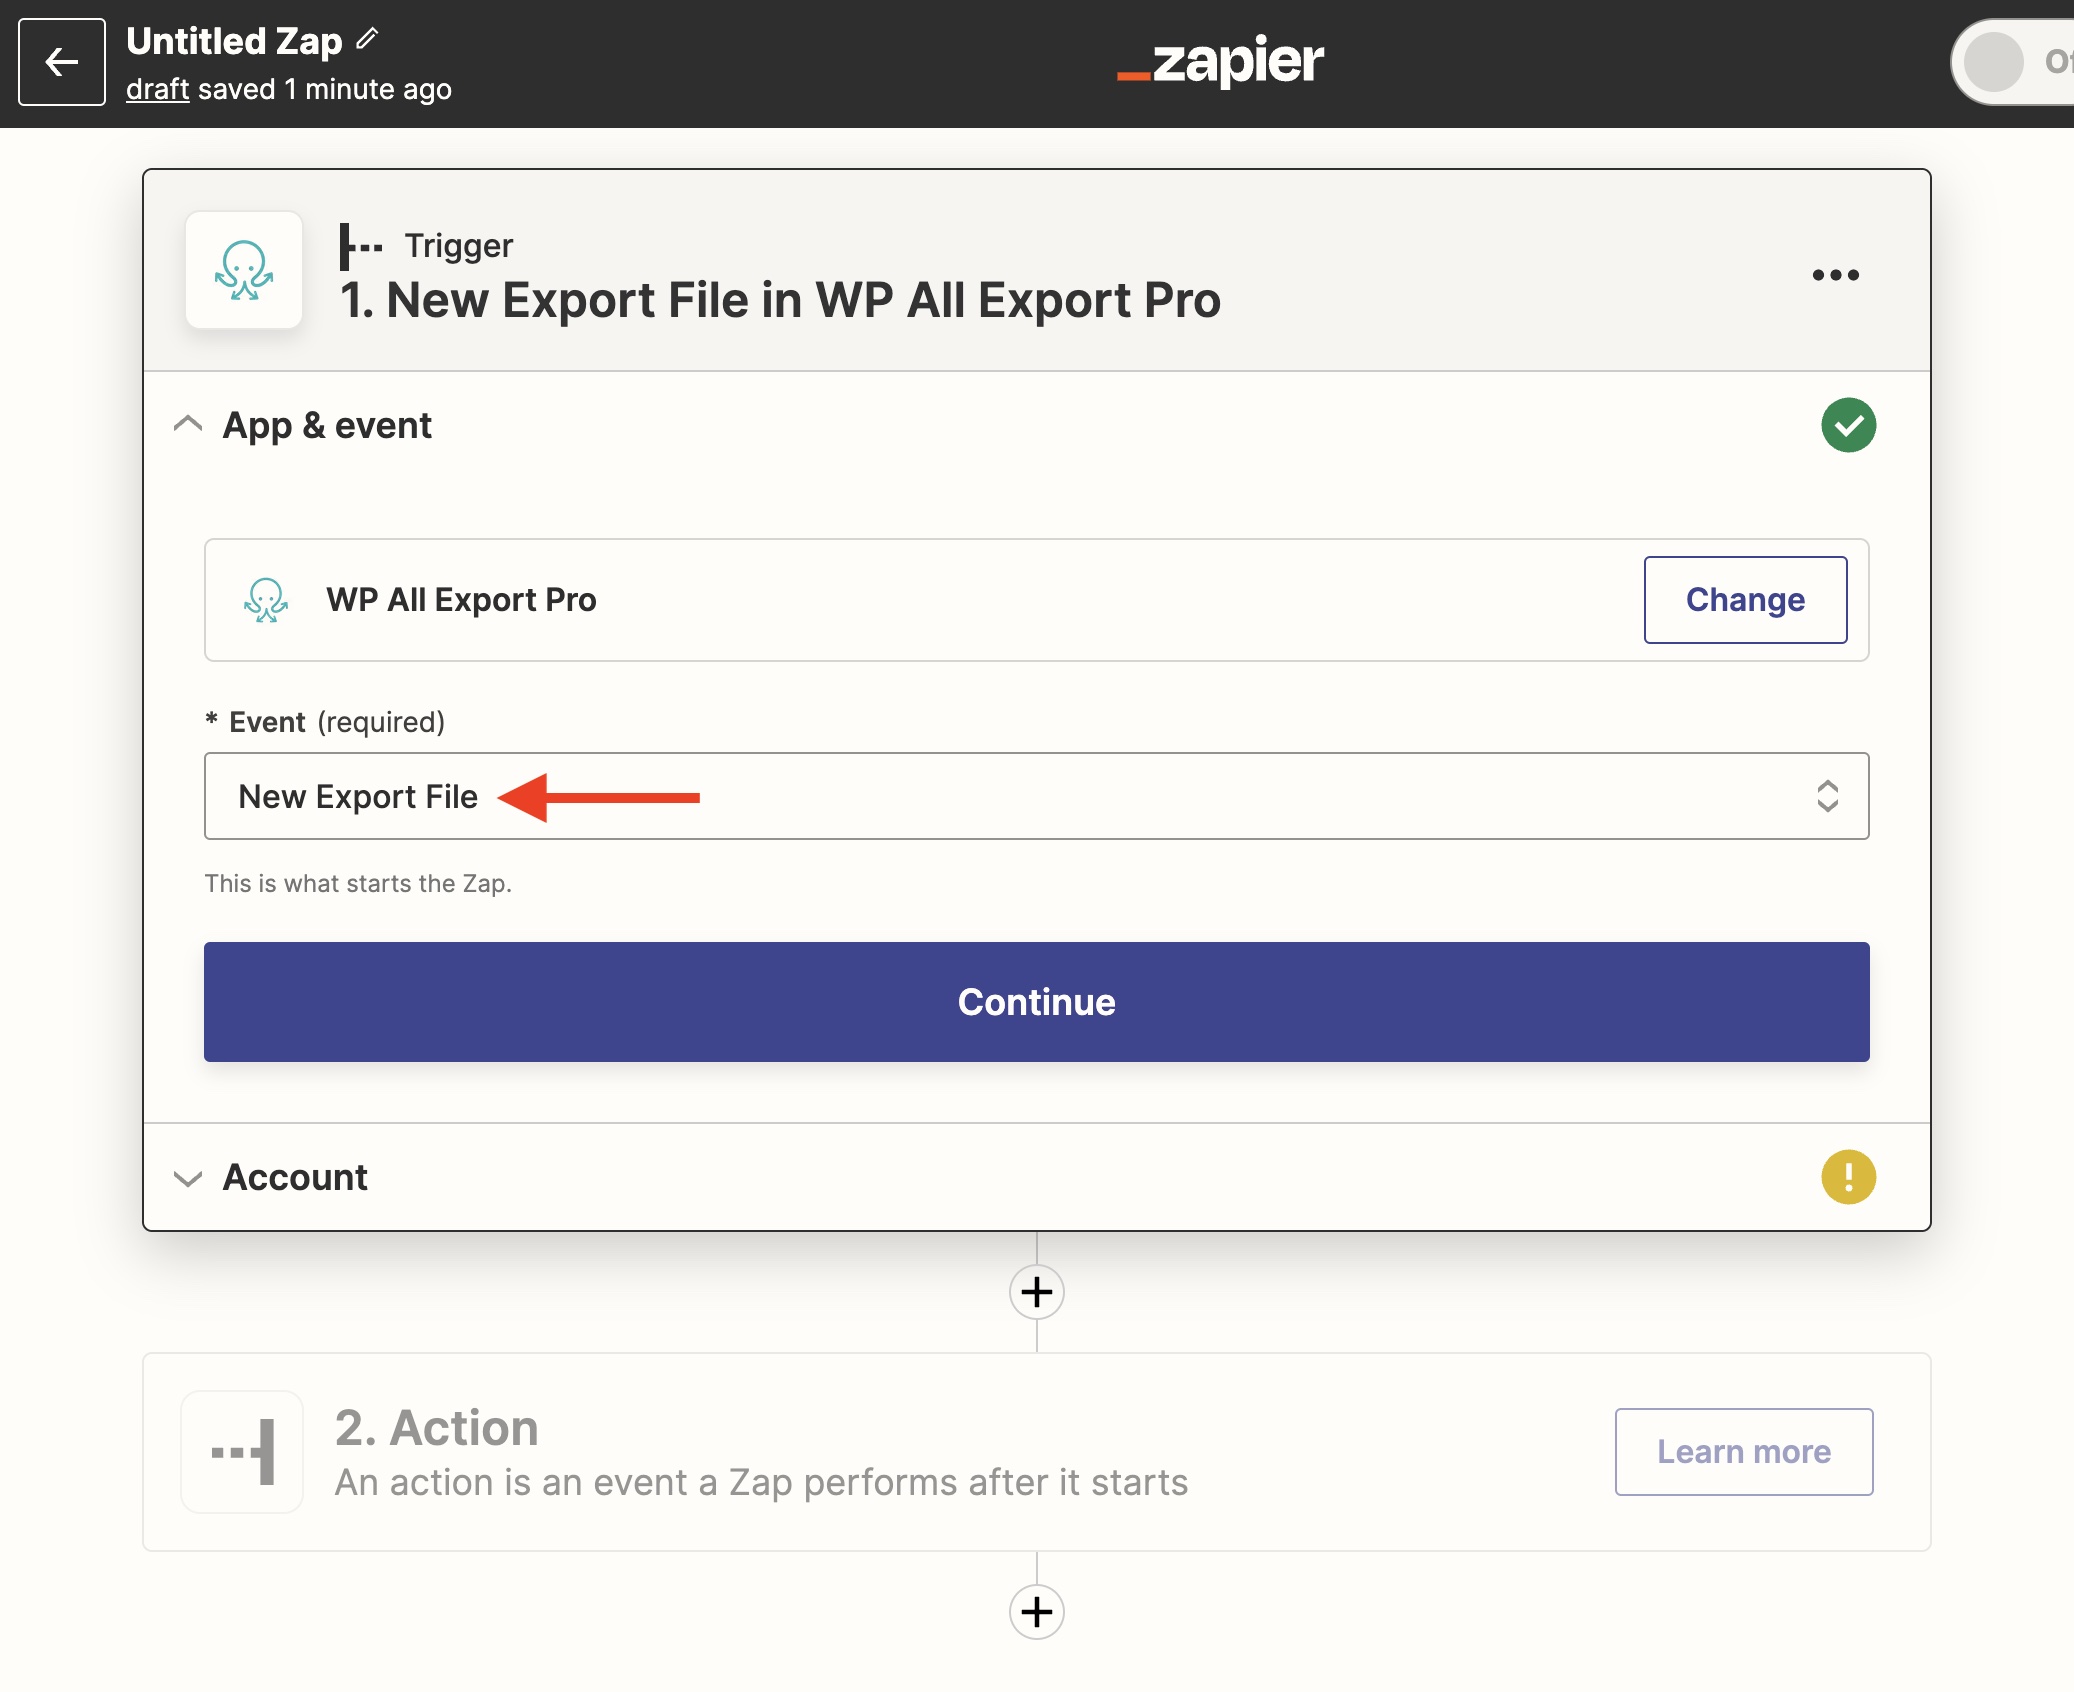
When an export is successfully completed, WP All Export will send Zapier the export information, such as the export file’s URL, the post types exported, the number of records in the export file, etc.
Account
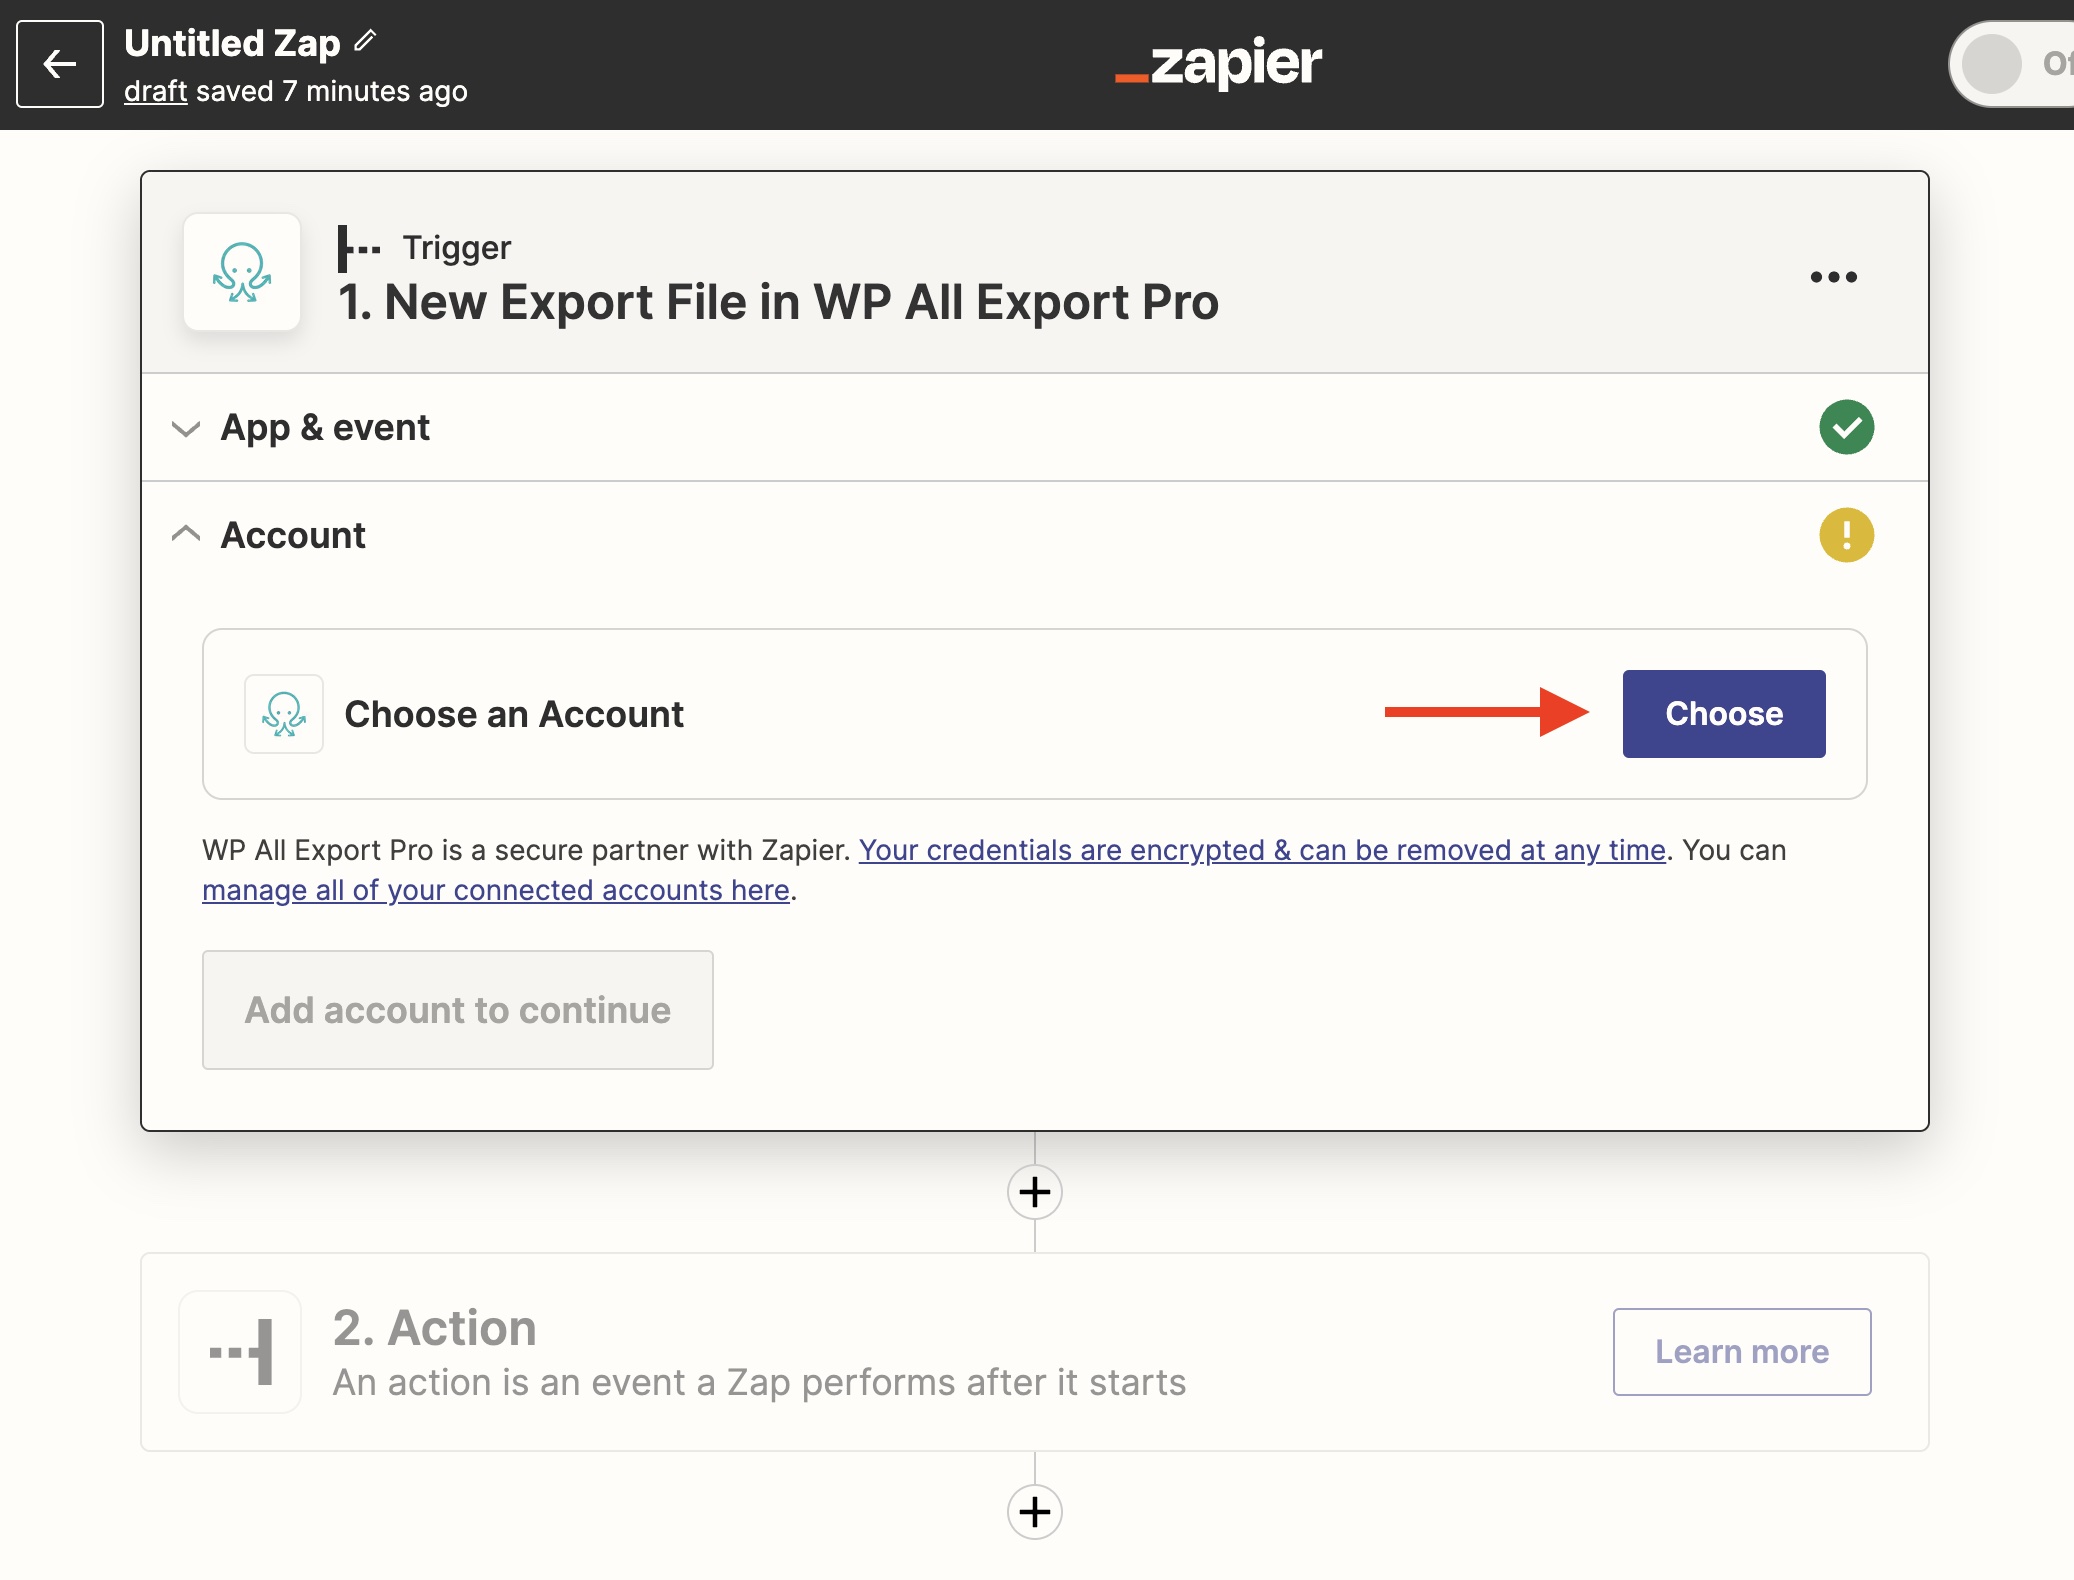
Here you choose what account or site to connect with:
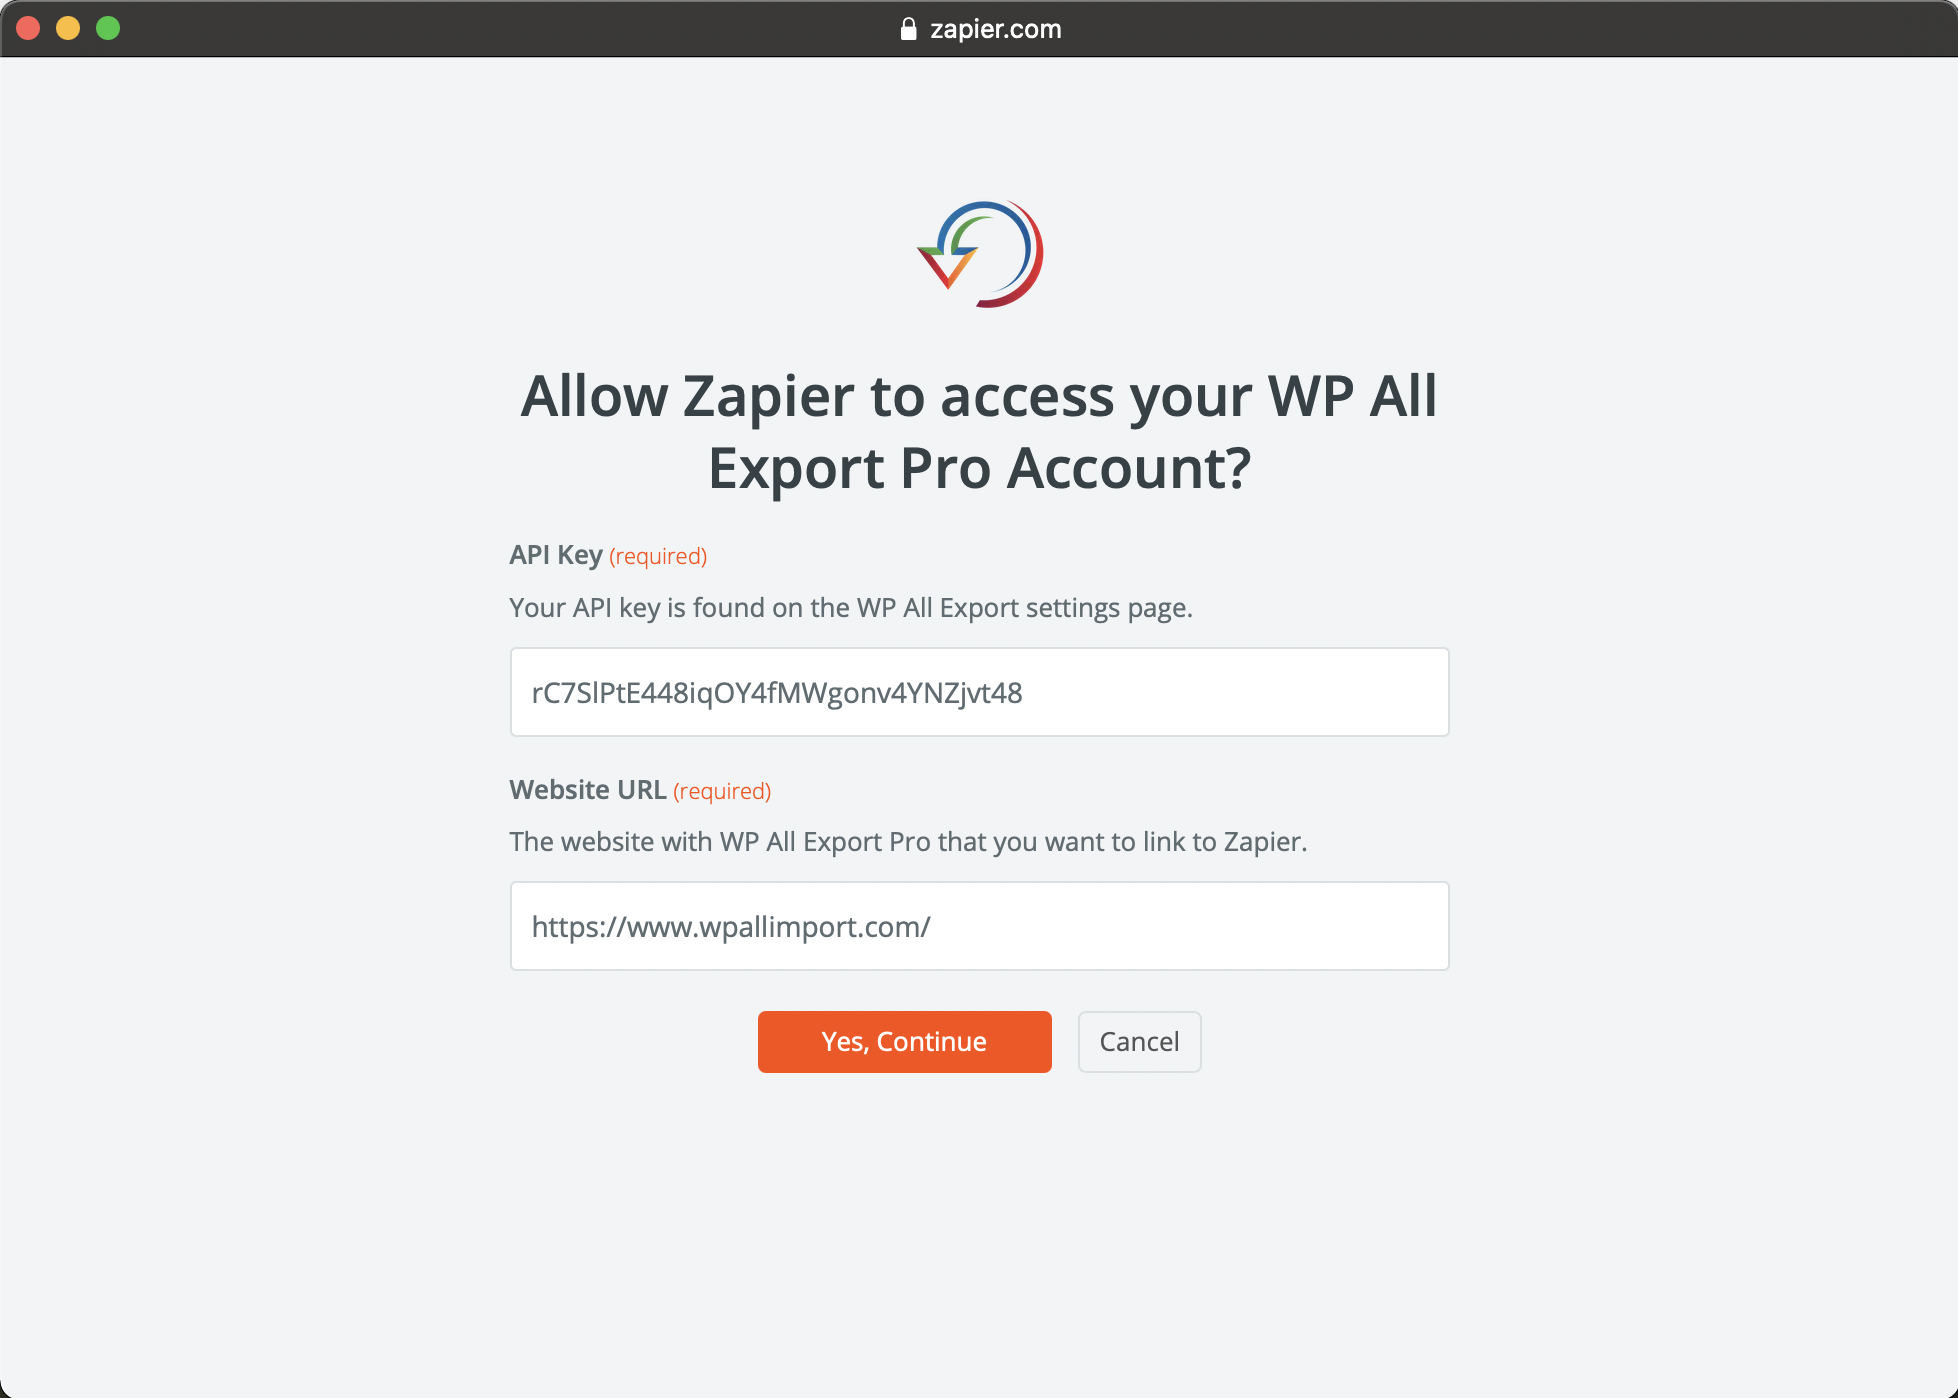
If you haven't linked your WP All Export account yet, Zapier will ask you to sign in. To connect Zapier to your WordPress site, you need your site's URL and your API key, which can be found in All Export › Settings. Then, in Zapier, go to this screen by using the + Connect a new account button.
Once you've connected Zapier to WordPress, you select that site as the account:

Test
This is where you test what you've done so far by making sure that the connection between Zapier and WordPress is correct. The latest export on your site will be retrieved:
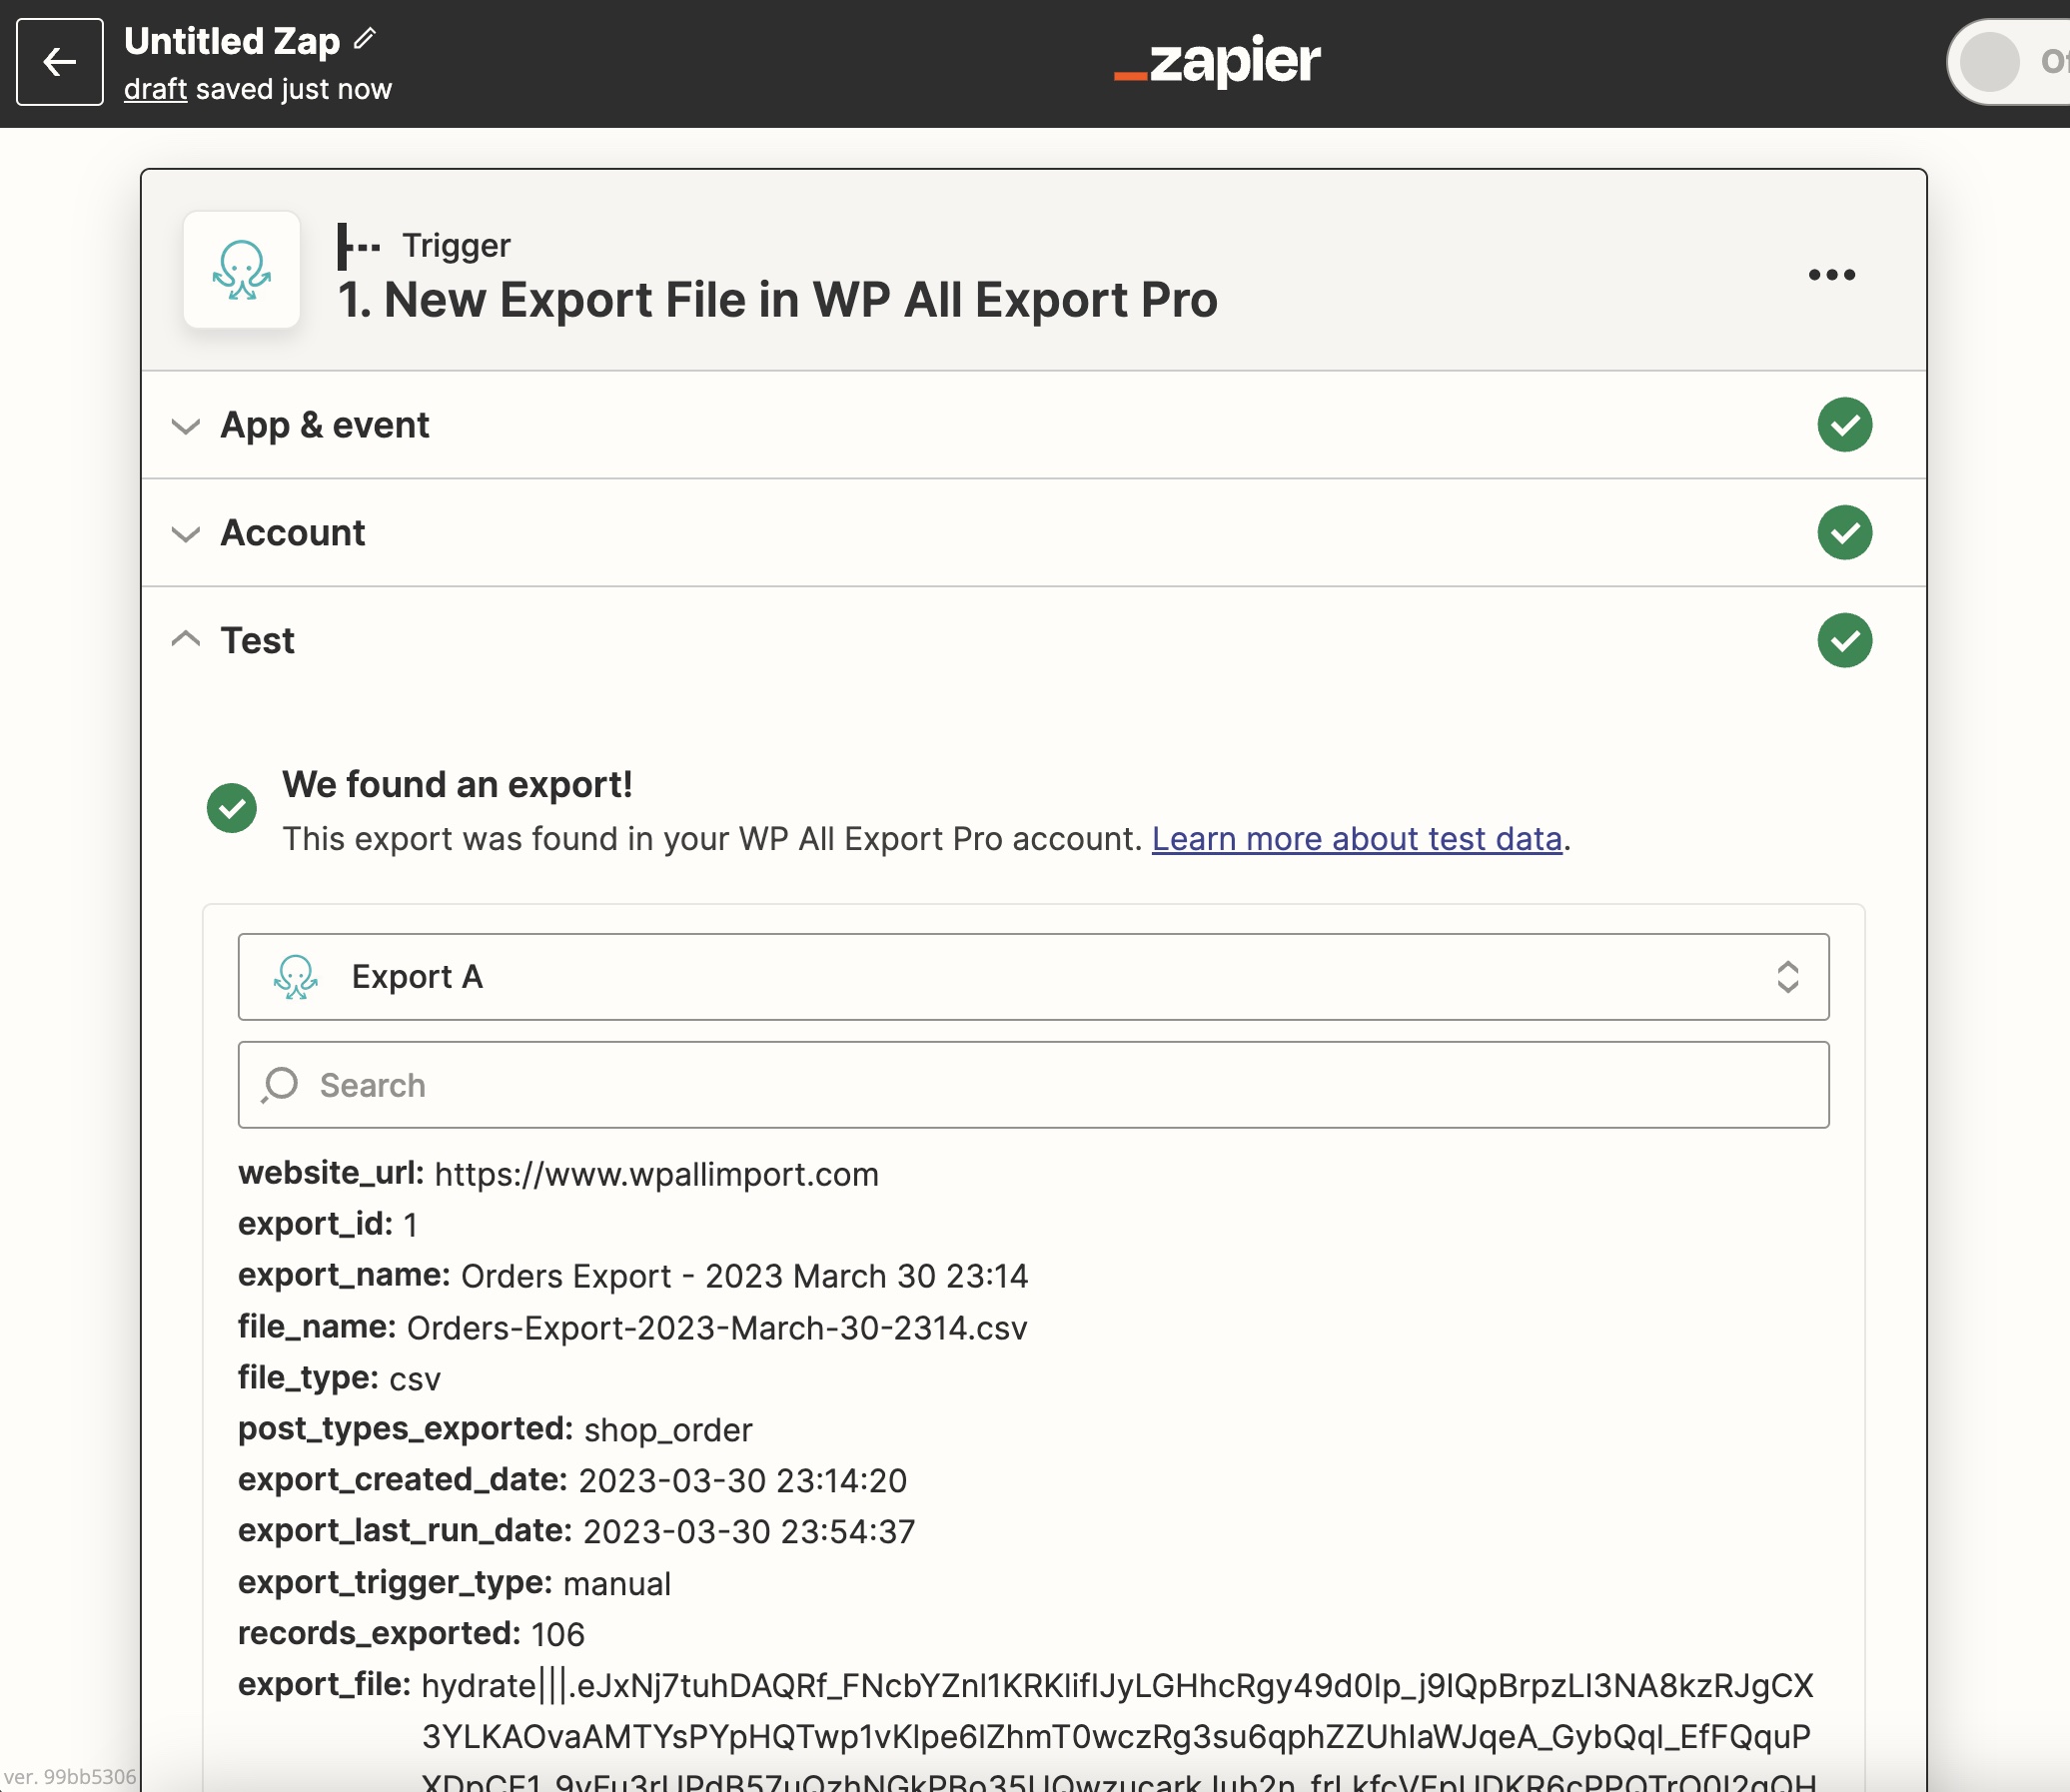
Once you've verified the trigger, you can move on to the action.
Step 3: Create An Action in Zapier
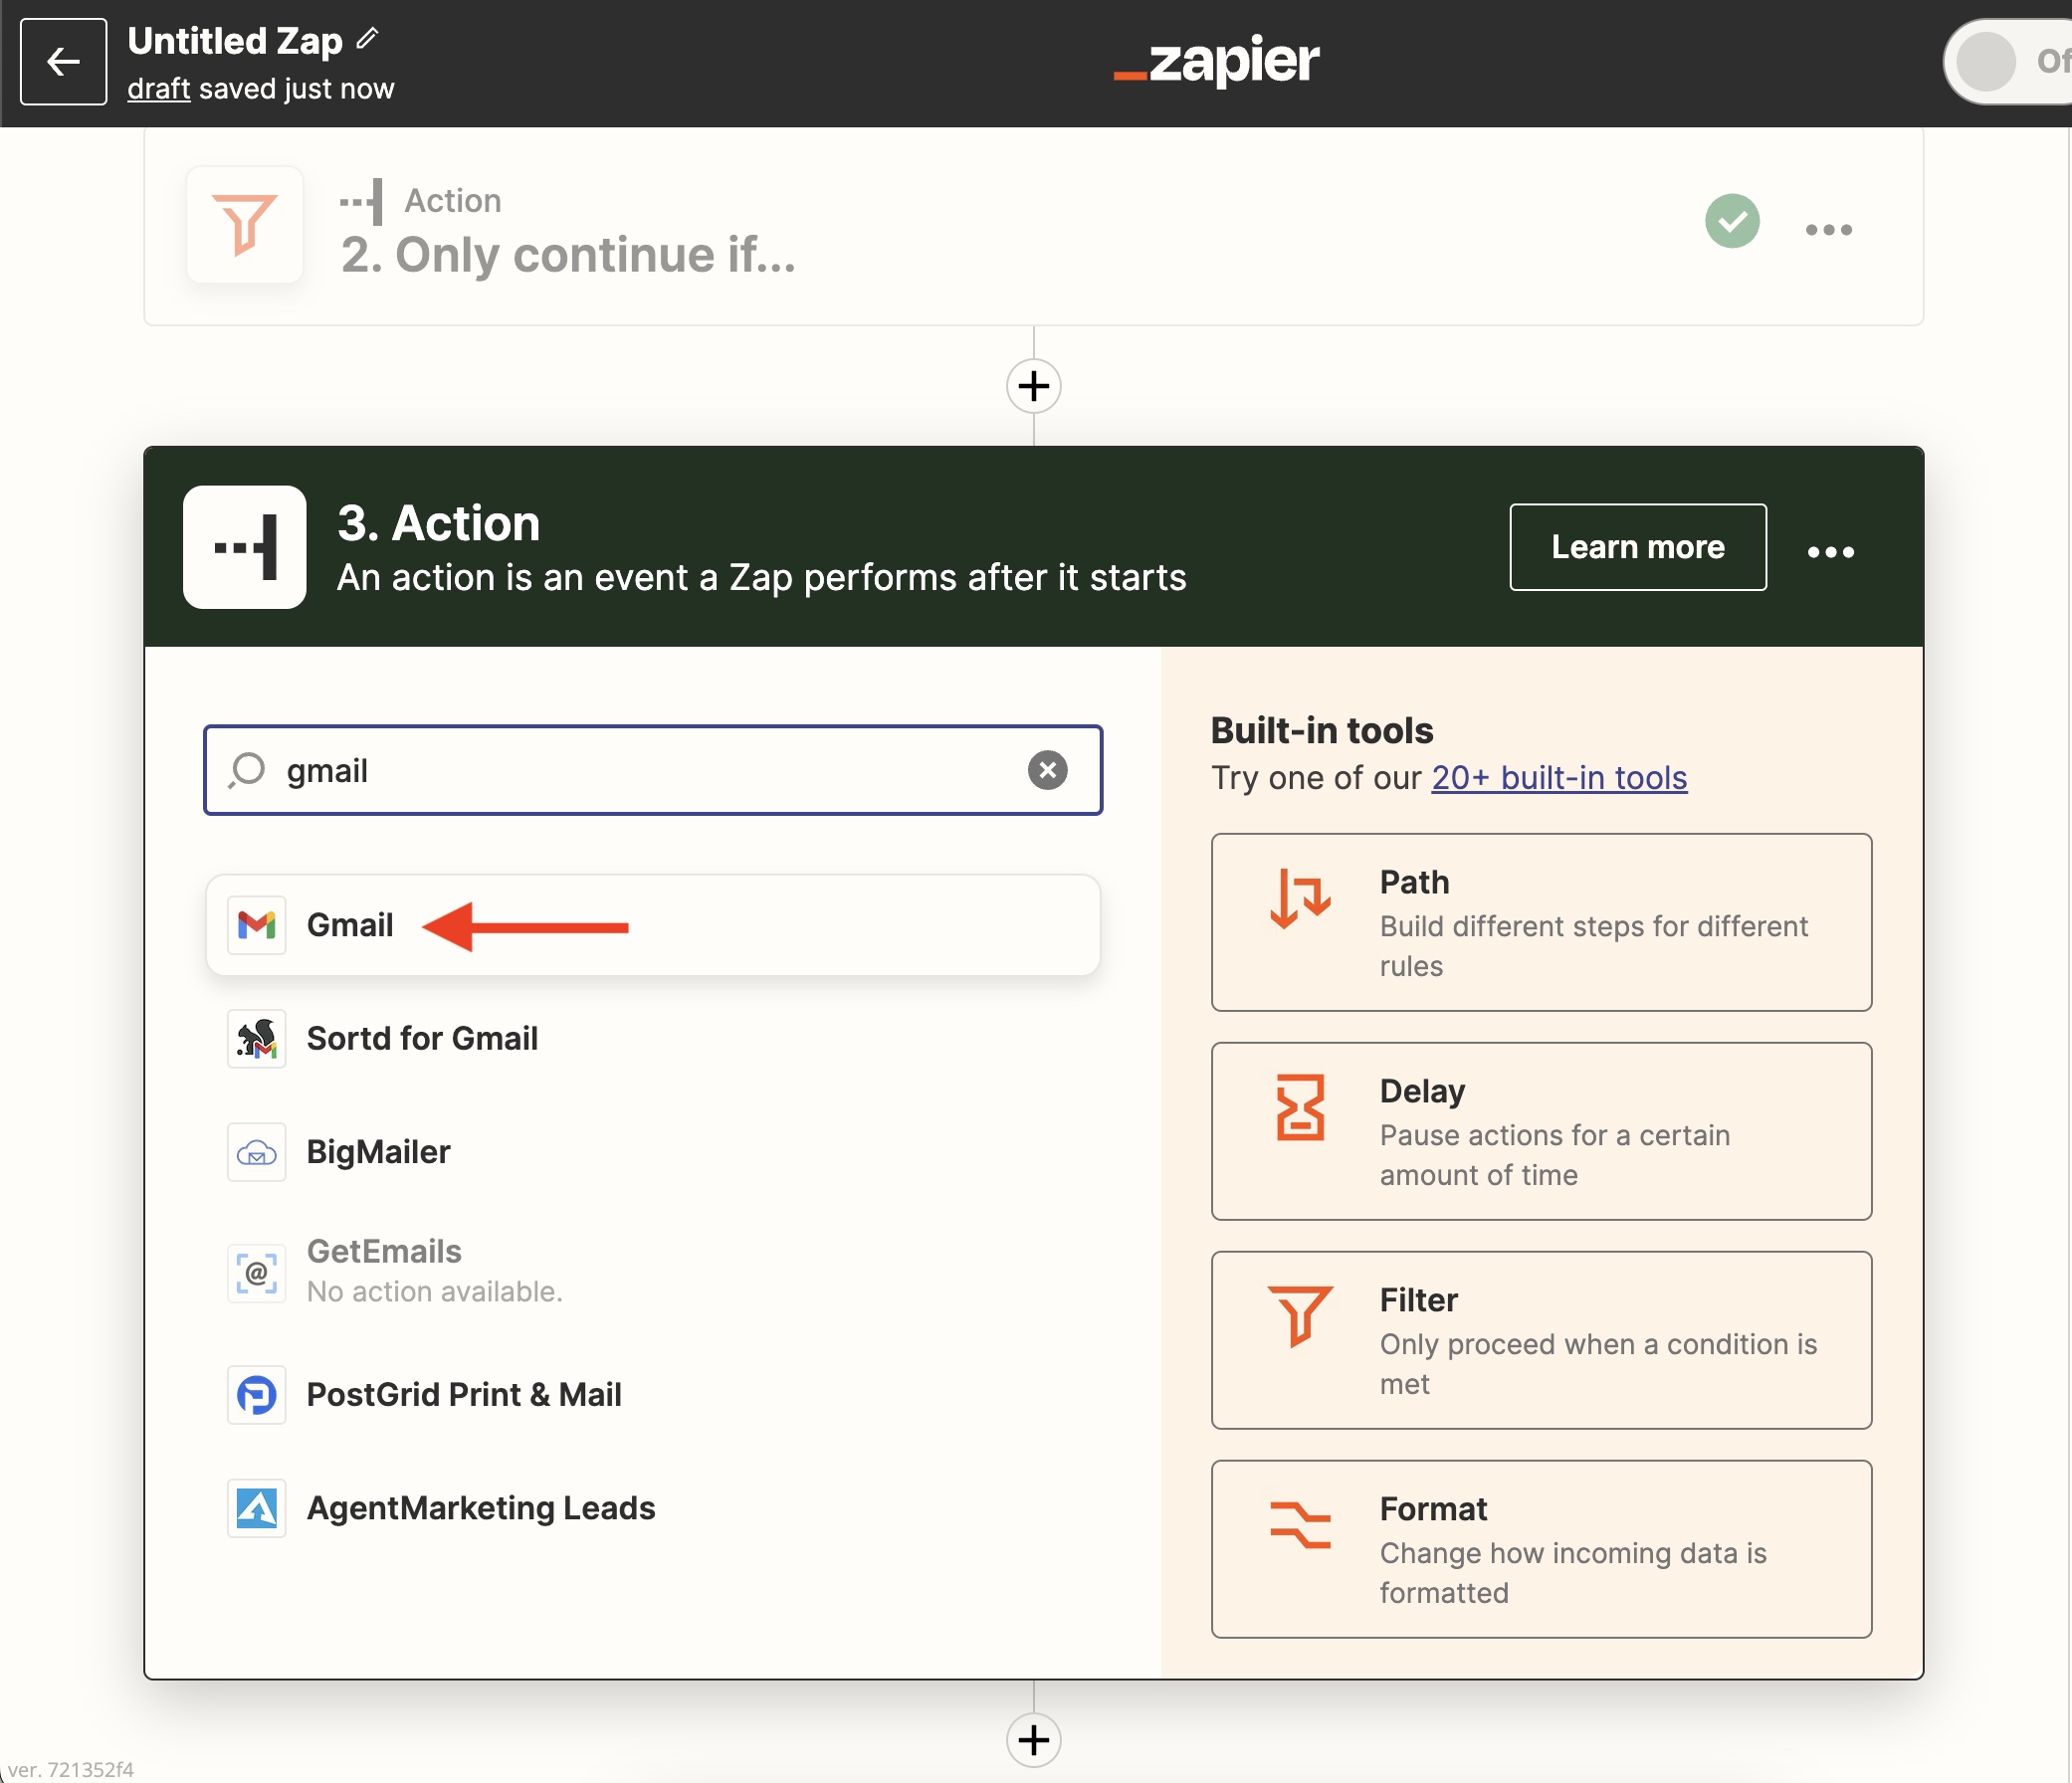
The action will be applied to the exported data. For example, let's say that you want to send the exported WooCommerce orders as a report via email.
To do that, connect Zapier and Gmail, then use an action to send a new email with the exported file.
While the specific fields may change when using other apps as the action, these same instructions apply.
Keep in mind that you can add multiple actions or workflows in this part. For example, you can add a filter so that this Zap only runs when the Export ID matches a certain value:
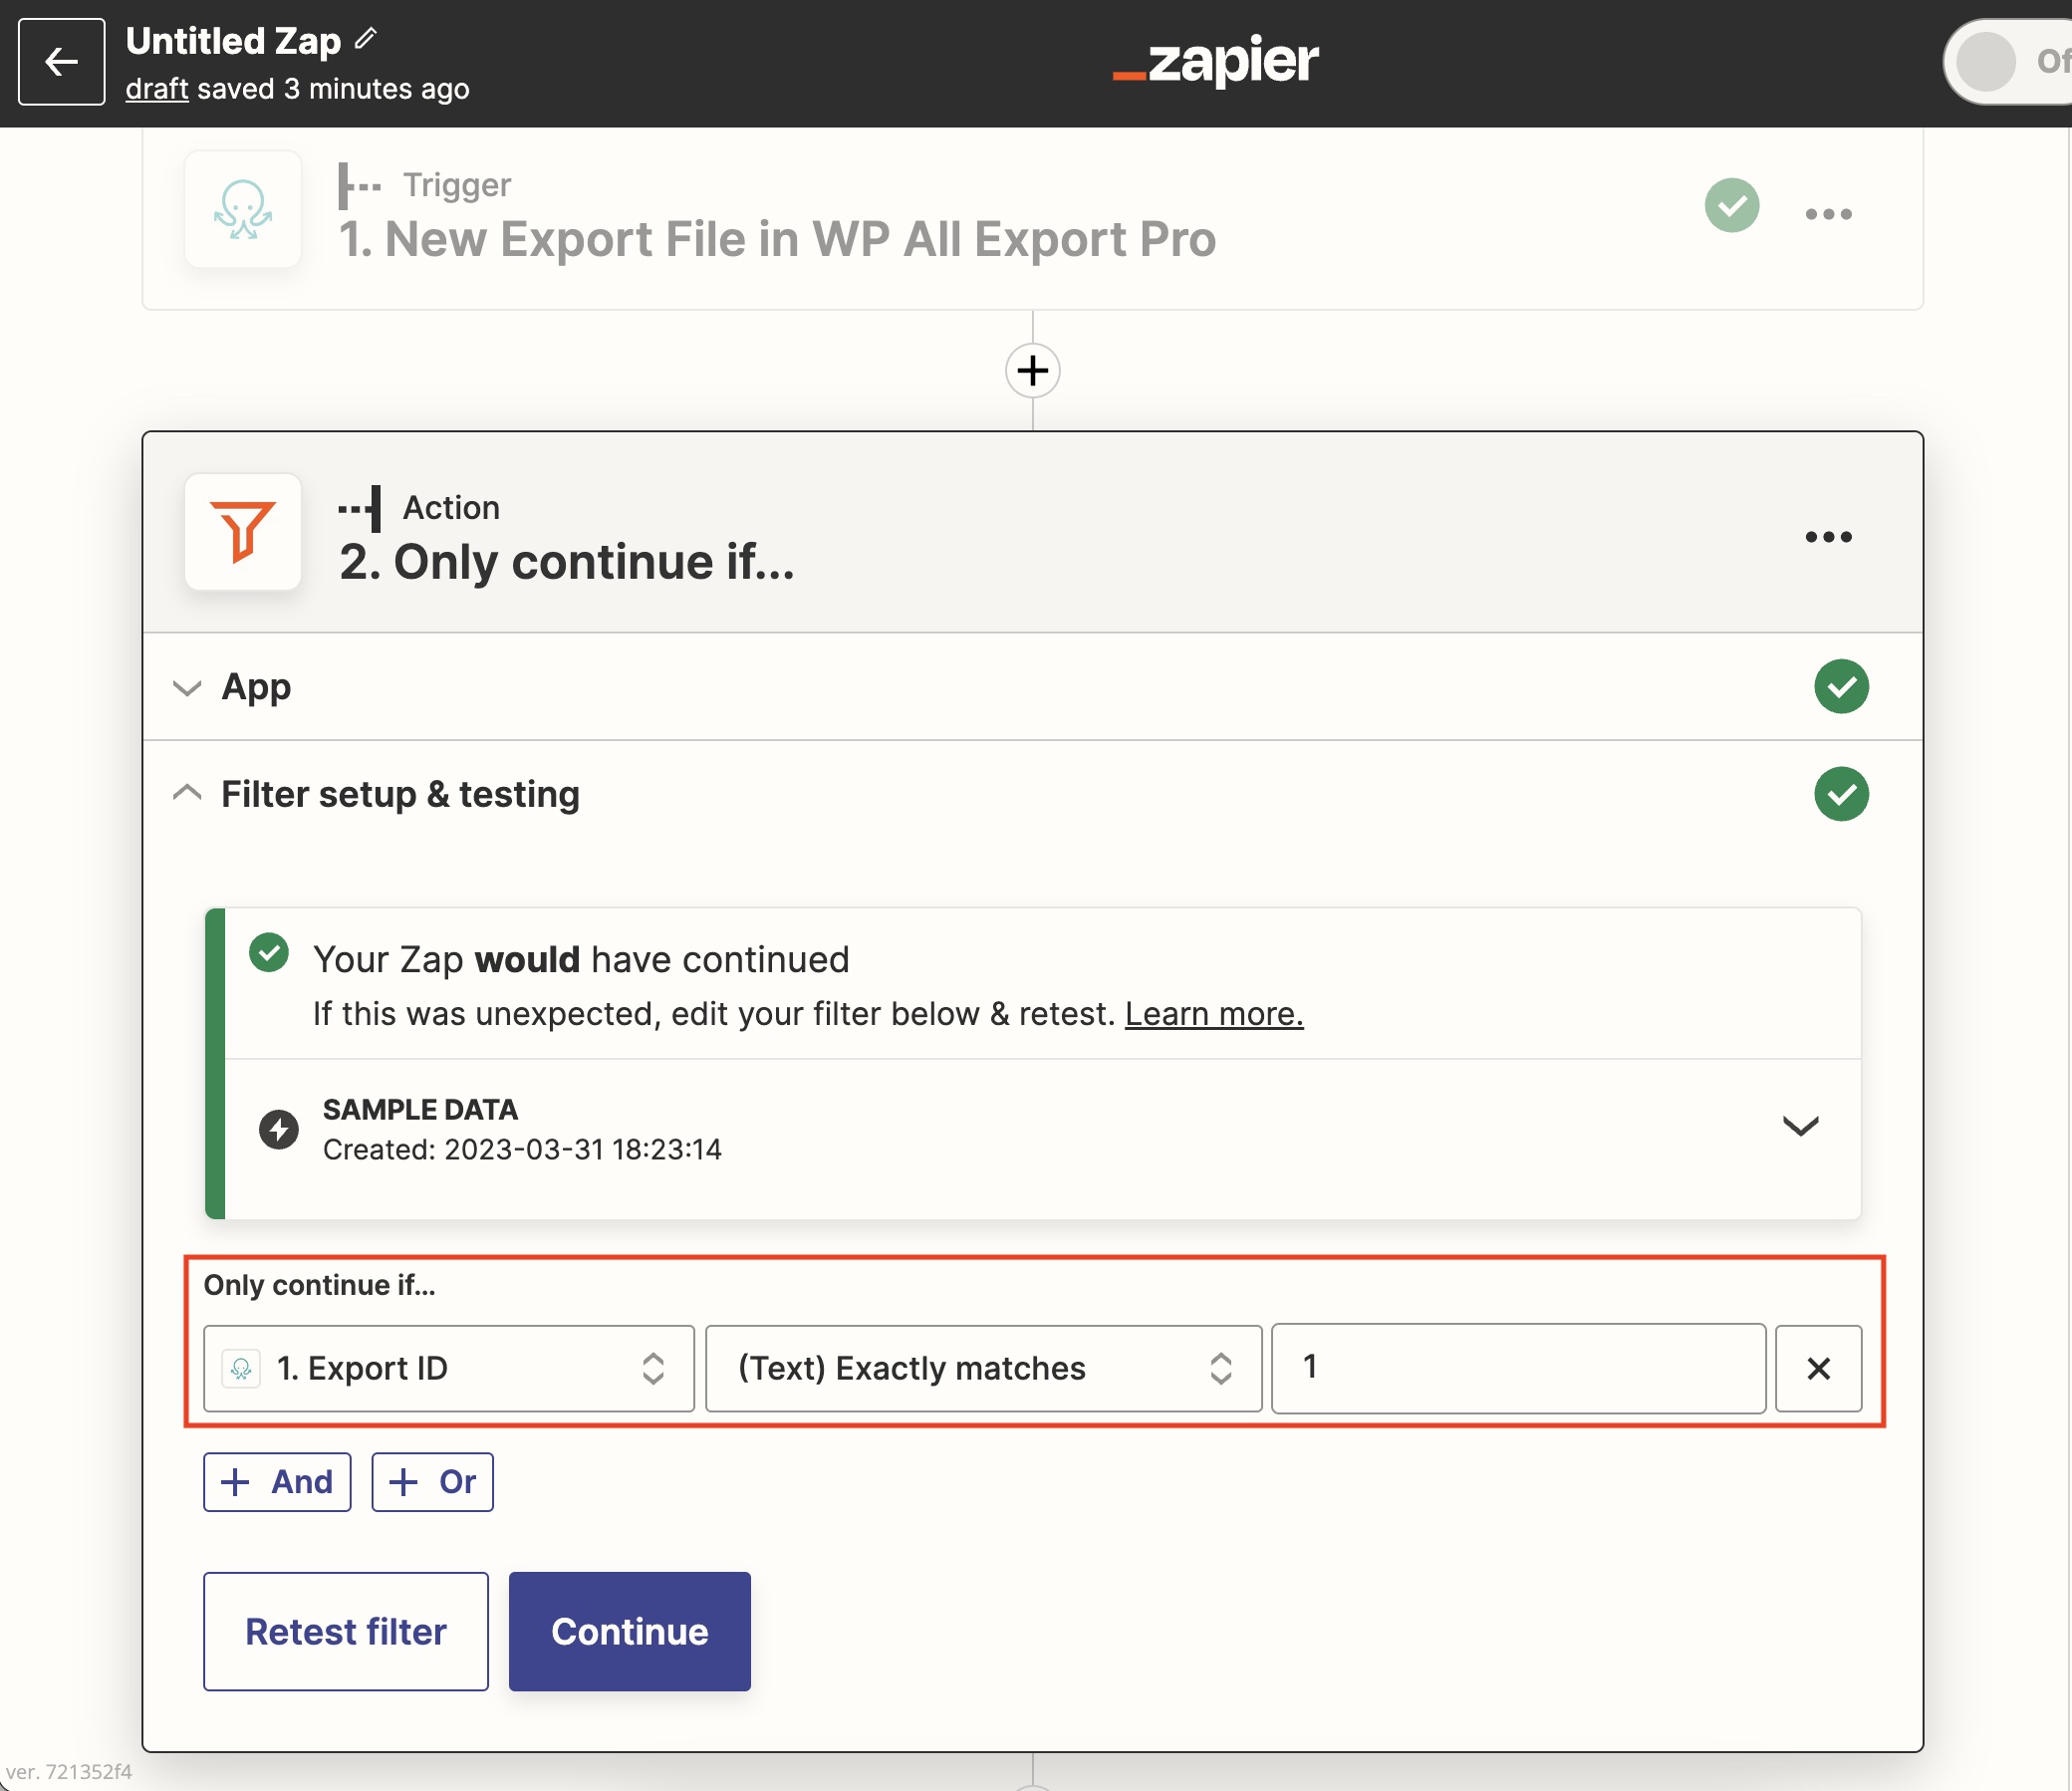
If no filter is chosen here, the Zap will run for the latest export that it finds regardless of its Export ID.
App
Following our example, we choose Gmail as our action app:
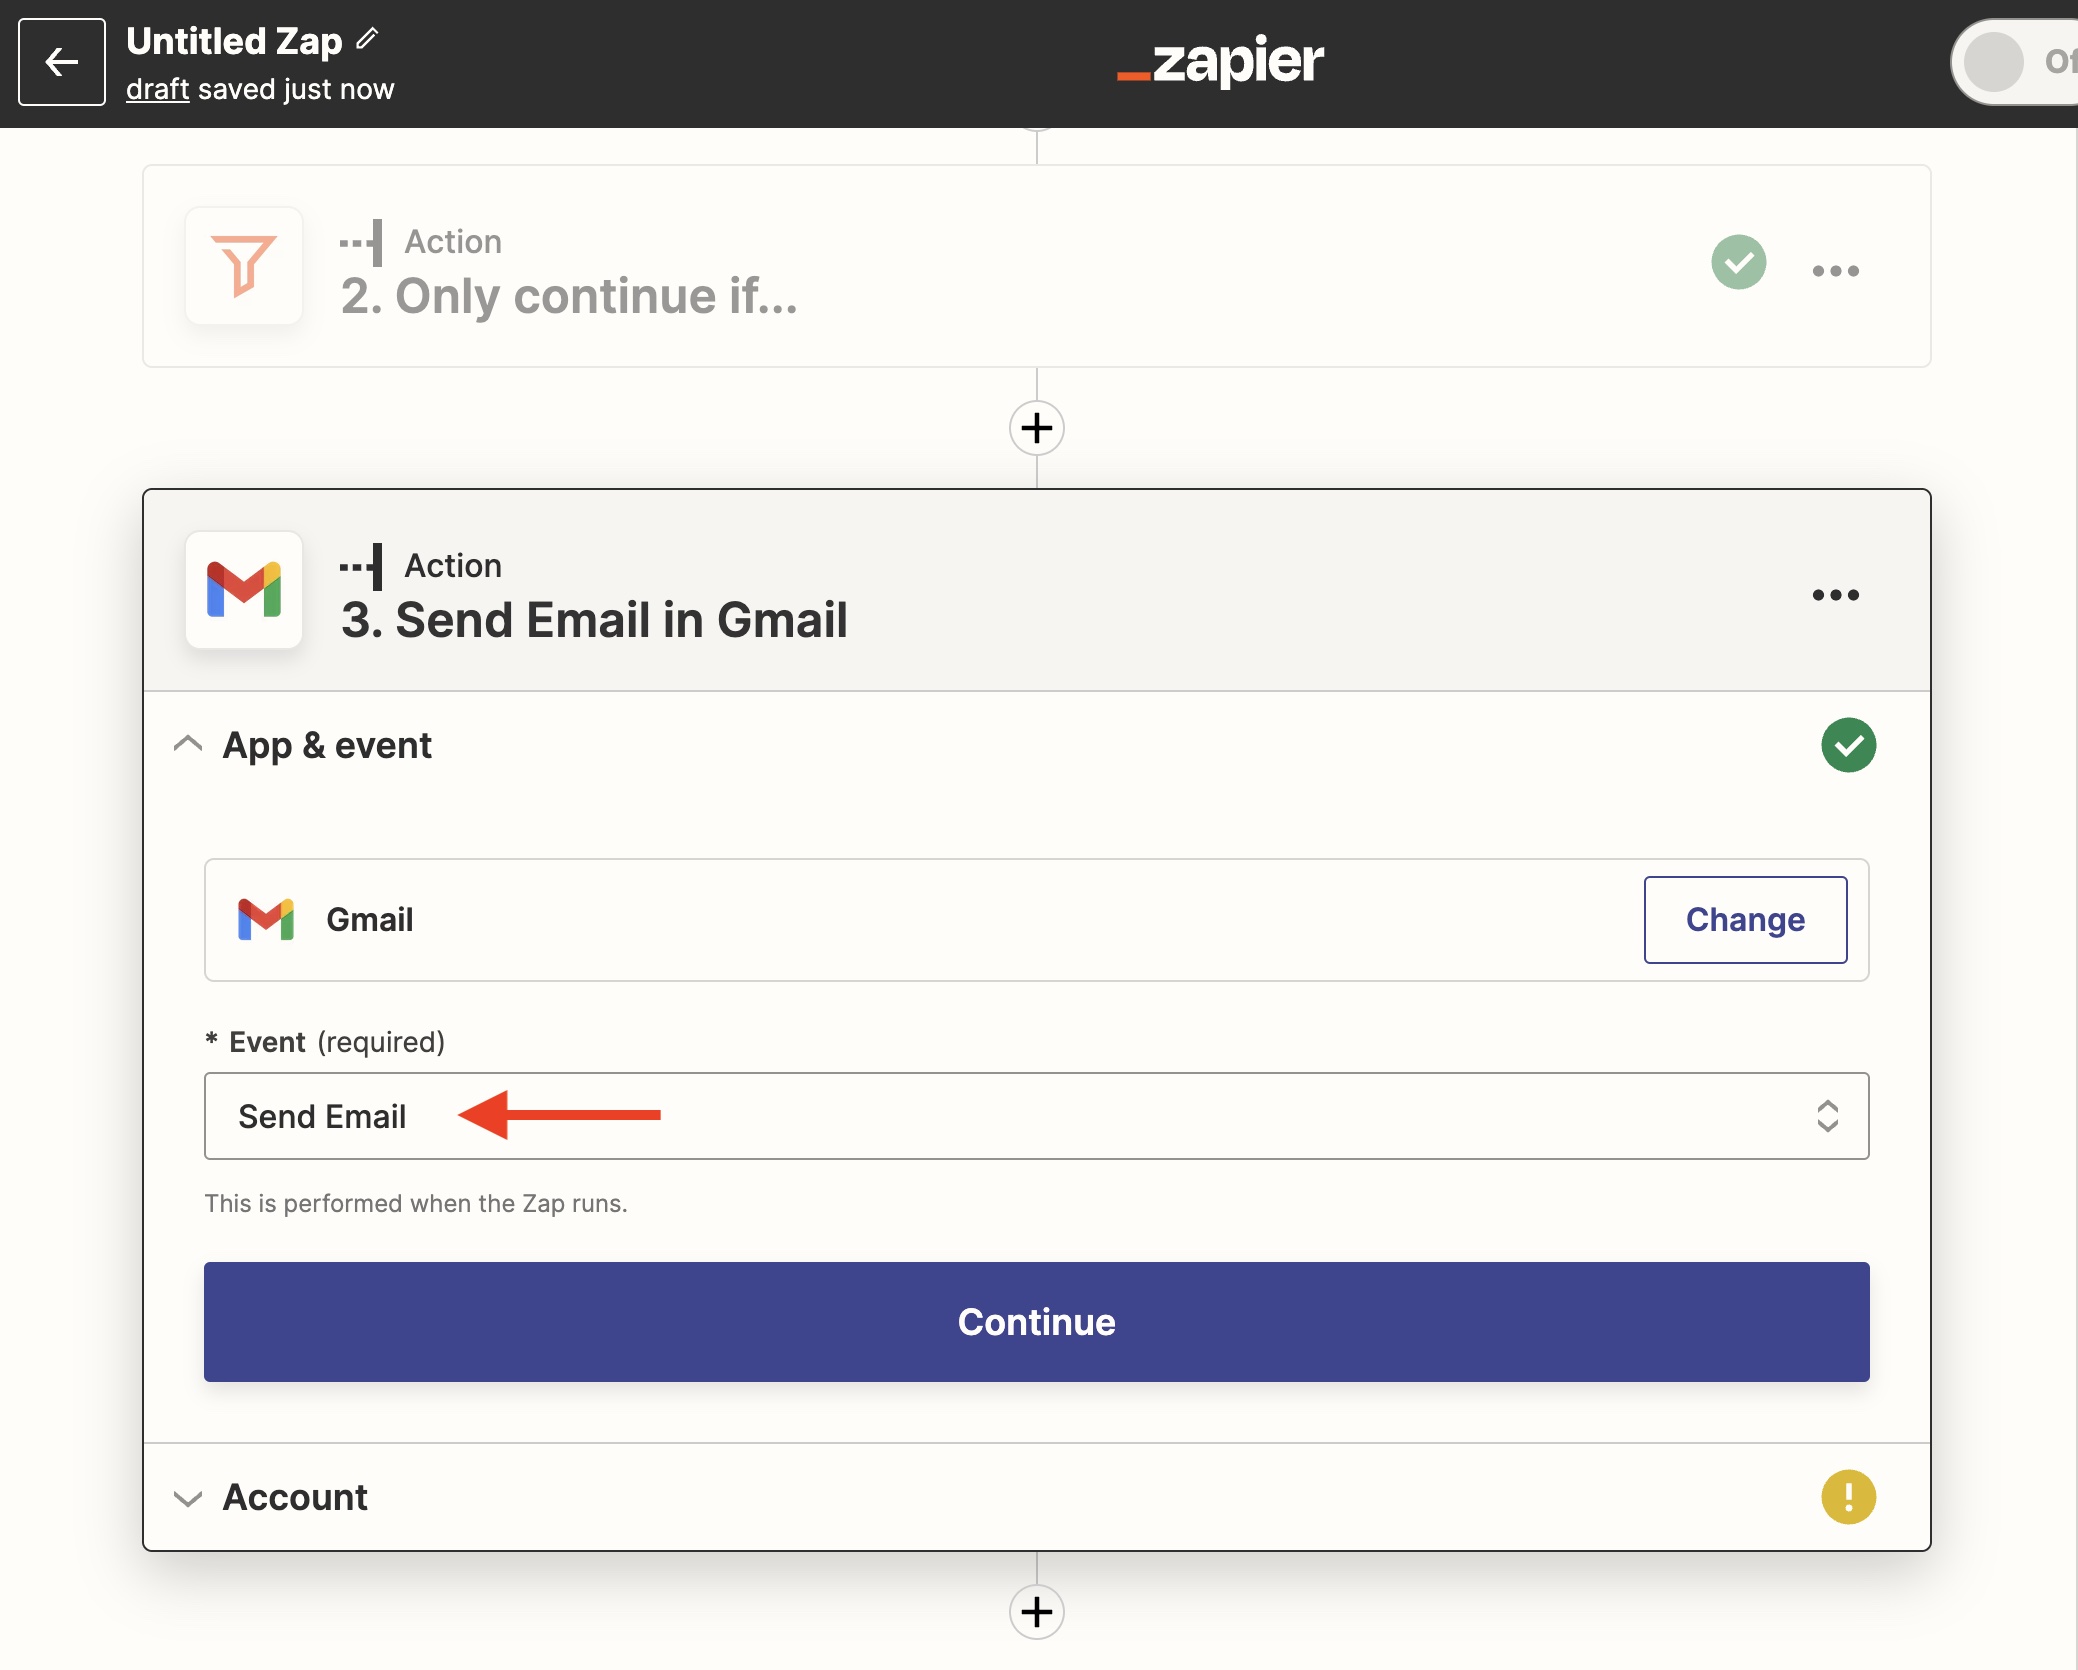
Event
For this event, we select Send Email. This is performed when the Zap executes.
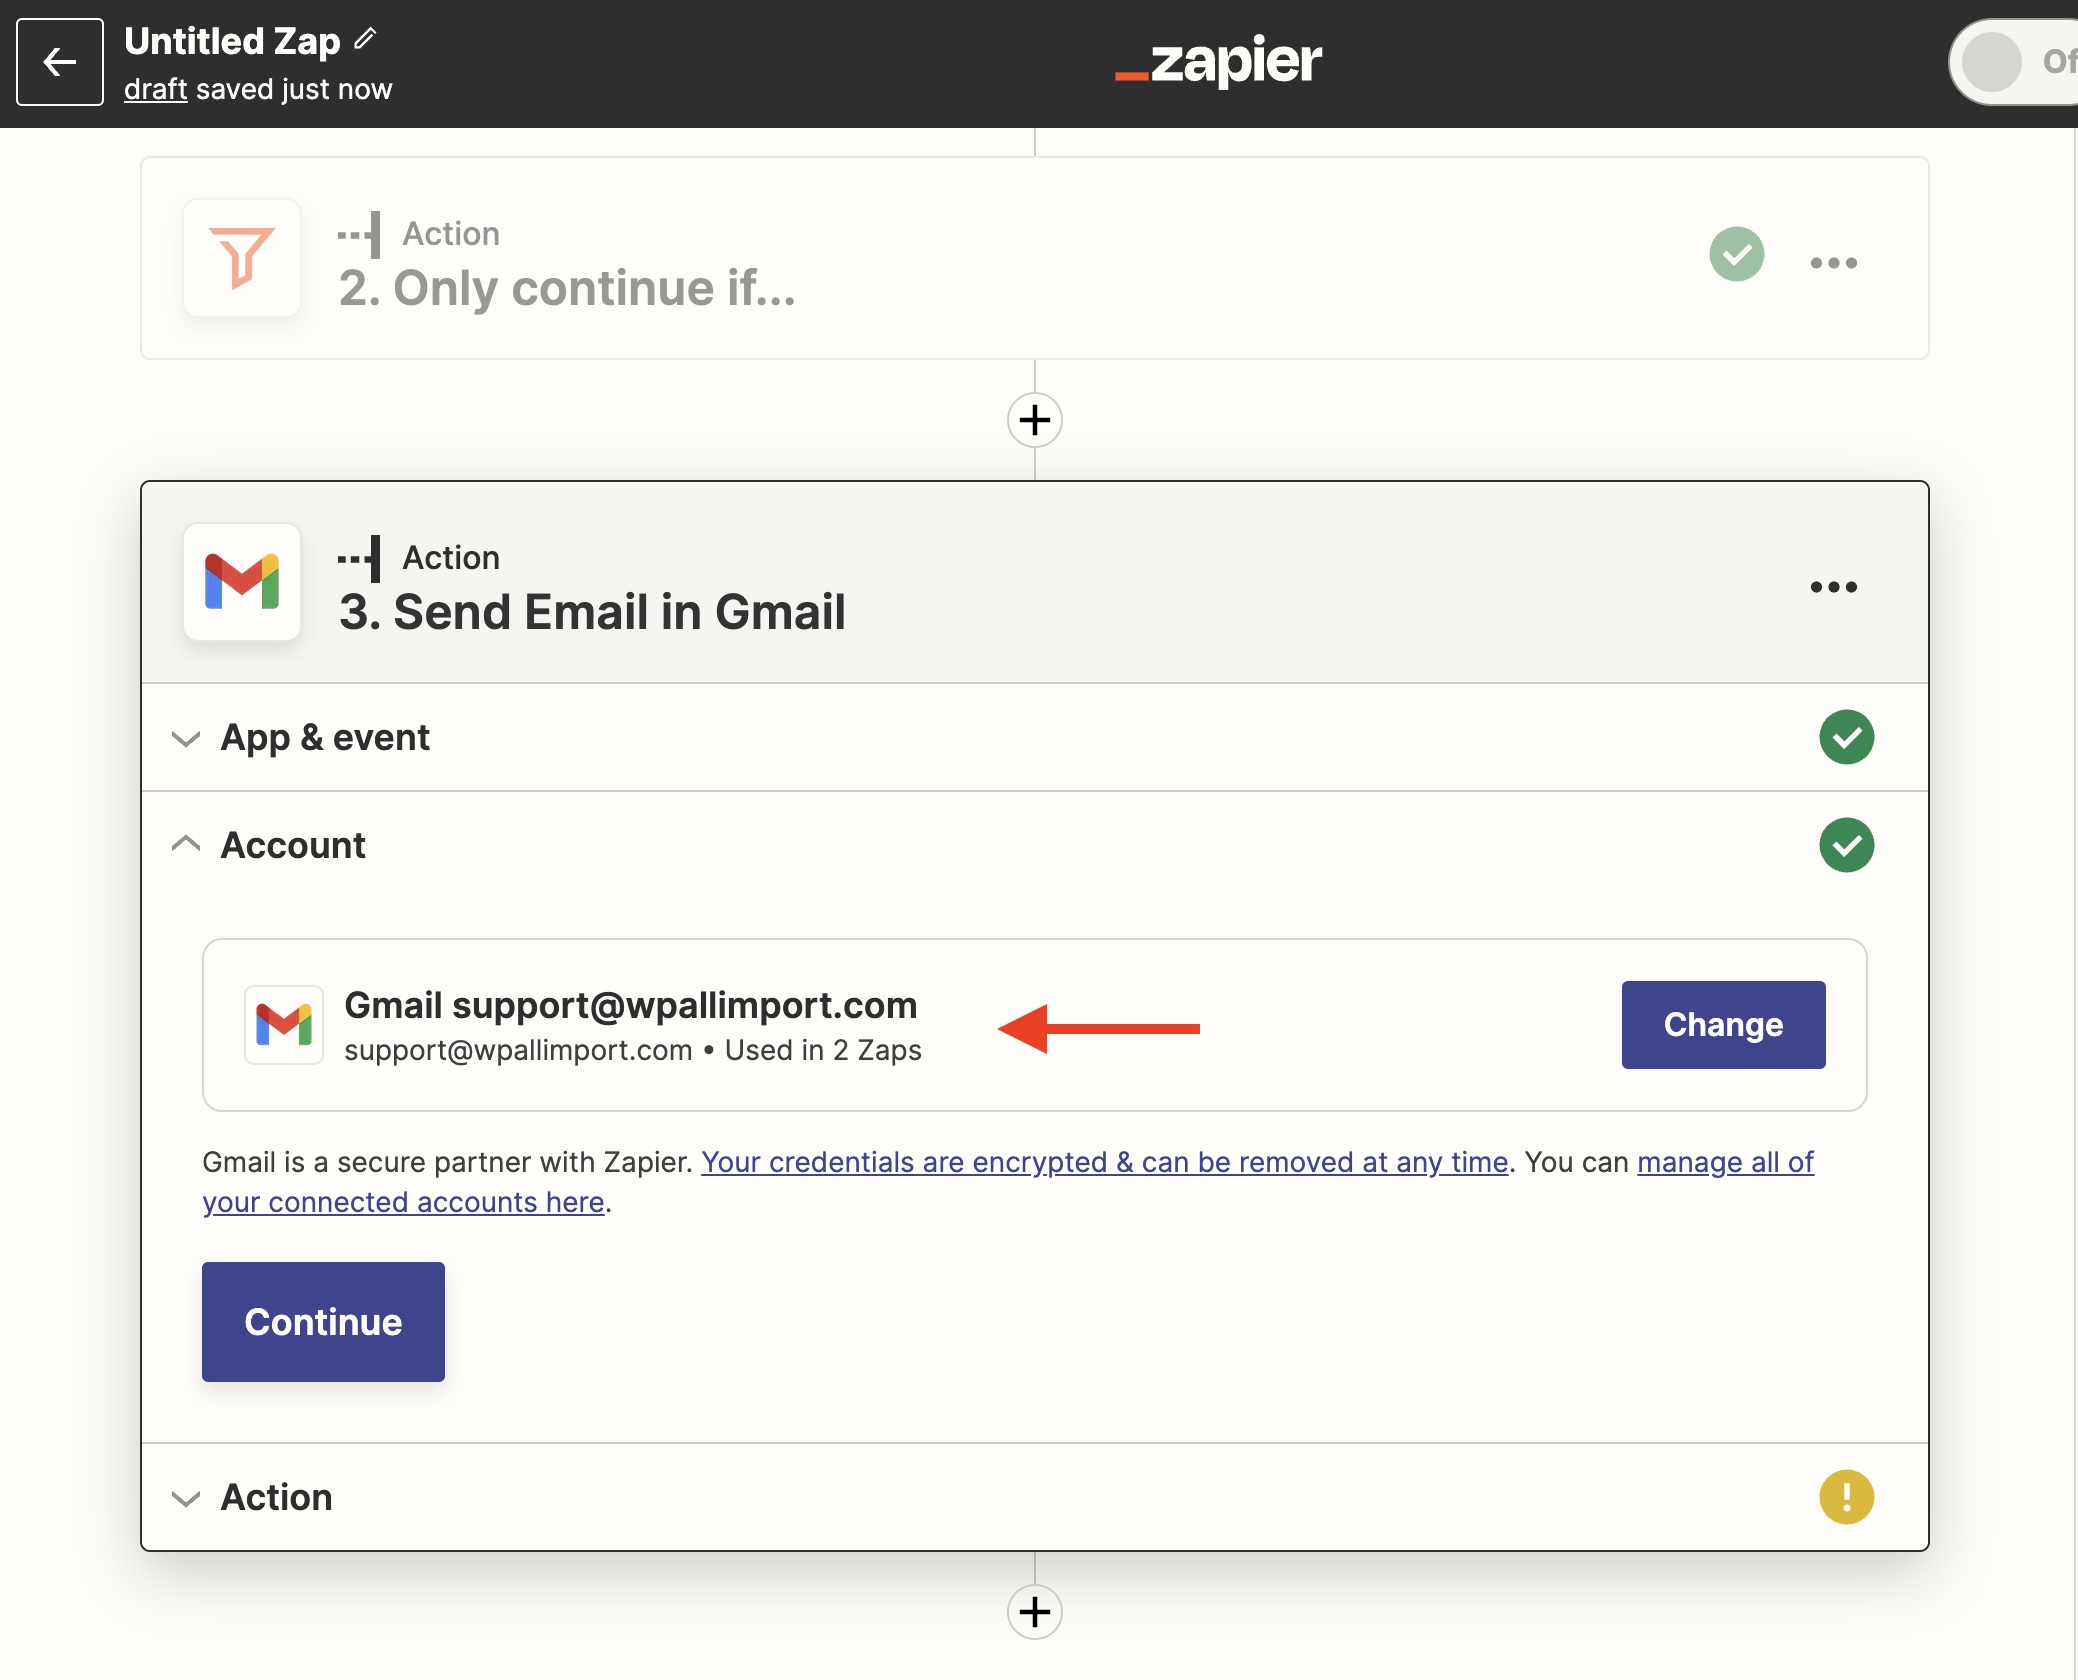
Account
Next, choose the Gmail account to use:
Action
Here, we define the details for the new email that will be generated upon every export, such as selecting who to send the email to, the subject, whether to include a body or content, etc.:
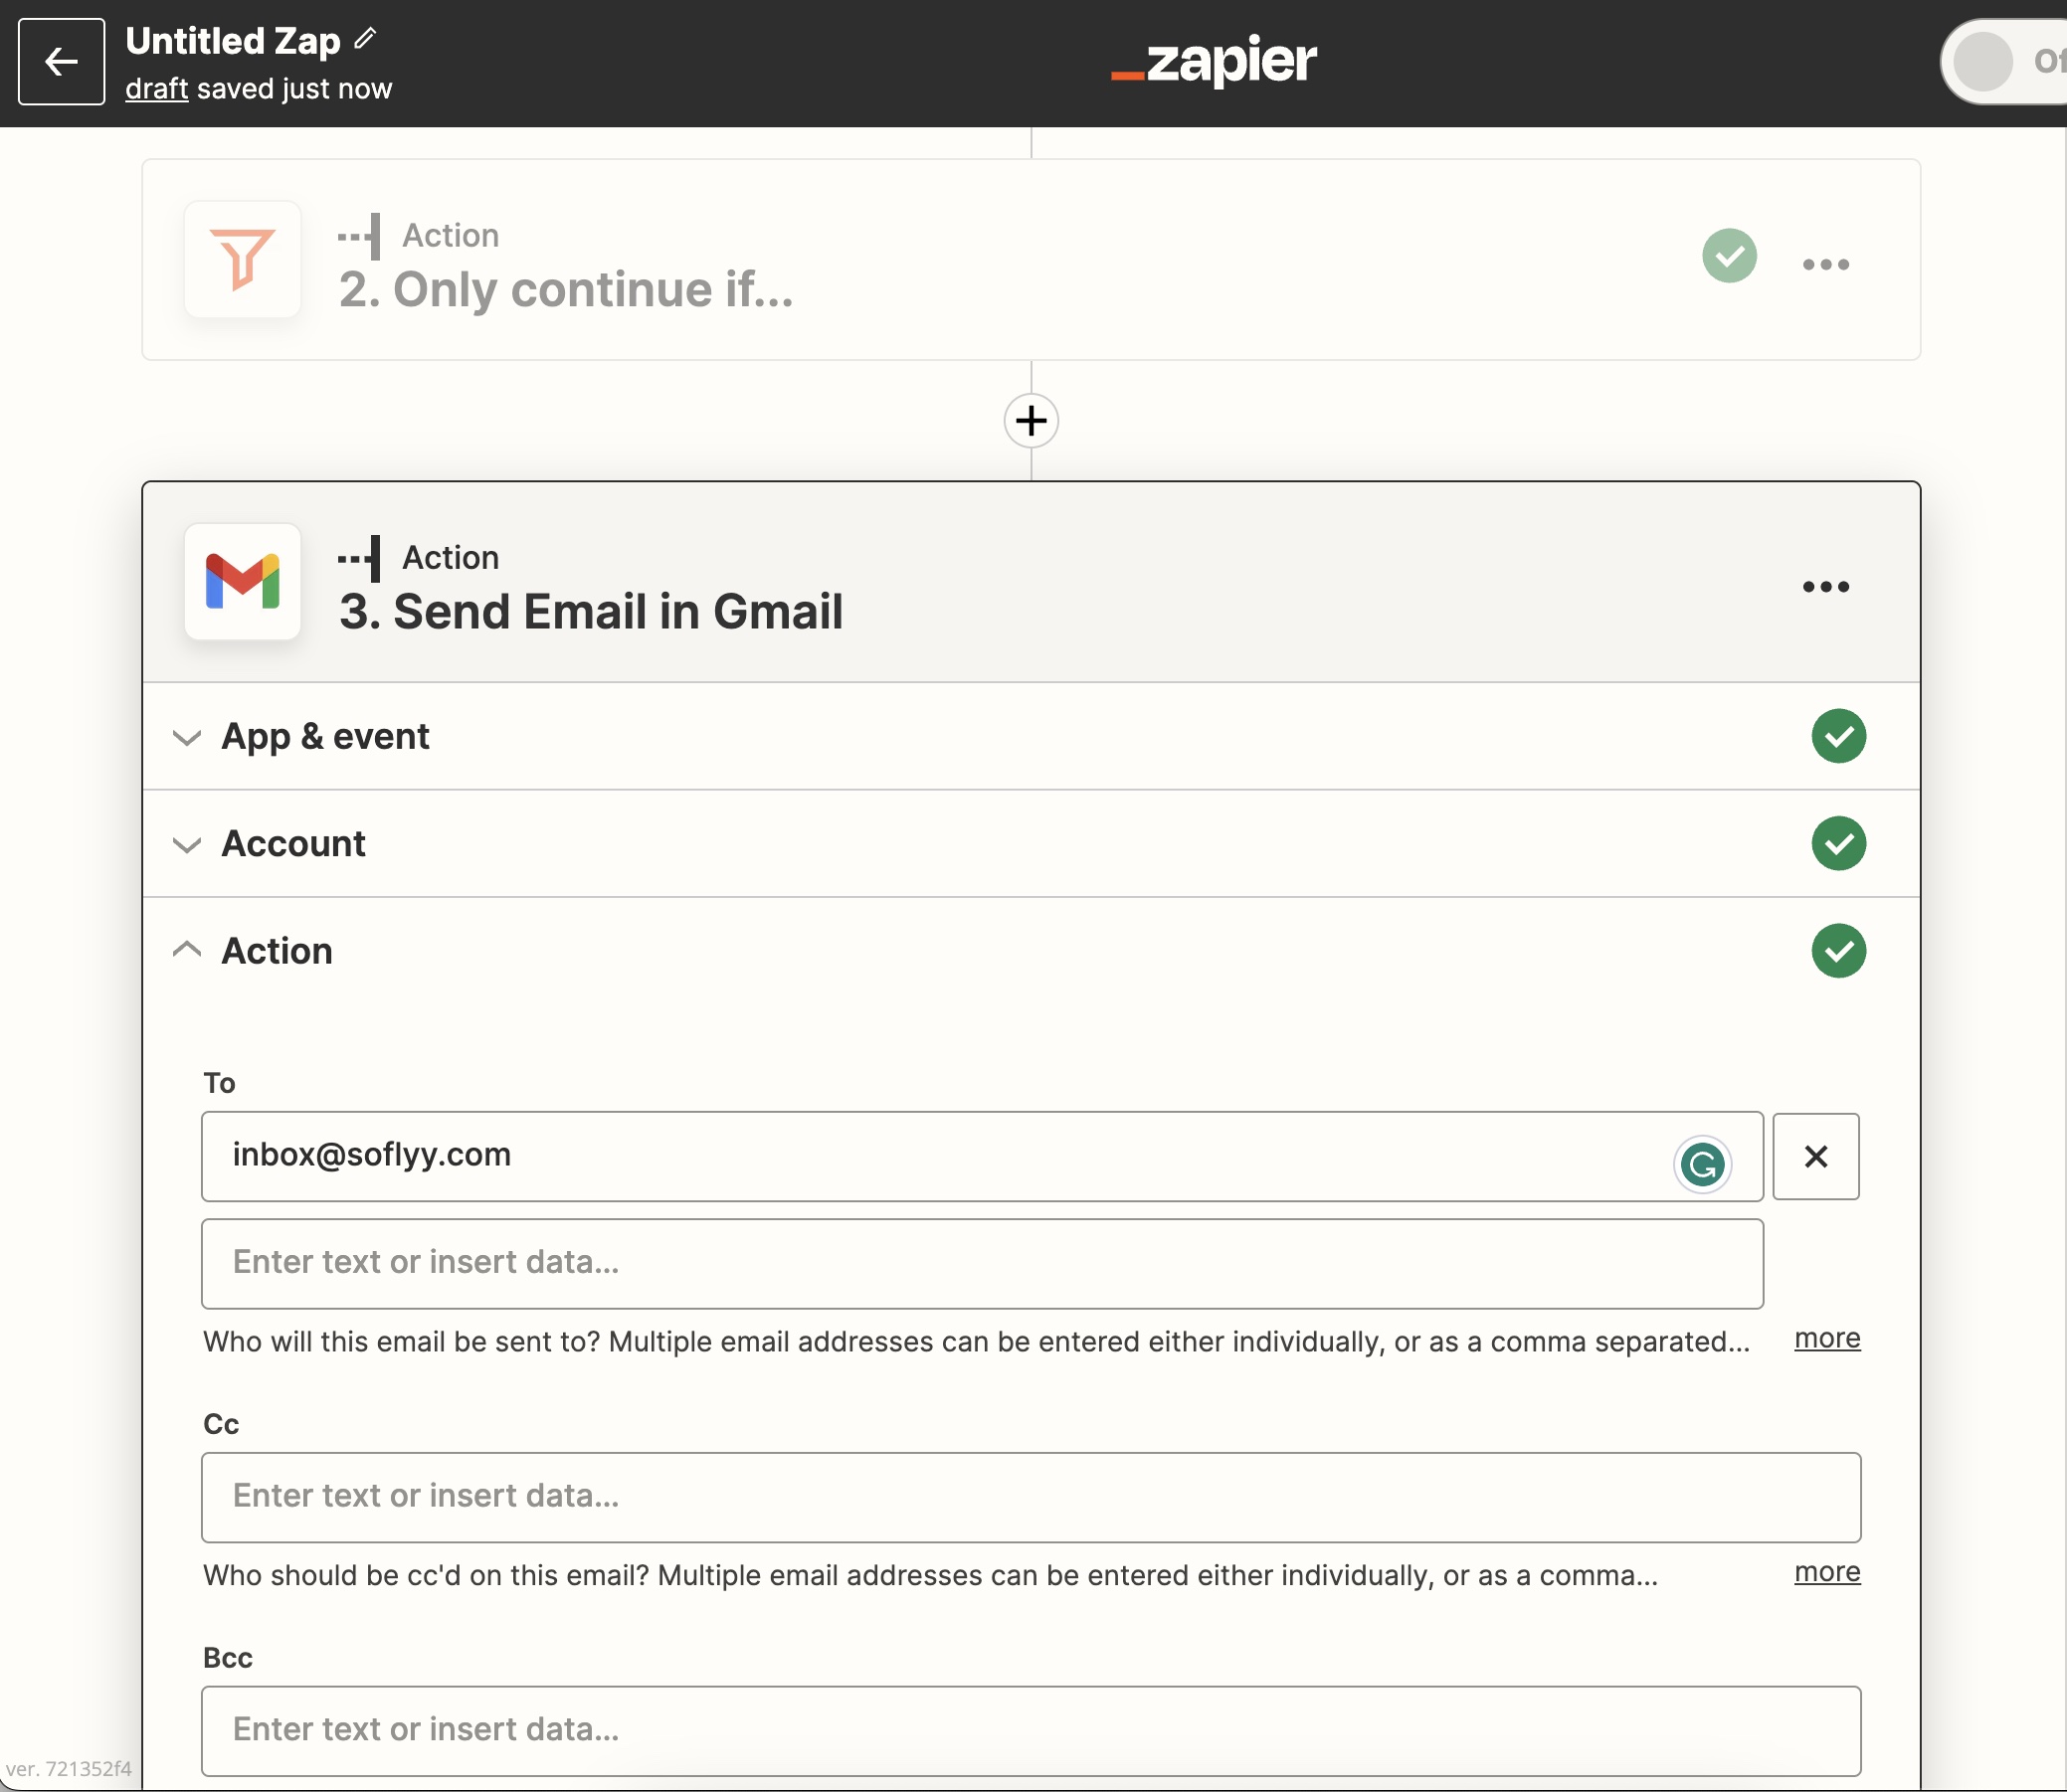
Finally, choose the export file to include as an attachment.

Once you've added your required fields, you can proceed to the test.
Test
Here, Zapier will ask you to test the trigger with a recent export.

Run the test to confirm that your email is working as expected.
You can chain other apps in this step, such as adding the exported orders data to a Google Drive. You're almost done connecting Zapier and WordPress.
Step 4: Publish The New Zap
Once you've configured the Zap as needed, click the Publish Zap button (see image above), and confirm that it's working as expected by performing a test export.
Remember that every time the export runs, the trigger will execute and perform the action as configured inside Zapier. Here's the full list of apps supported by Zapier: http://zapier.com/zapbook/wp-all-export-pro/.
You can learn more about using Zapier: https://zapier.com/learn/getting-started-guide/what-is-zapier/.
Export WordPress Data to any CSV, XML, or Excel
- Any theme or plugin
- Images & galleries
- Custom fields
- Real-time exports
- Woo, ACF, Meta Box, JetEngine
Advanced Topics
Automatically Run WordPress Export
You can make your Zapier to WordPress integration run automatically by scheduling your export to run at a specific time, such as daily, weekly, or monthly. For this, you can use either:
- Automatic Scheduling: This can be set up directly from within WP All Export's interface. Simply go to the Scheduling Options and define your schedules. This service costs USD 9/month. Learn more here: Run WordPress Export on a Schedule.
- Manual Scheduling: You can set up manual cron jobs via cPanel or Plesk. Using both a "trigger" and a "processing" cron job, you can automate your export. Learn more here: Schedule WordPress Exports Using Cron Jobs.
Connect Exported Data To Your Custom API
You can use custom code (see documentation) along with our API (see documentation) to send your exported data in whatever way you need. This uses just WordPress without Zapier. For example, you may have a PHP script to POST your data to an API in a specific format. After the export runs, you can obtain the exported file using the pmxe_after_export filter. Specifically, you can get the file path for the exported file in $exportObj->options["current_filepath"].
Frequently Asked Questions
Can Zapier Integrate With WordPress?
Yes, and it can be enhanced by using WP All Export Pro, which allows you to send your exported data to thousands of the most popular apps available via Zapier. This gives you greater control in automating and controlling your exports and reports without the need for code. WP All Export Pro is the best way to connect Zapier and WordPress.
Can I Use Zapier With WP All Export Free?
Unfortunately, no. You need WP All Export Pro to access the Zapier integration and connect your Zapier to WordPress. If you want to try out this integration, you can do so via our sandbox environment.
What's Next
Learn how to connect Zapier with WordPress and WooCommerce.
Use Zapier to send the exported data via email.
Use Zapier to send the exported data to Dropbox.
Use Zapier to send the exported data to Google Sheets.
Use Zapier to send the exported data to Google Drive.
Related Docs
Schedule and automate your export using cron jobs.
Client Mode allows you to give access to other user roles to run/download specific exports.
Export, edit, then import back using WP All Export along with WP All Import.
