The best import export plugin for WordPress & WooCommerce.

Integrate Zapier with WooCommerce for Real-Time Exports
To integrate Zapier with WooCommerce, create a new Zap that executes an action every time the export runs, such as adding the exported order data to a Google Sheet. The Zap ensures that this action occurs automatically.
Table of Contents
- Step 1: Set Up a Real-Time Export
- Step 2: Create a Trigger in Zapier
- Step 3: Create an Action in Zapier
- Step 4: Publish Your Newly Created Zap
Advanced Topics
- Stop/Pause the Zap or Real-Time Export
- Export Orders When Status Is Processing
- Export Orders As Soon As The Order Is Placed
- Changing A Previously Created Zap
Step 1: Set Up a Real-Time Export Beforehand
First, create your real-time export, as explained in How to Run Real-Time Exports. In this example, we're creating a real-time export for WooCommerce orders, meaning it will export each order as it is completed on the site. However, the same instructions apply to other post types.
Step 2: Create a Trigger in Zapier
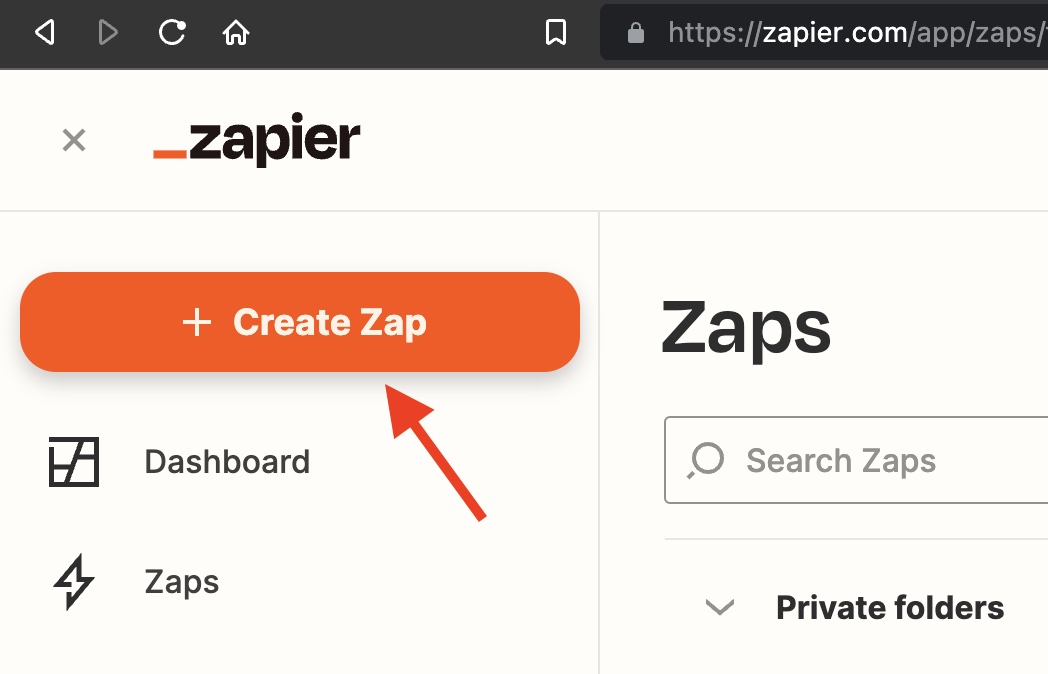
Once you have a real-time export that works, you need to create a trigger. To do this, go to Zapier.com, create an account (or log in with your existing account), and click the + Create Zap button.
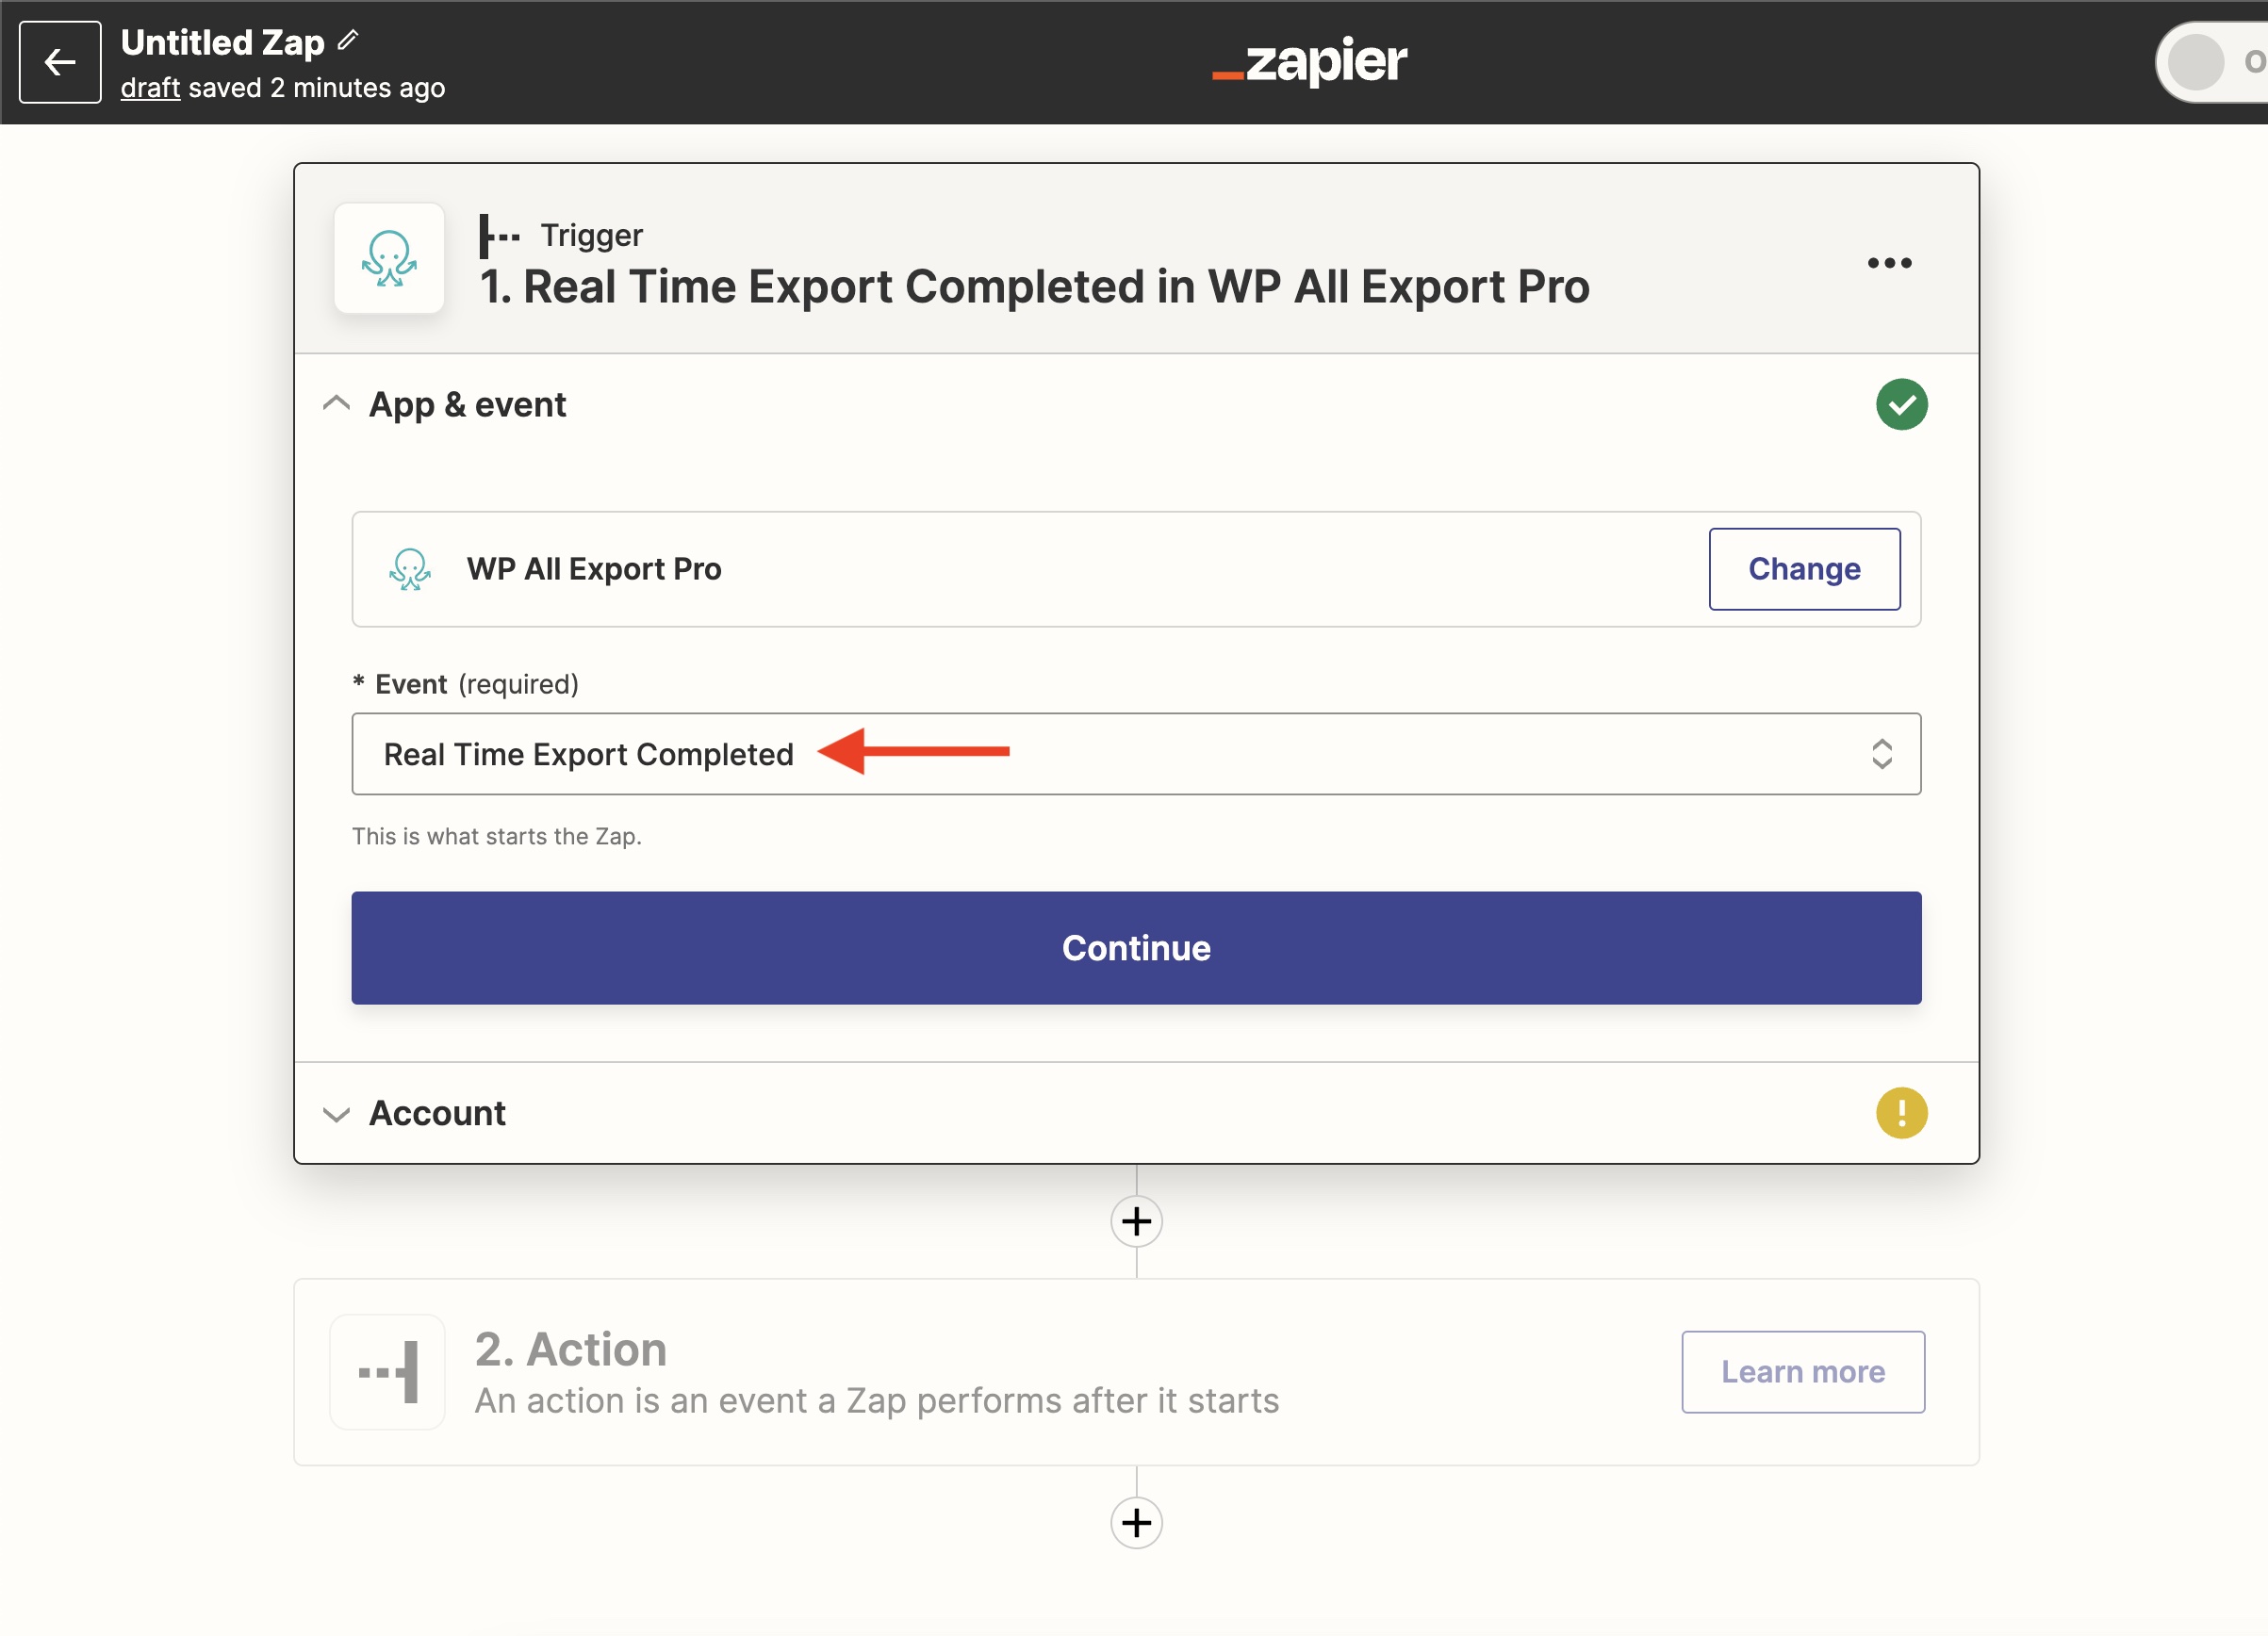
App & Event
Zapier will ask you to define what you want to do. For the app portion of this, select WP All Export Pro.

You then choose the event. In this case, select Real Time Export Completed. This is what starts the Zap and is the first part of establishing a connection between Zapier and WooCommerce.
Account
Next, you need to select your account or connect a new one. Basically, you link your WP All Export Pro installation to this Zapier account.
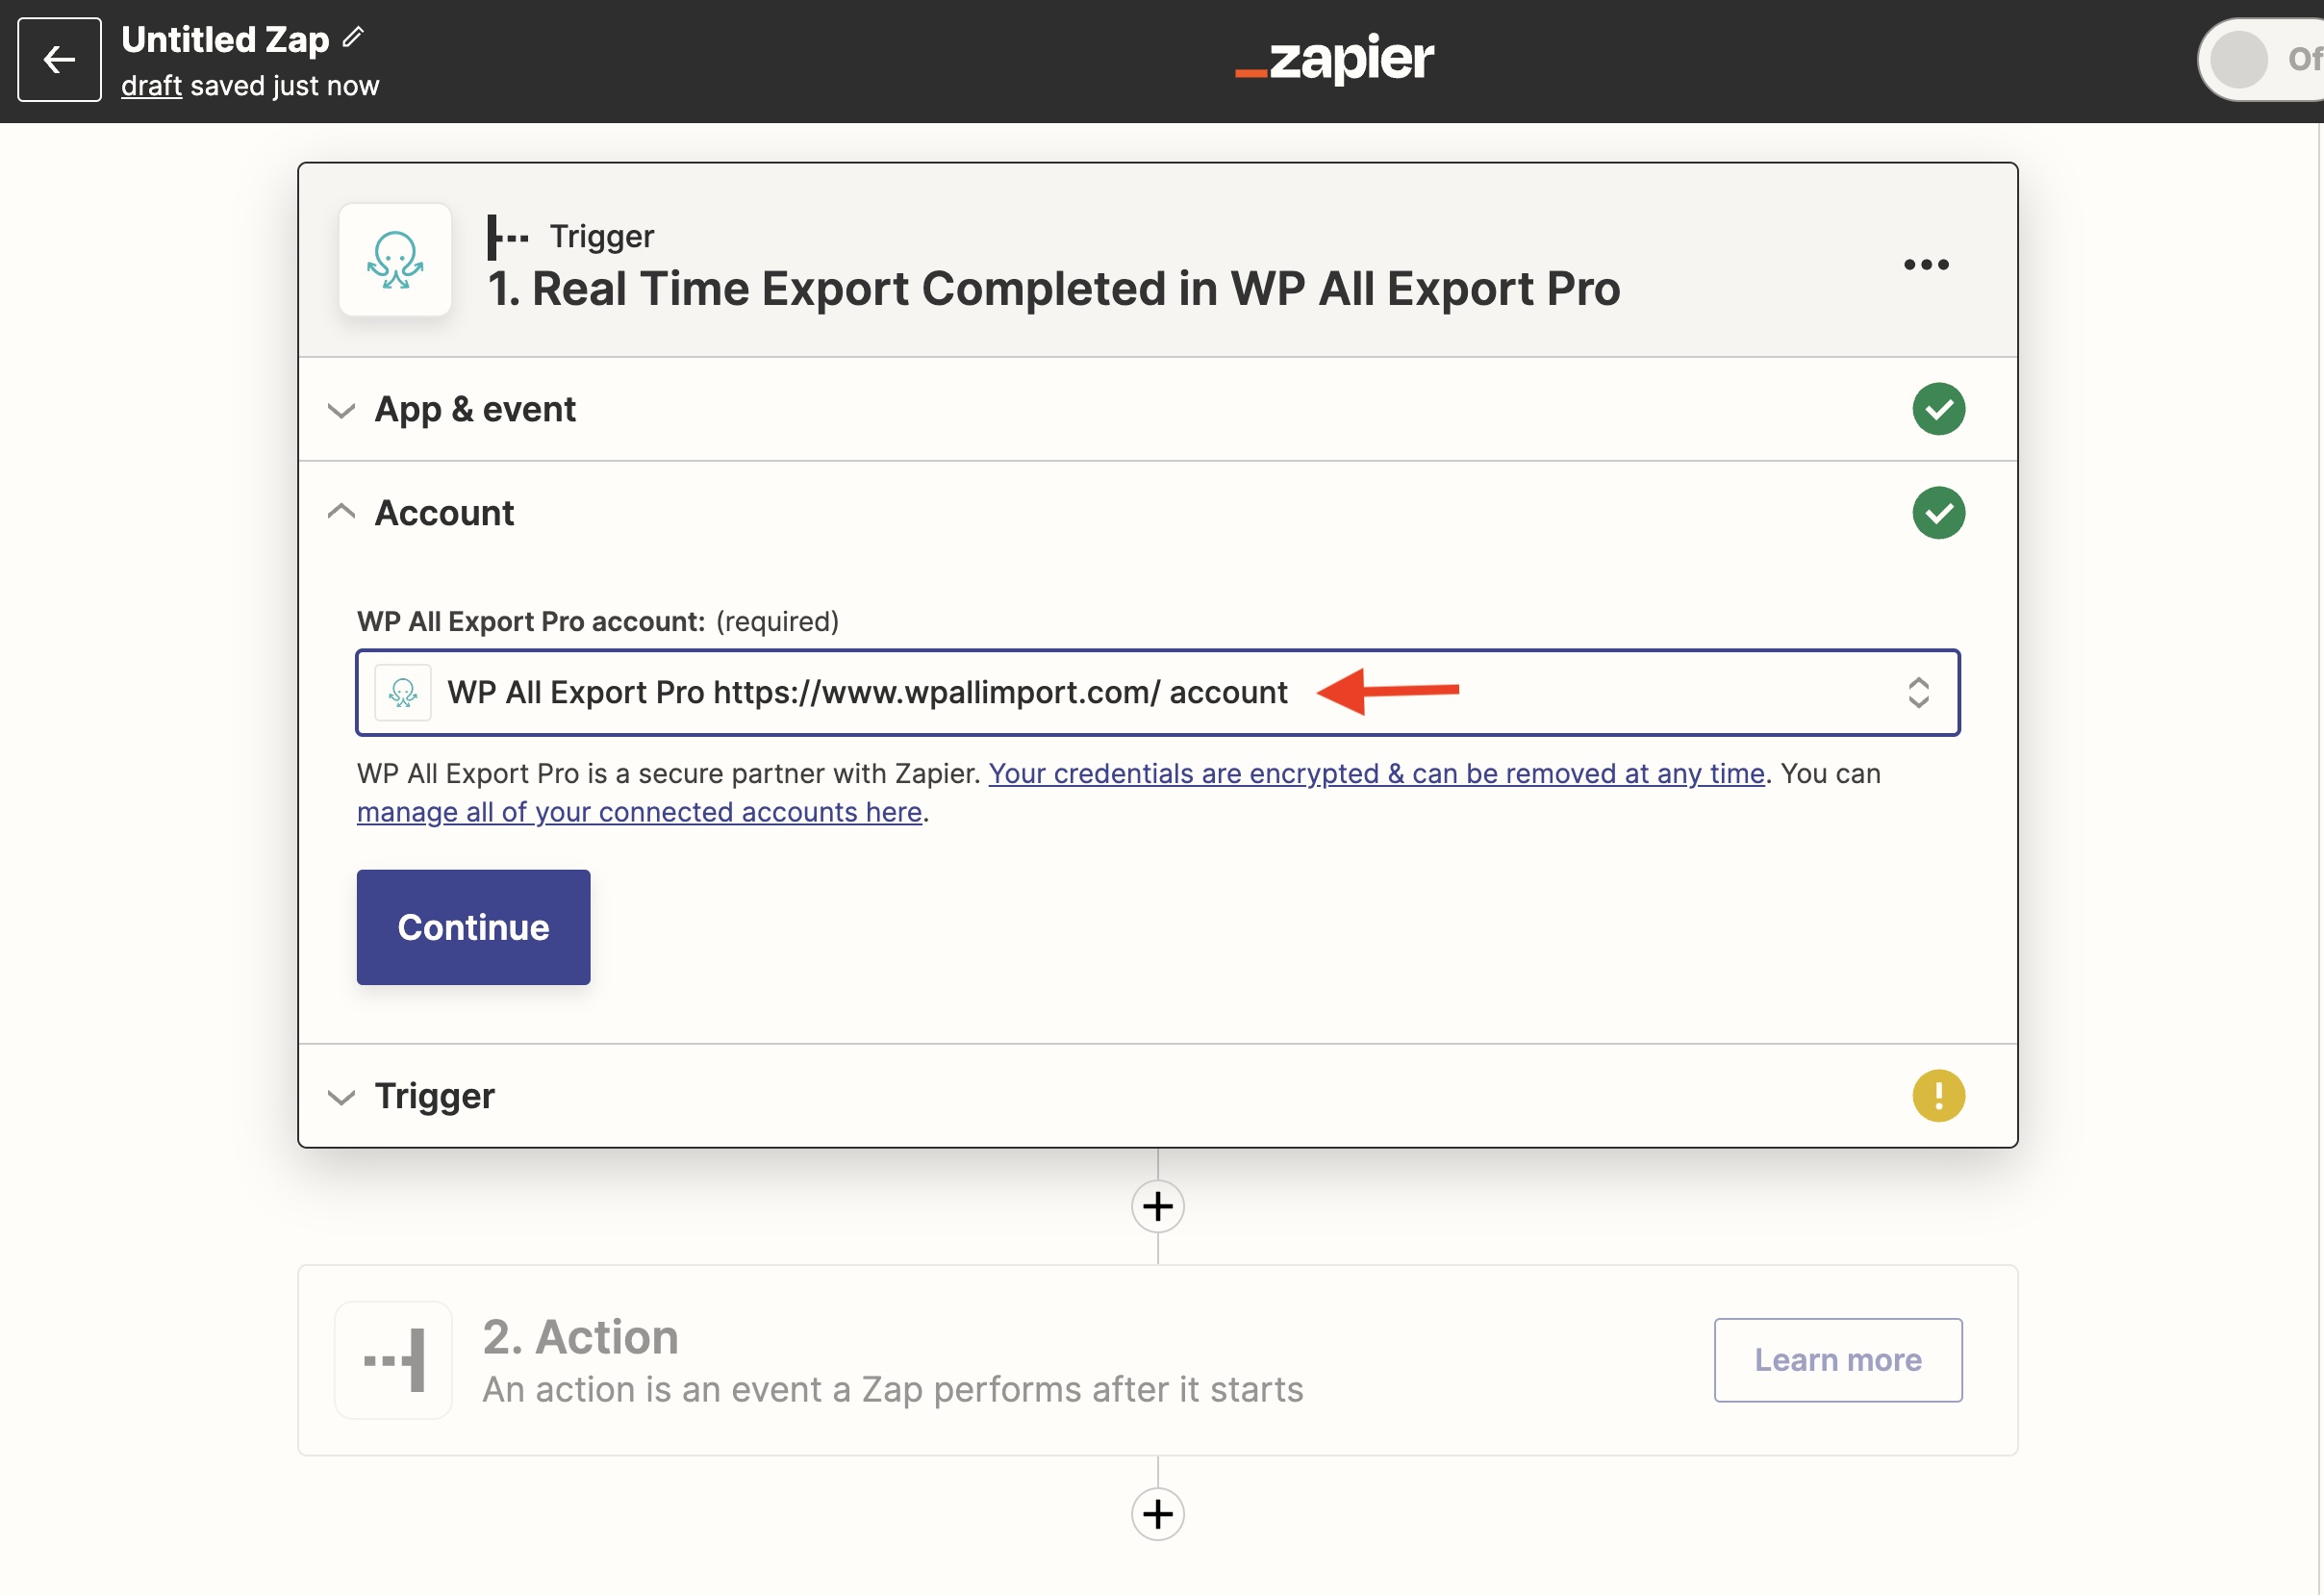
To add a new account, use the + Connect New Account option from the dropdown list.
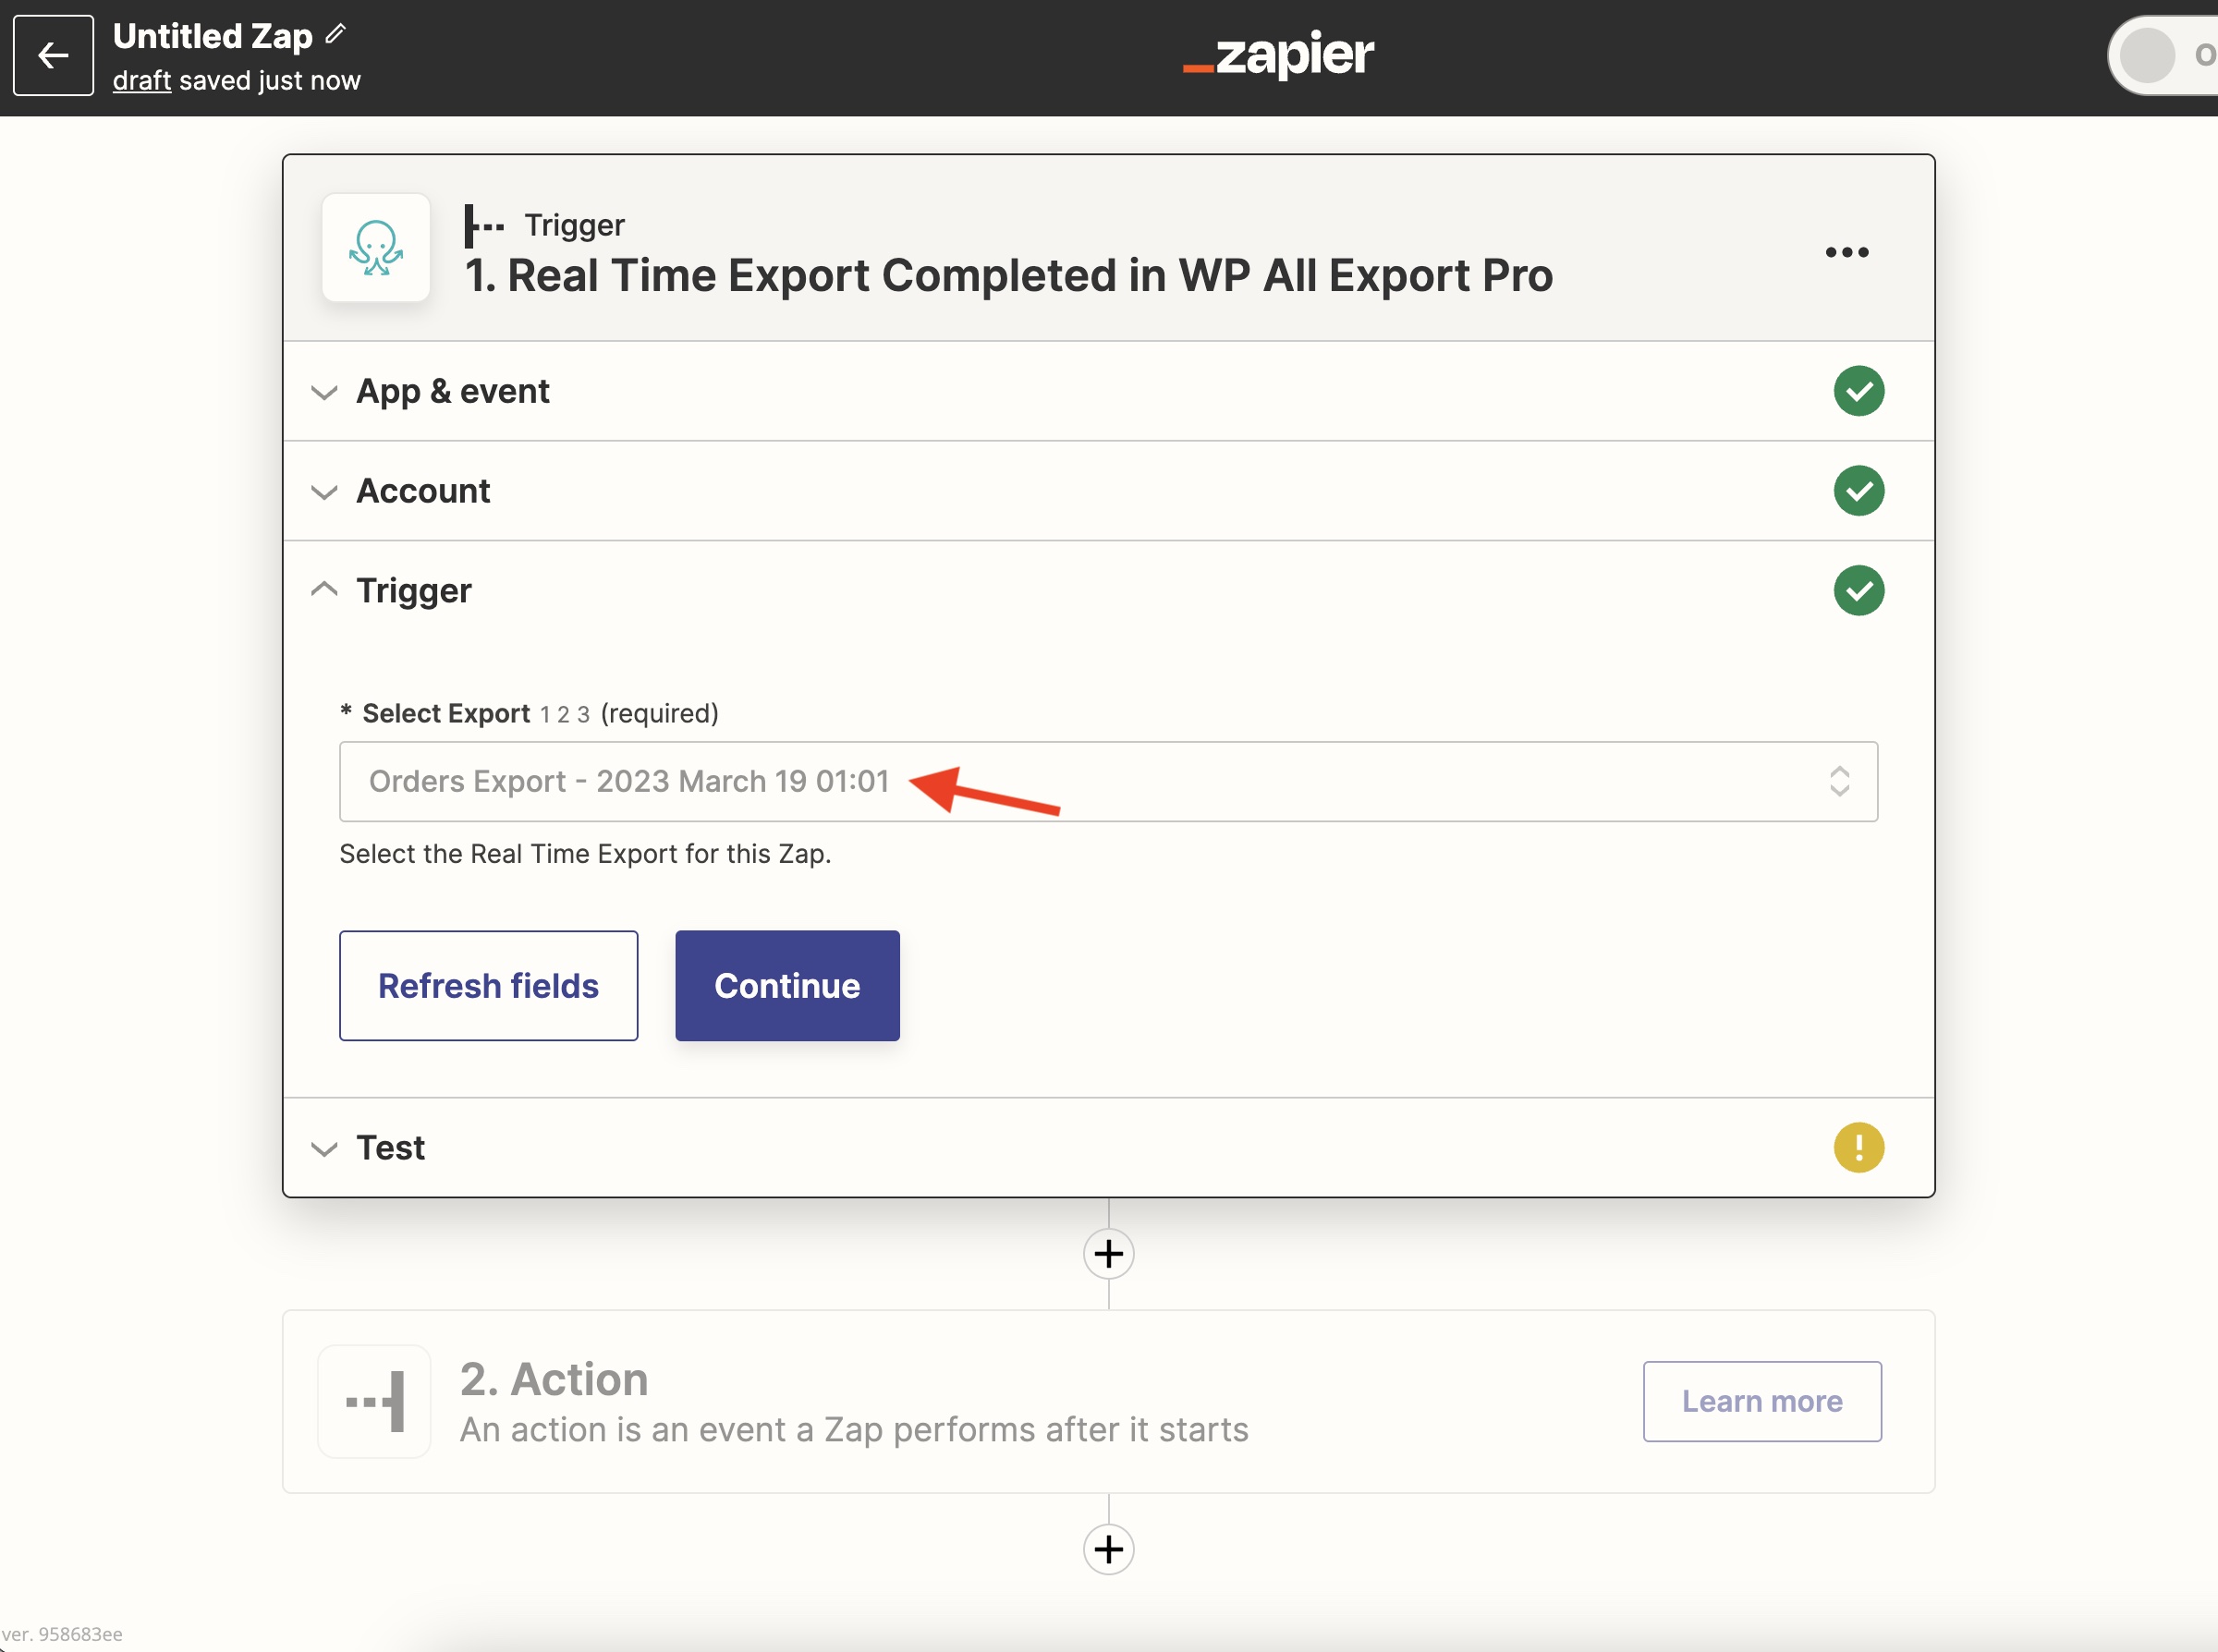
Trigger
Finally, you need to select the real-time export that will trigger the Zap. In this case, choose our recently created orders export:
Test
In this part, Zapier lets you test the Zap to make sure that everything works as expected:
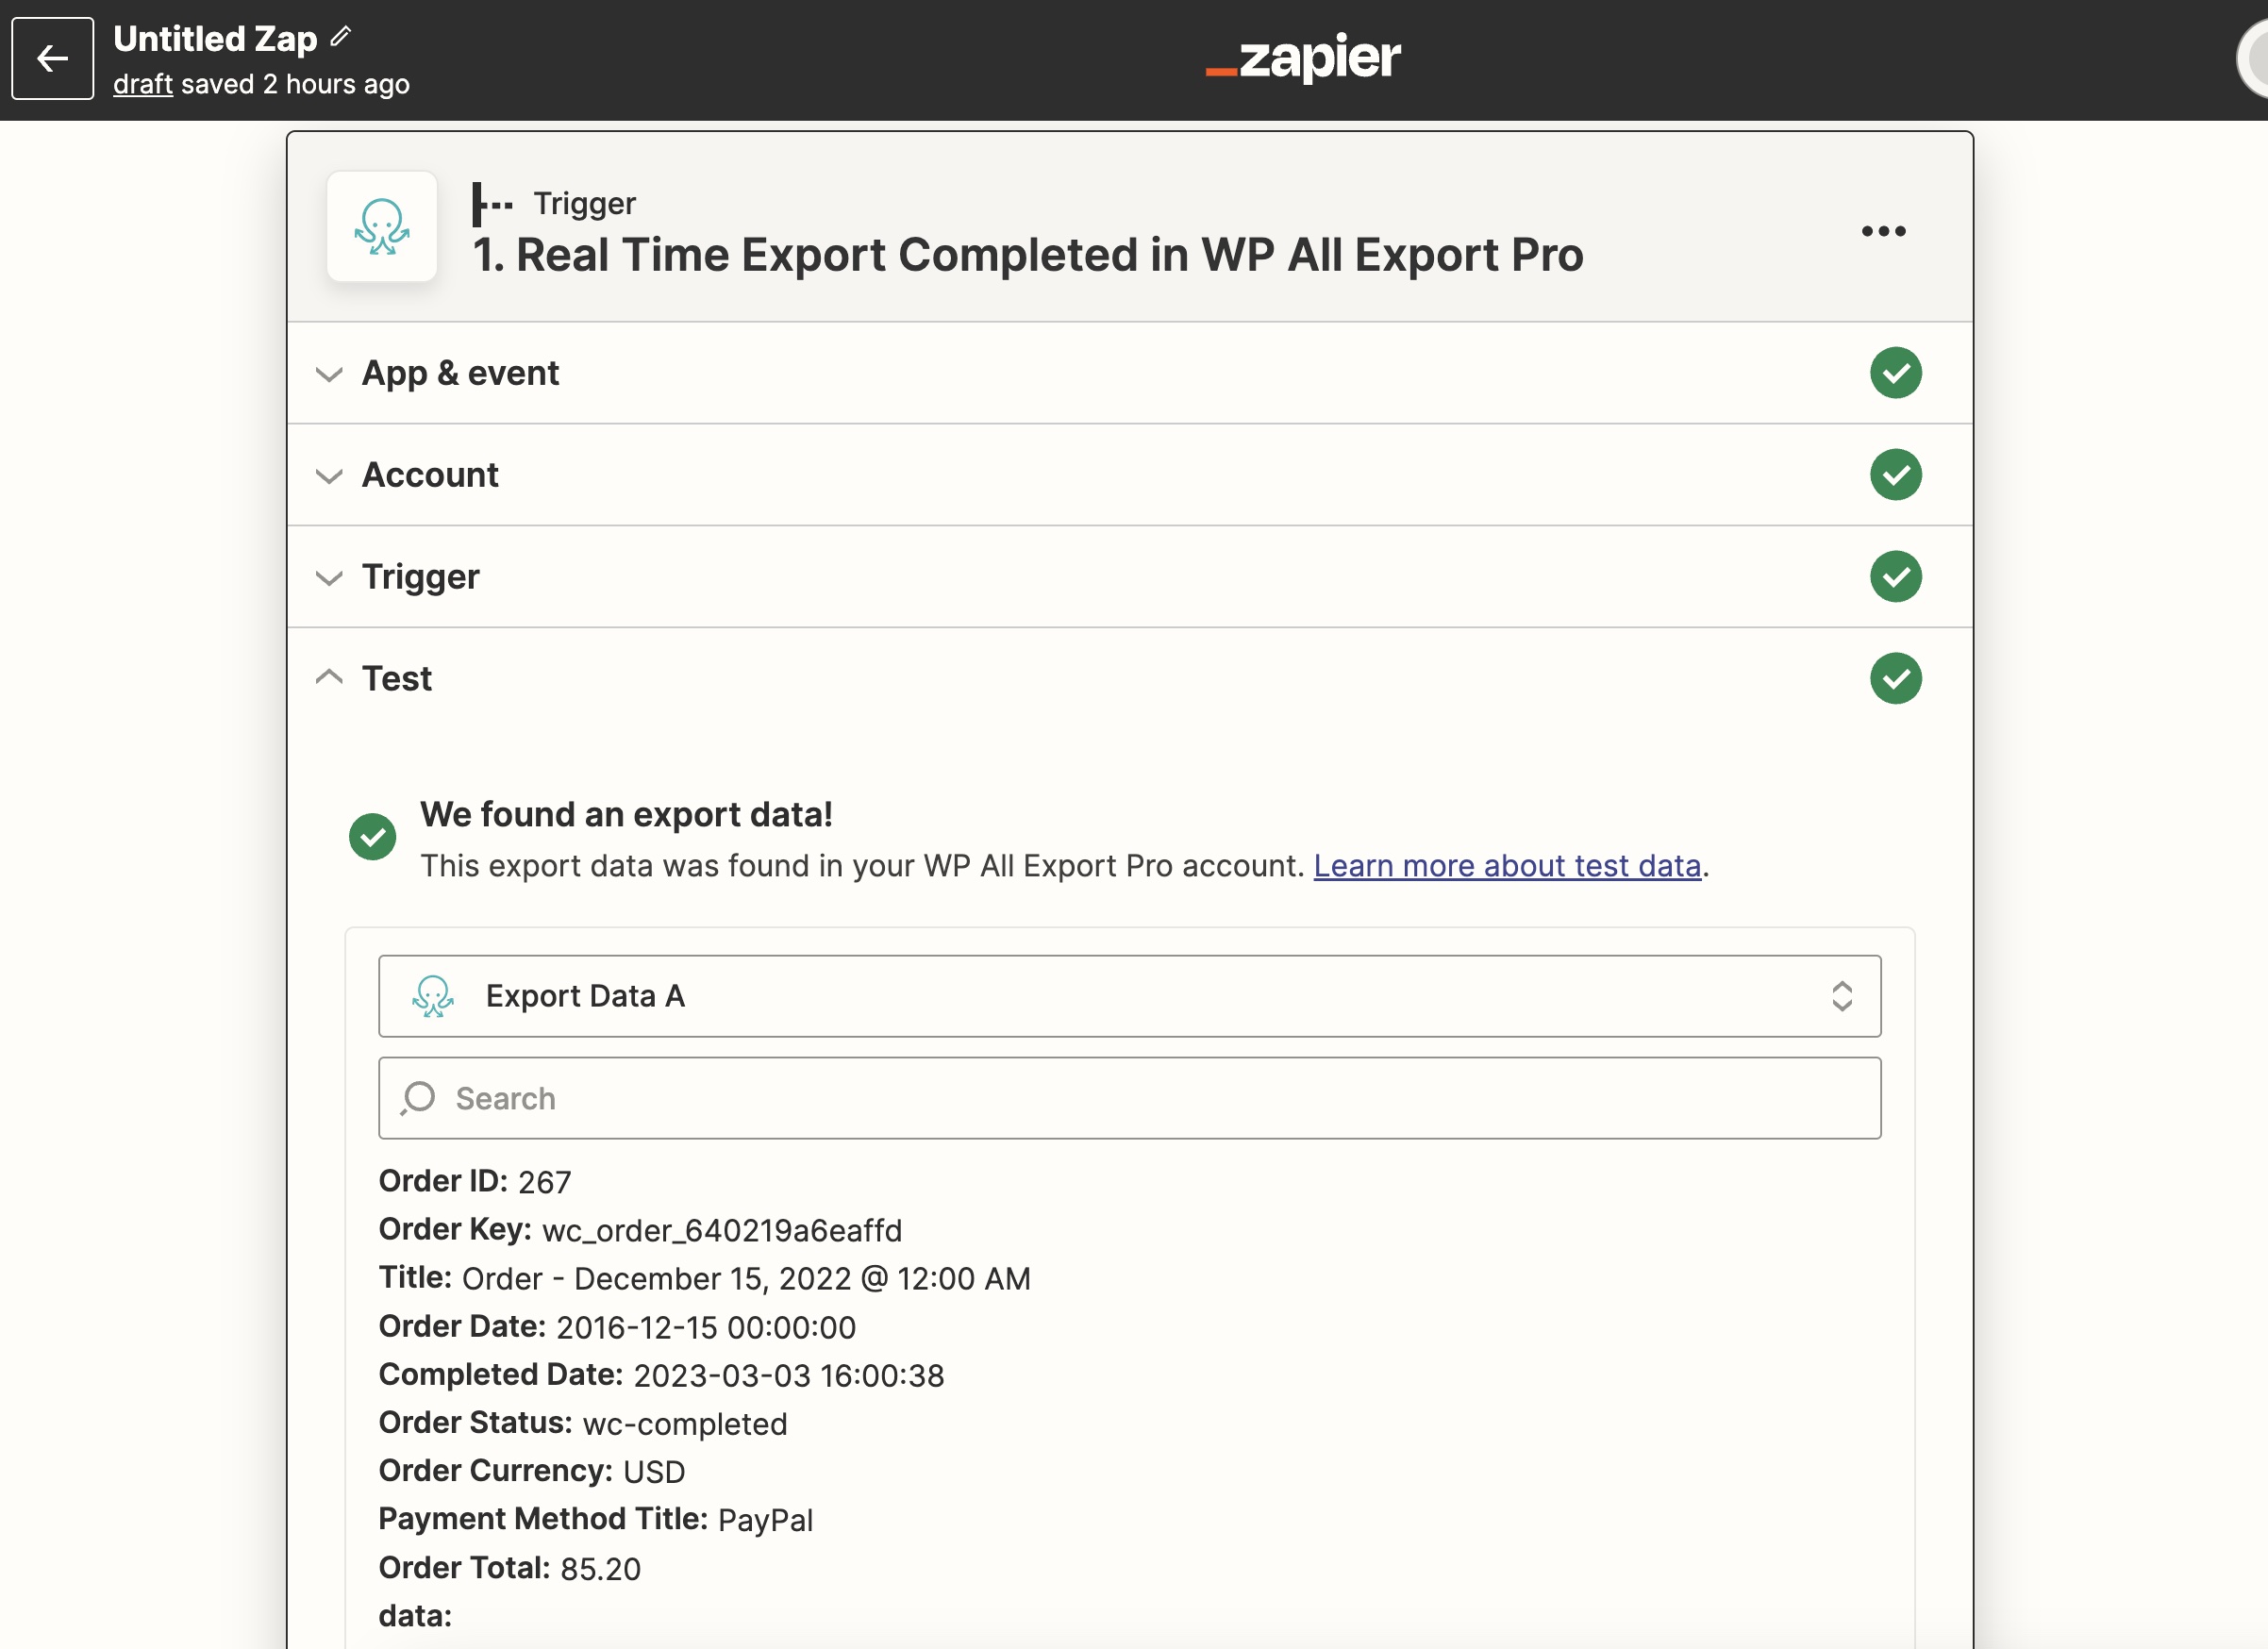
Once the trigger has been completed, you can move on to the action.
Step 3: Create an Action in Zapier
The action will apply to the recently exported data obtained via WP All Export. Since we're handling WooCommerce orders, let's say that we want each new completed order to become a new row in an existing Google Sheet.
To do this, we connect to Google Sheets and use an action to add a new row. Zapier is effectively the middleman between WP All Export and Google Sheets.
While the specific fields and setup may change, you can apply these instructions to other actions and applications such as Google Drive, Email, etc.
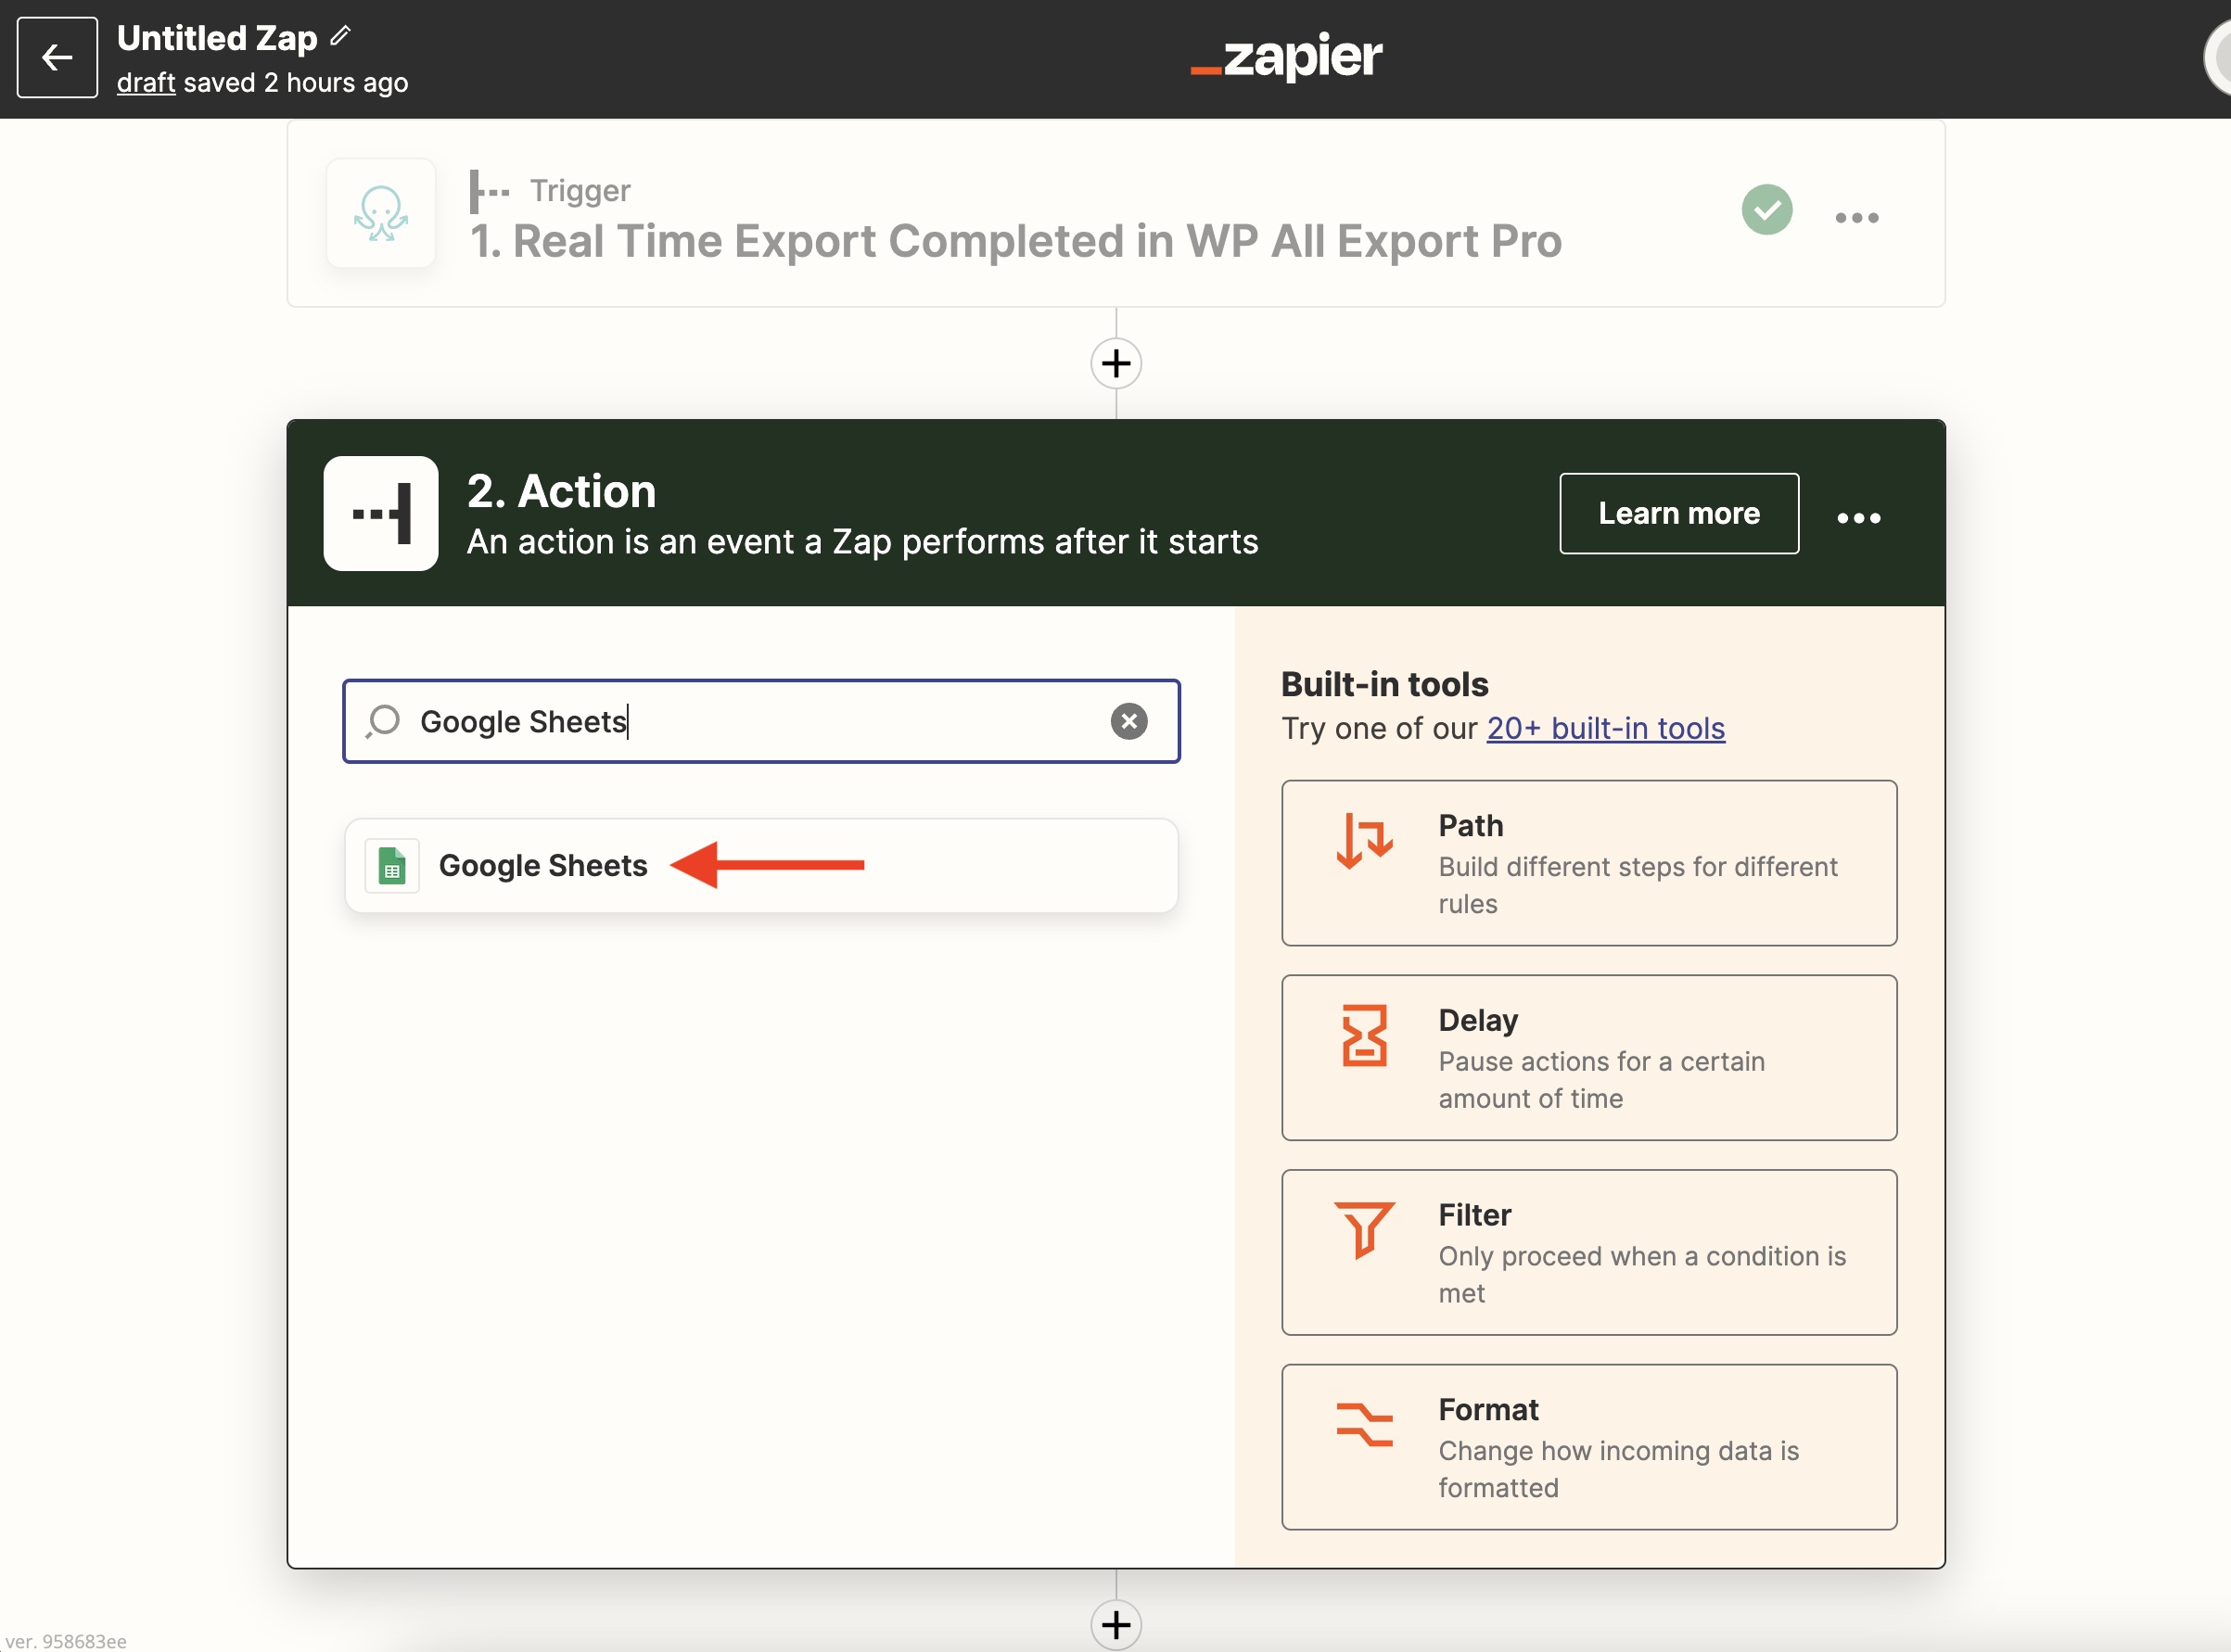
App
We begin by defining the action that will be performed after the Zap starts. For the app portion of this, we choose Google Sheets.
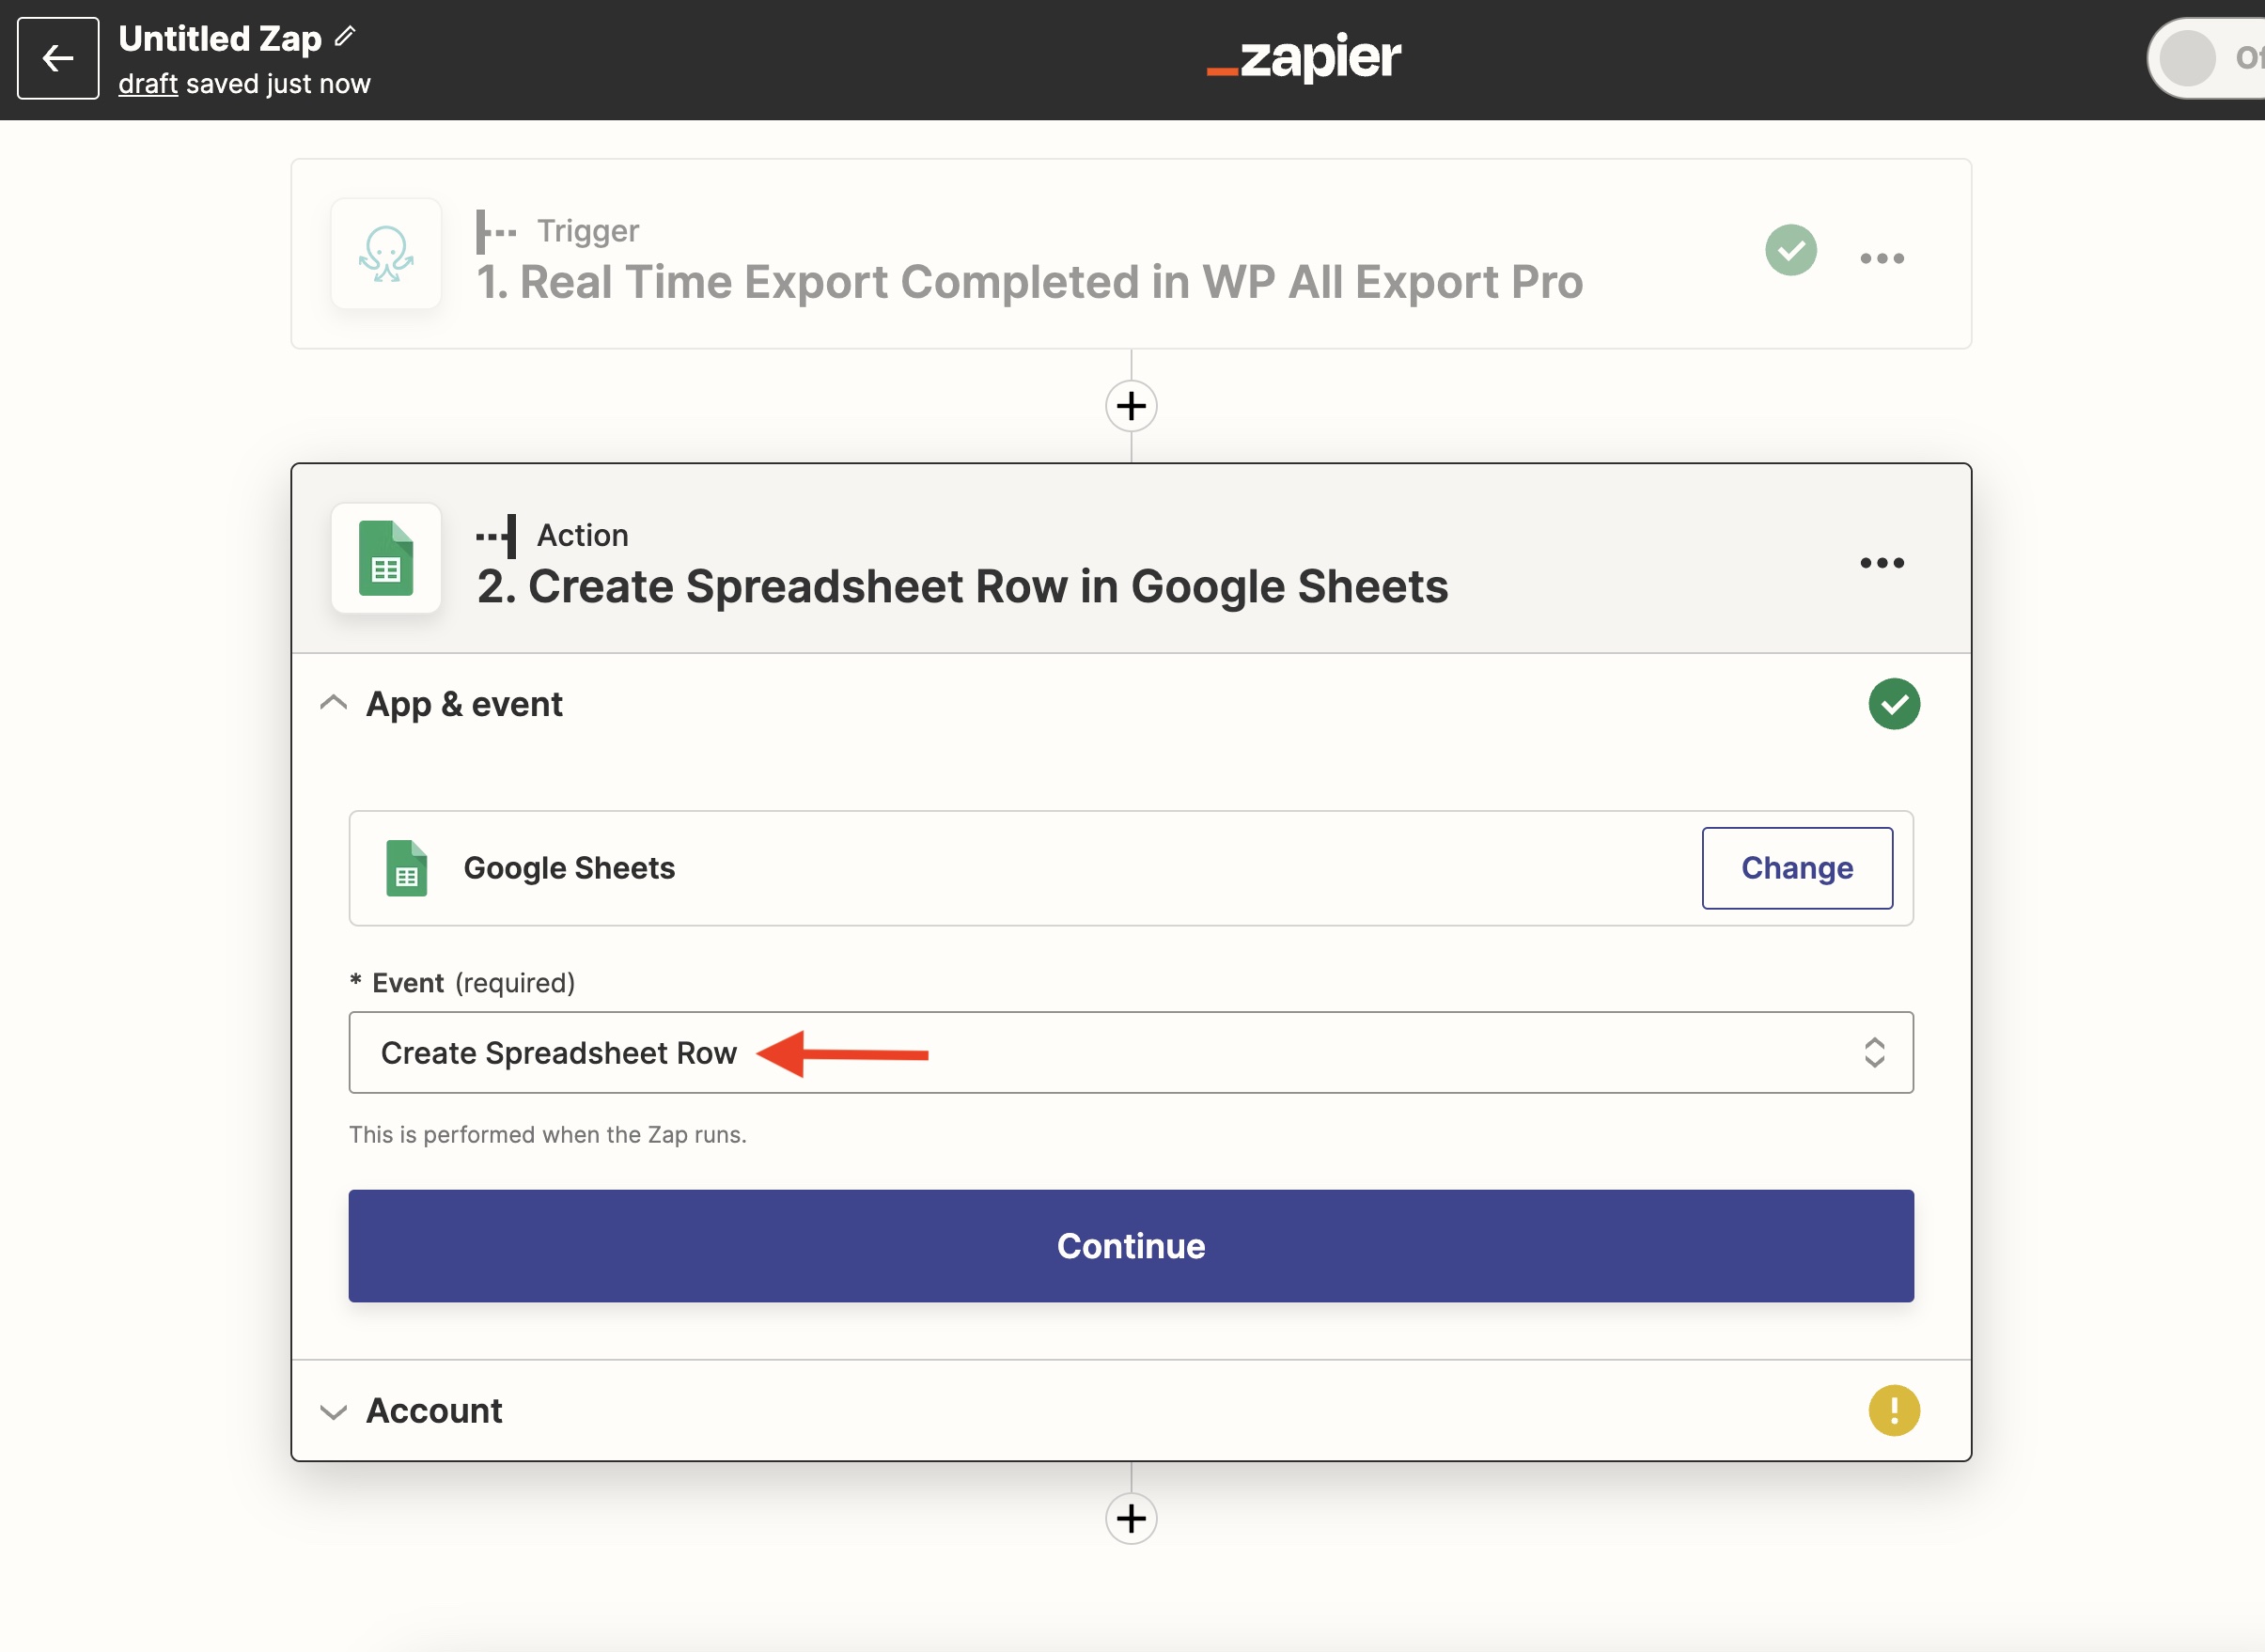
Event
For the event, we choose to Create Spreadsheet Row. This is performed when the Zap runs.
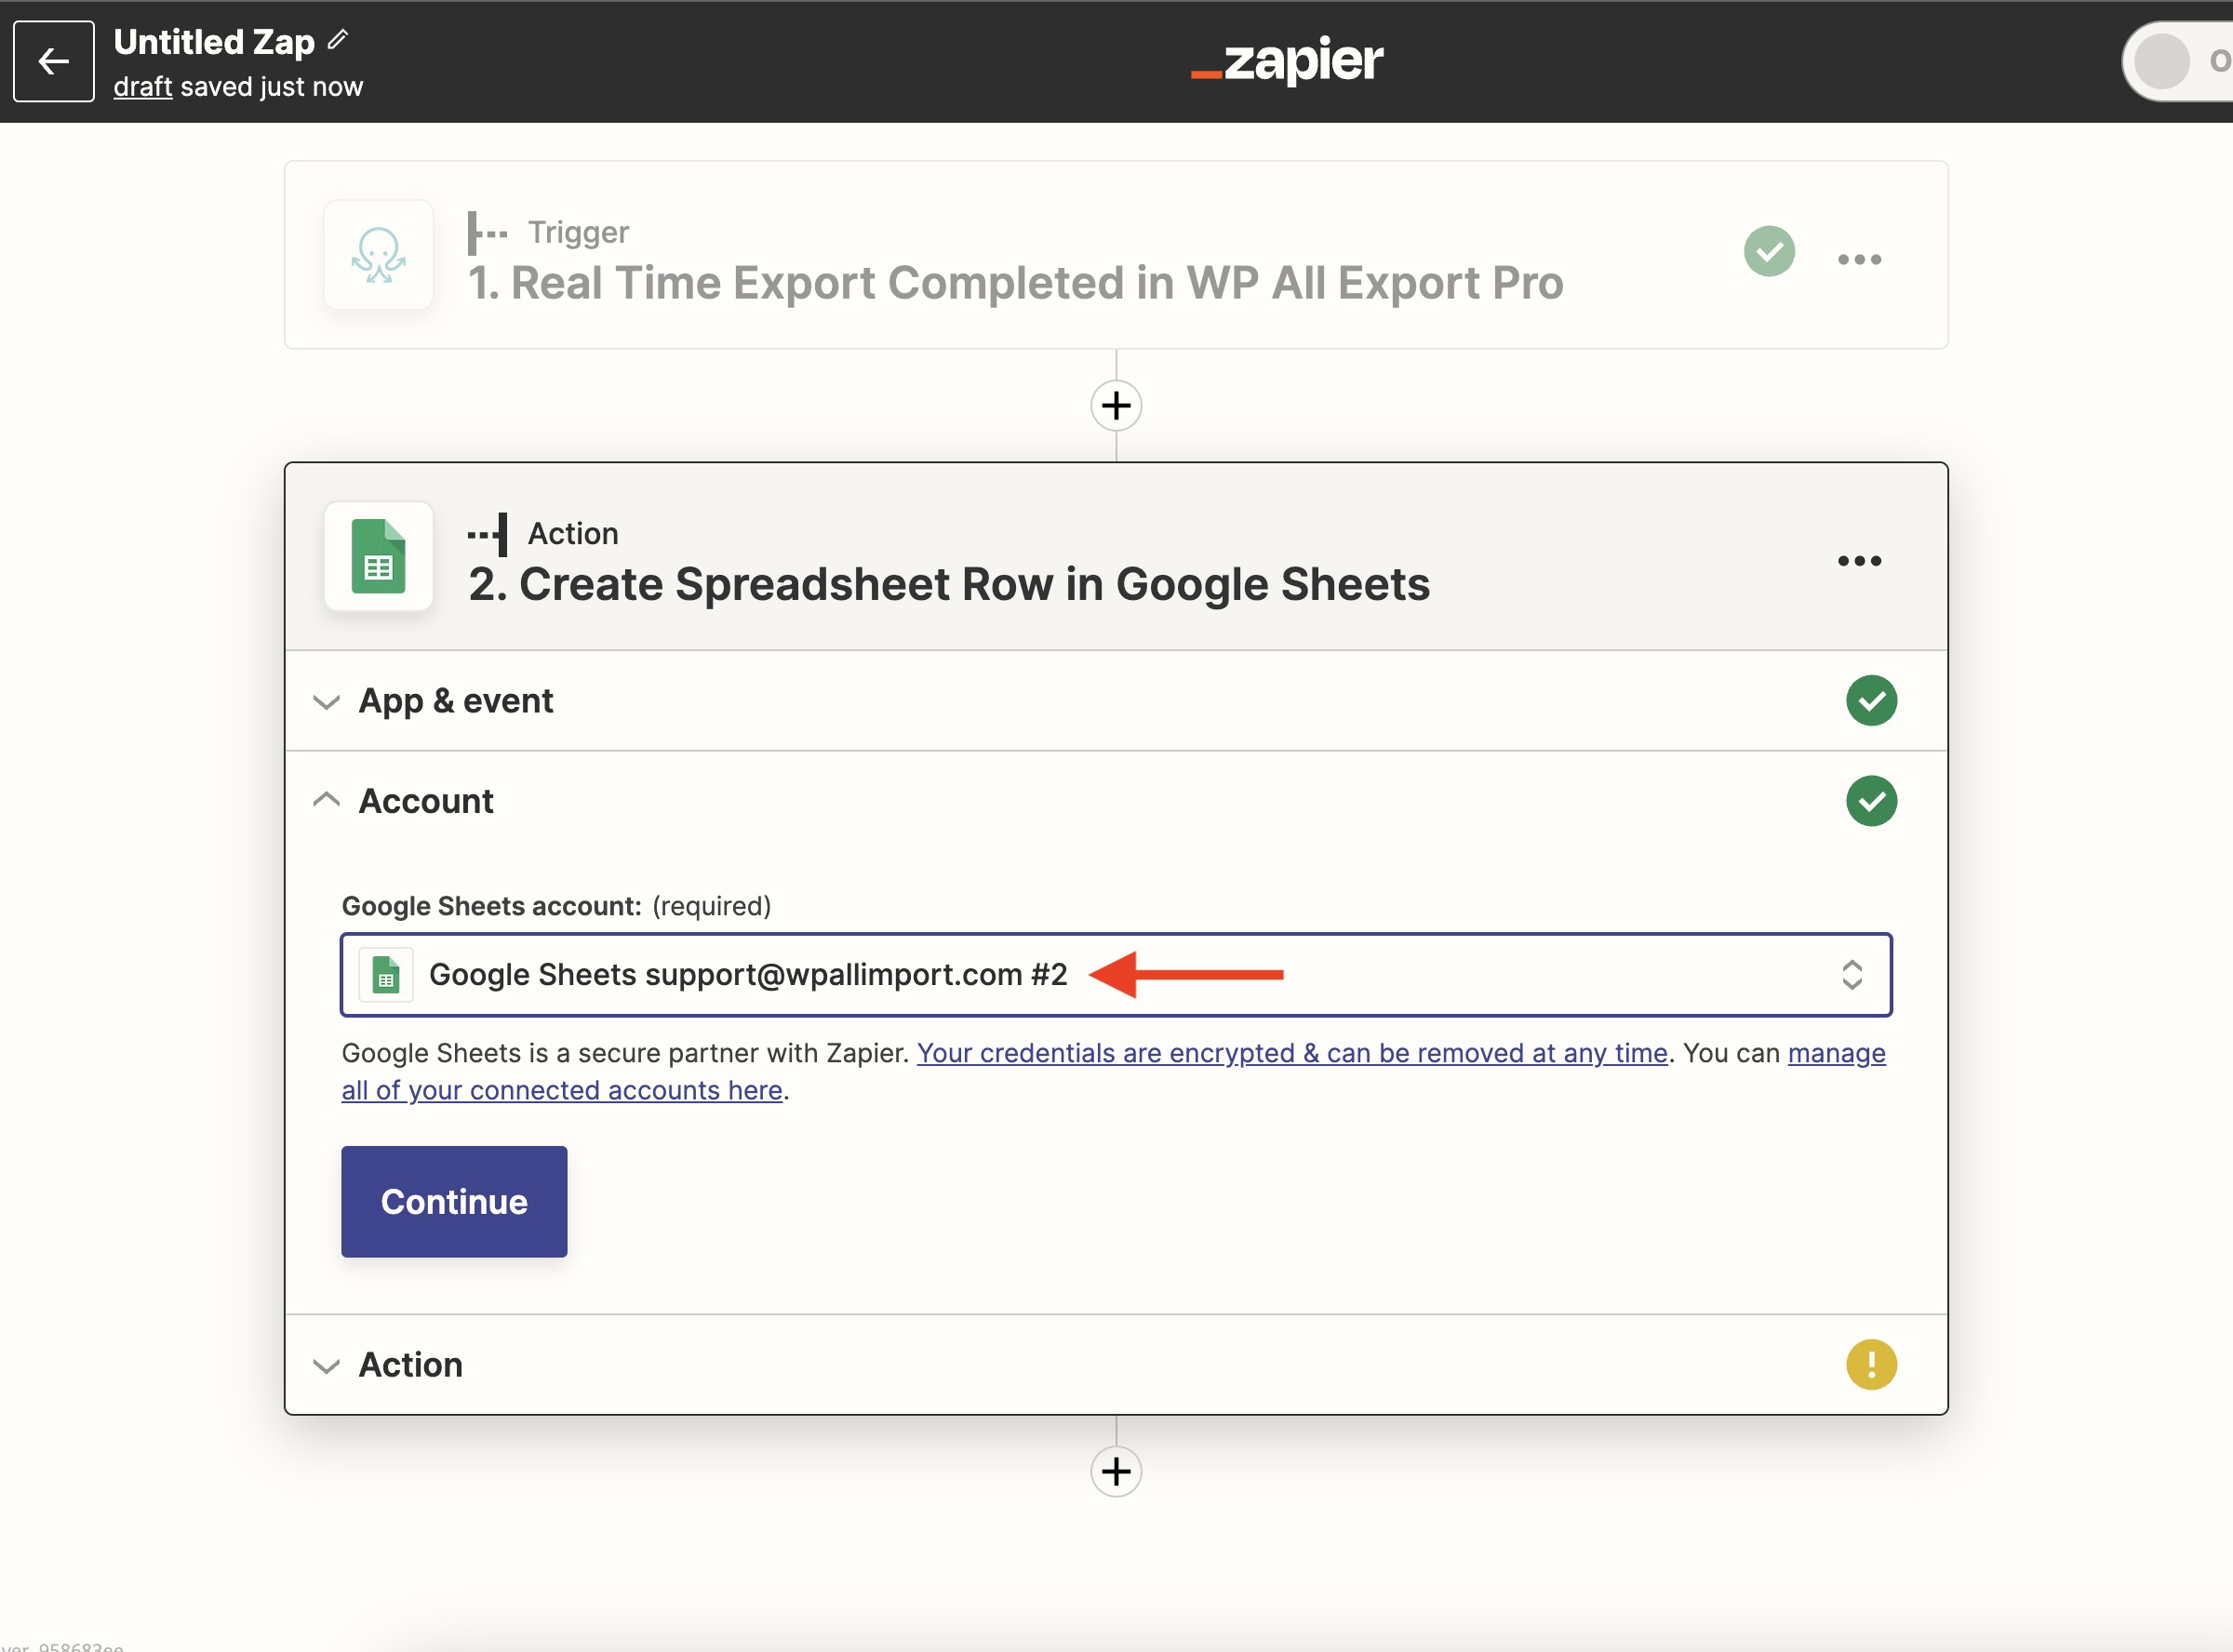
Account
Next, select the Google Sheets account to use:
Action
Here, we define where and how to import the data. We choose the drive where the sheet is stored, the spreadsheet itself, and the worksheet within the spreadsheet where the data will be added.
This spreadsheet should exist beforehand, so if you haven't created it yet, go ahead and make the desired spreadsheet, including headers. You can save the Zap and then continue editing it later.
After choosing your spreadsheet, the Zapier interface will update to show the input fields based on the headers. This is where you input the data from the export:
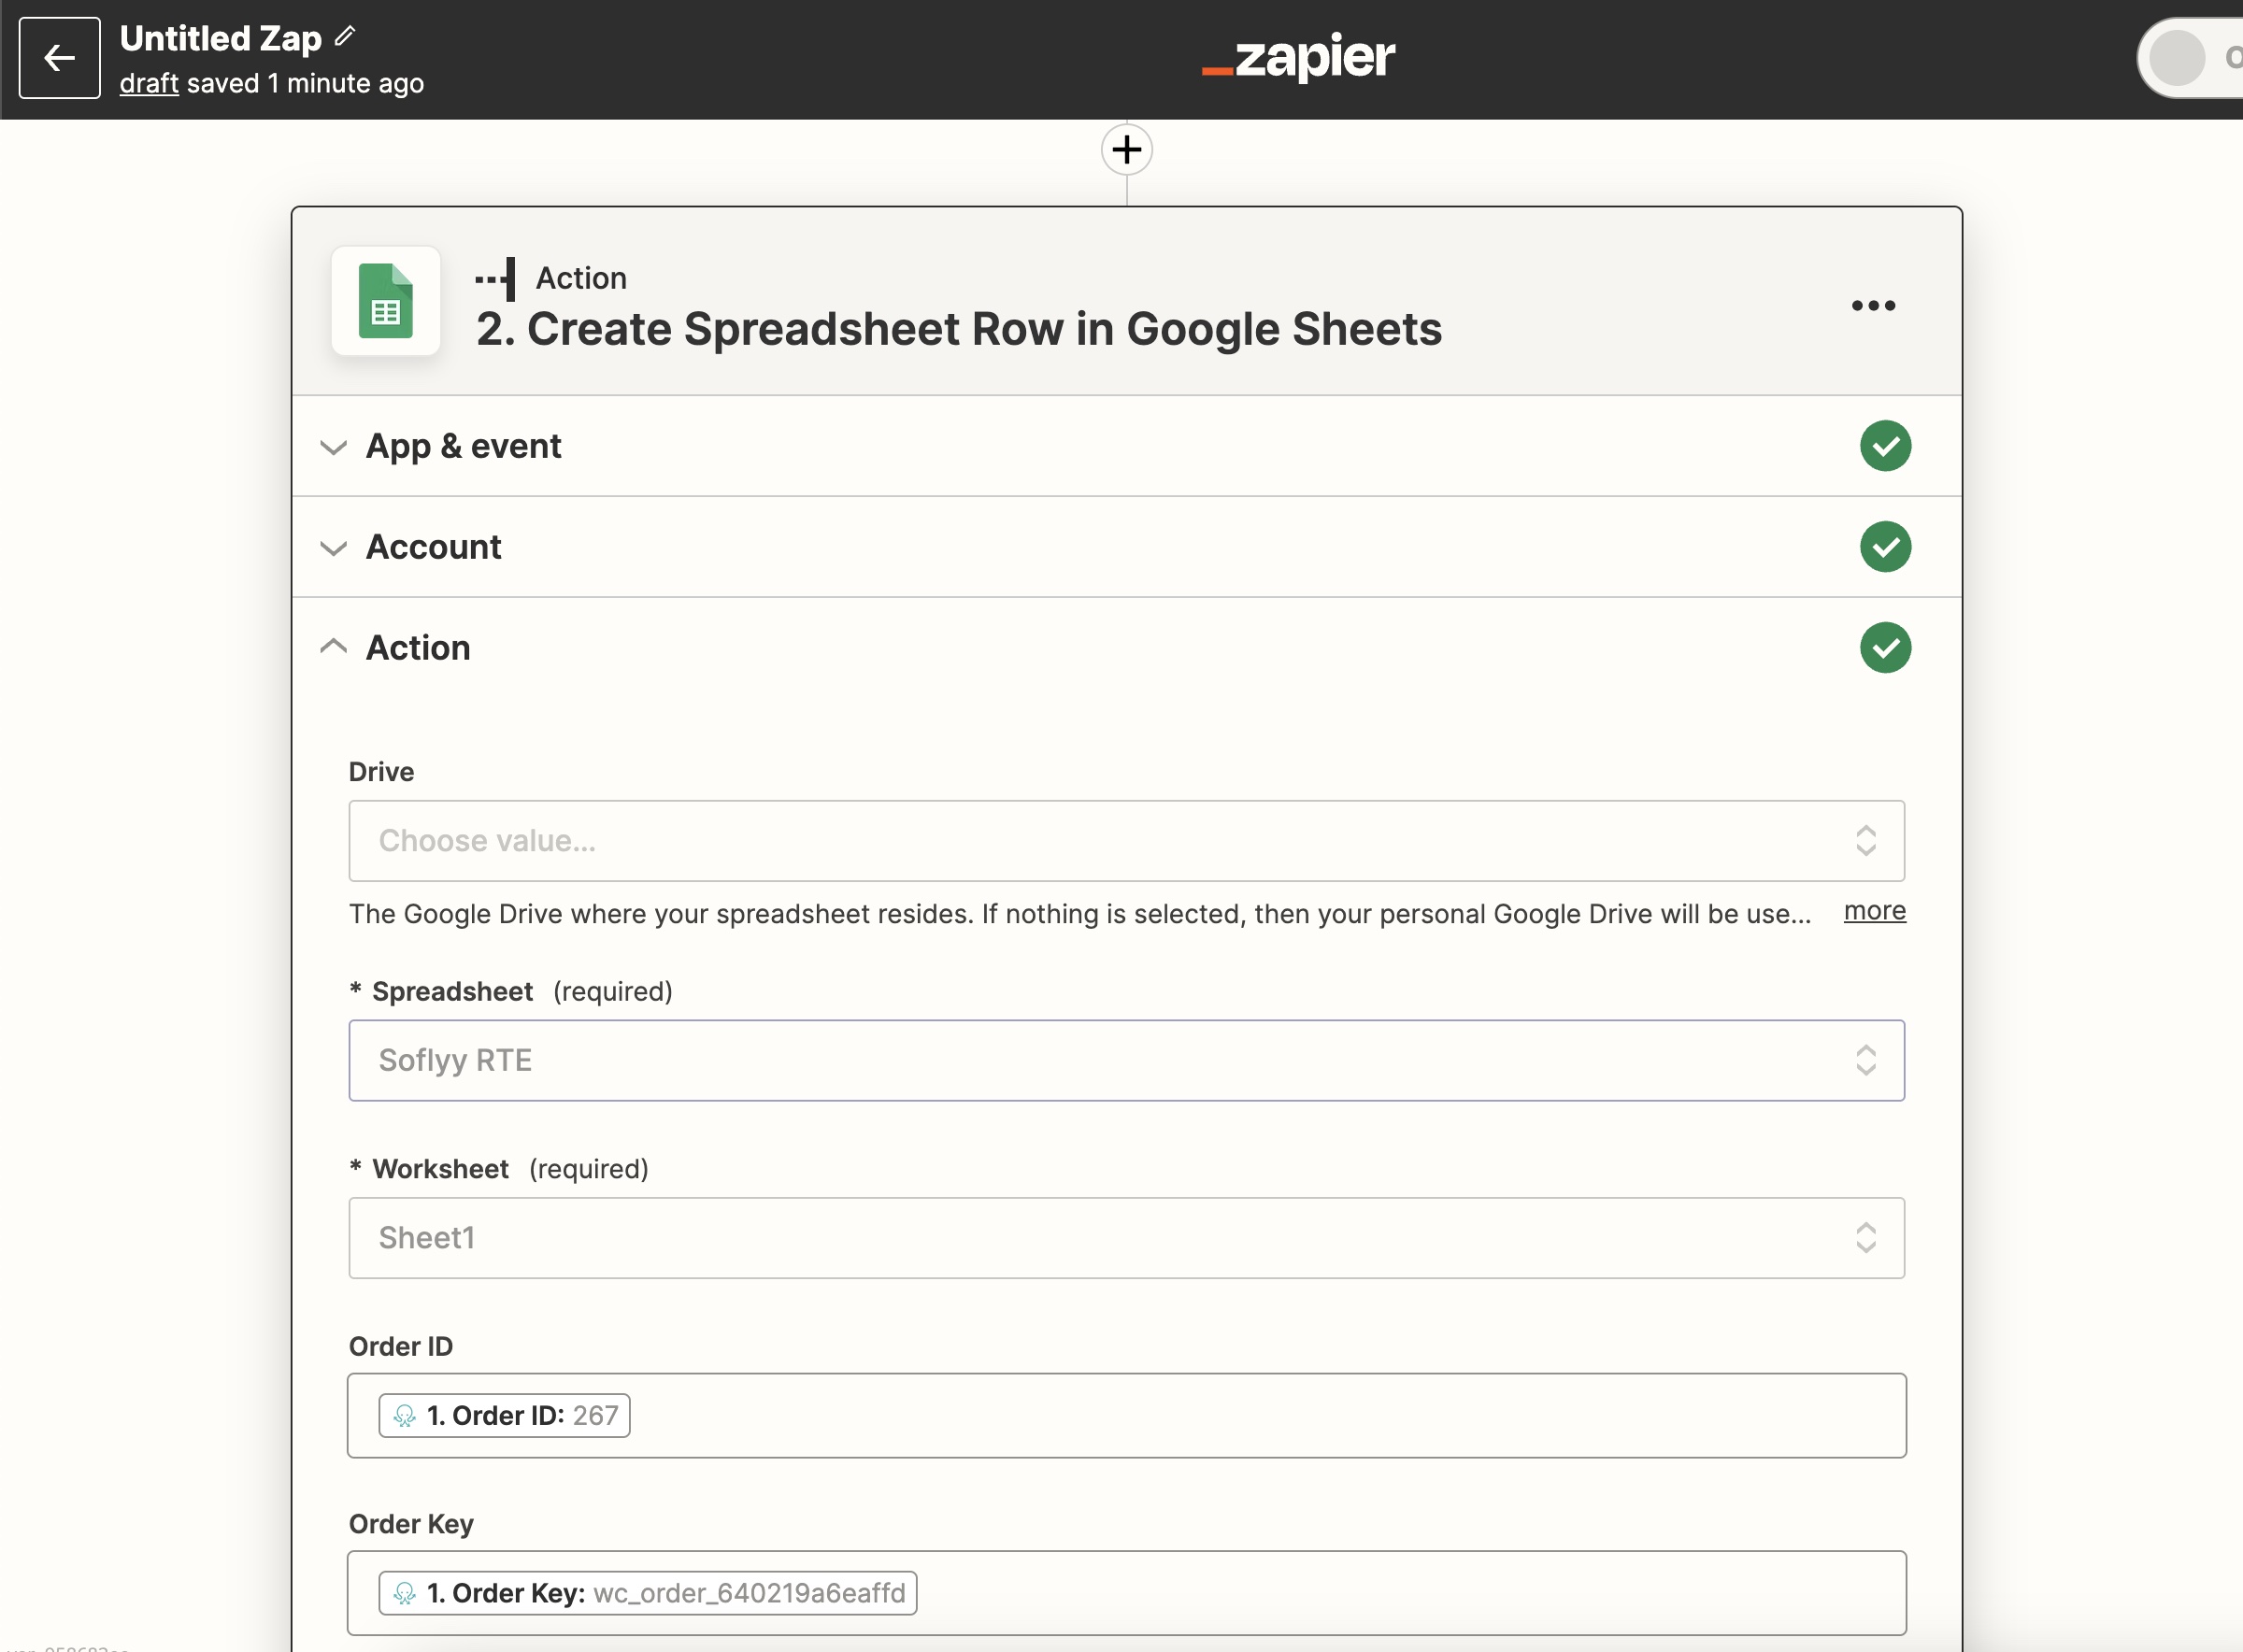
You can search the data from a list or use the search field to locate the exported data quickly. Once you've set up all fields, proceed to the test.
Test
Here, we test the action and make sure that the data is correctly added to the Google Sheet. After running the test, you can check the sheet itself.
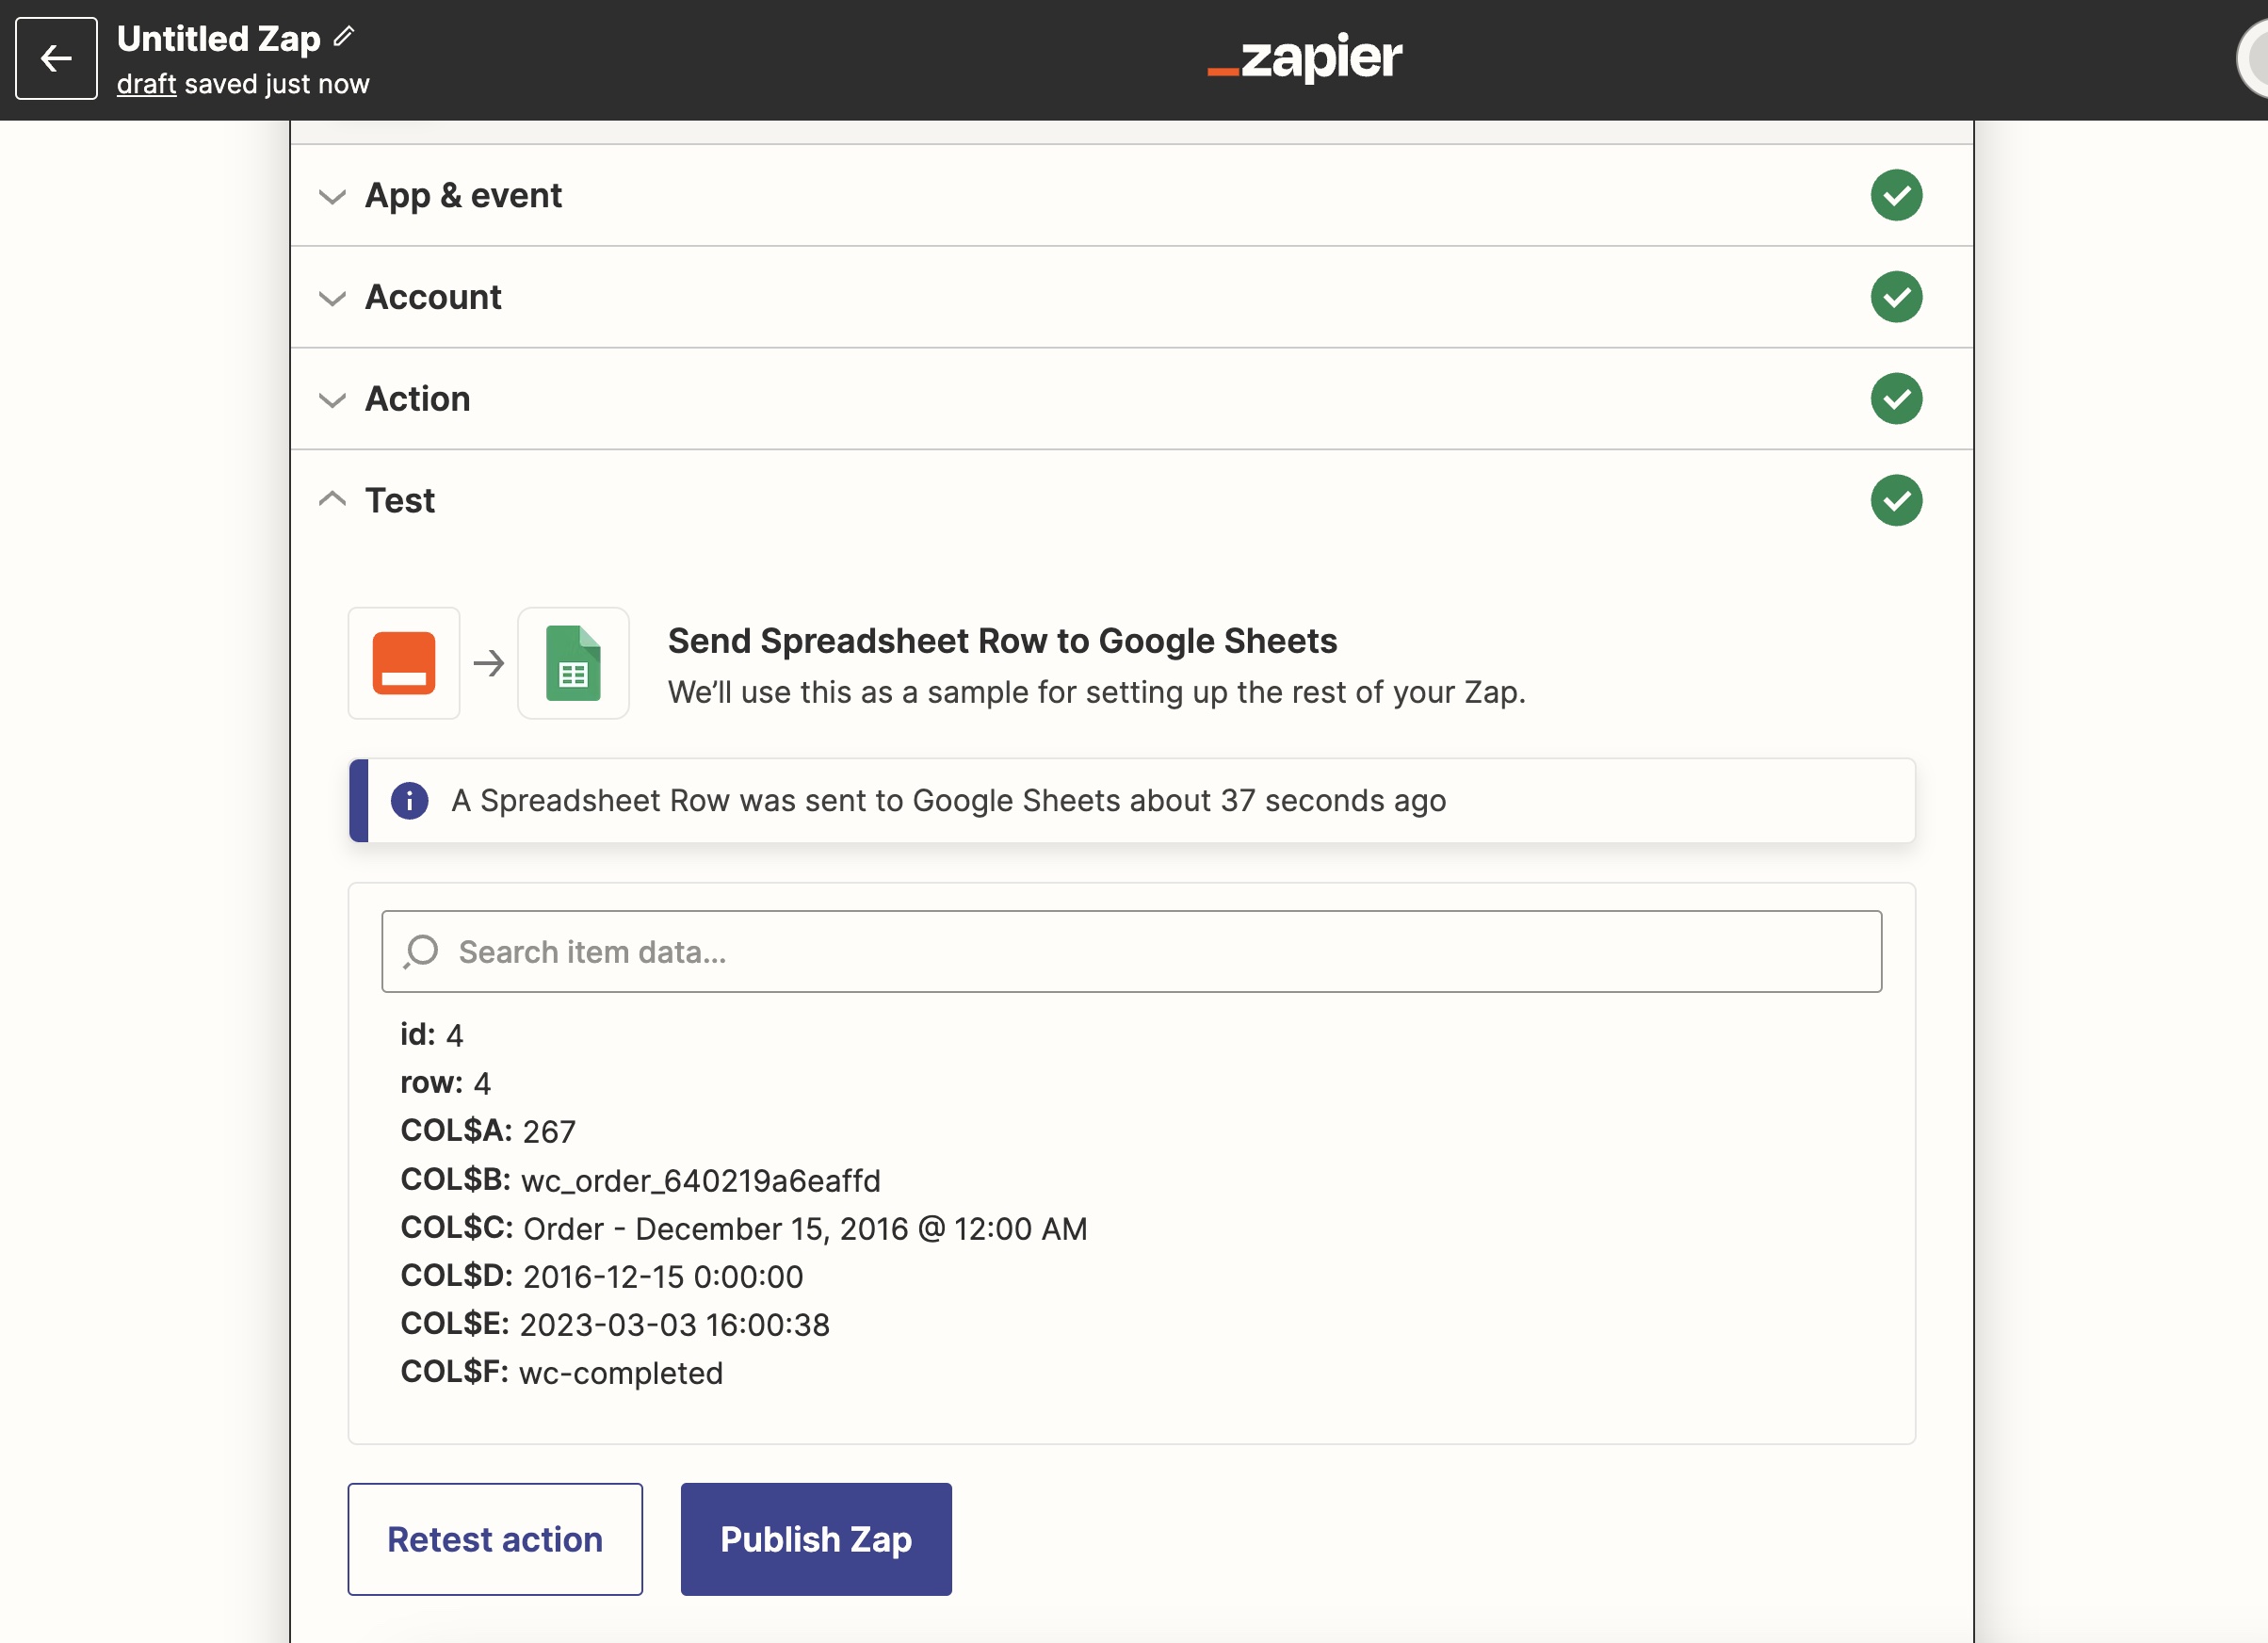
Step 4: Publish Your Newly Created Zap
When you're finished setting up the trigger and action, click the Publish Zap button (see above). That's it! You have connected Zapier to WooCommerce, allowing you to send each new exported WooCommerce order to a Google Sheet.
After the Zap is published, it will perform the designated action every time the real-time export runs on your site — specifically, every time an order is completed for a customer.
Export WordPress to any CSV, XML, or Excel
- Any theme or plugin
- Images & galleries
- Custom fields
- Zapier integration
- Woo, ACF, Meta Box, JetEngine
Integrate Zapier and WooCommerce — Advanced Topics
Stop/Pause Processing the Zap or Real-Time Export
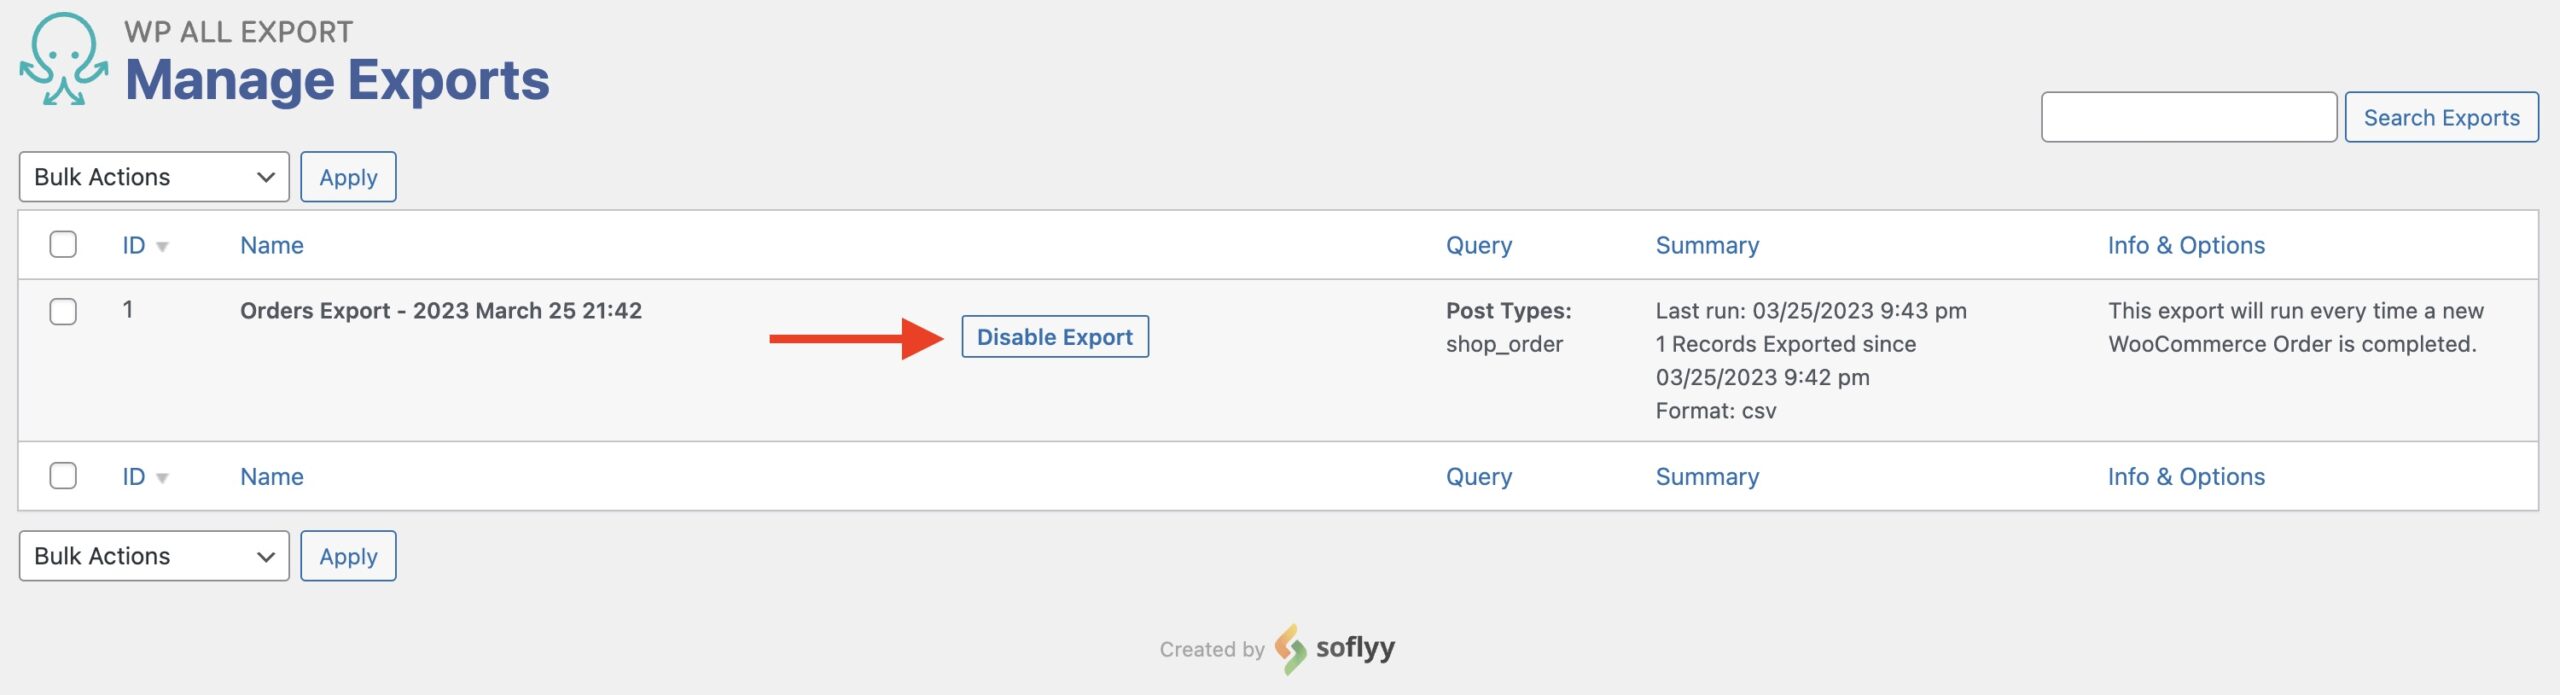
To stop or pause the Zap via Zapier, use the On/Off button.

Alternatively, you can stop the real-time export via All Export › Manage Exports. Locate your real-time export and hit Disable Export.
Export Orders When Status Is Processing Instead of Completed
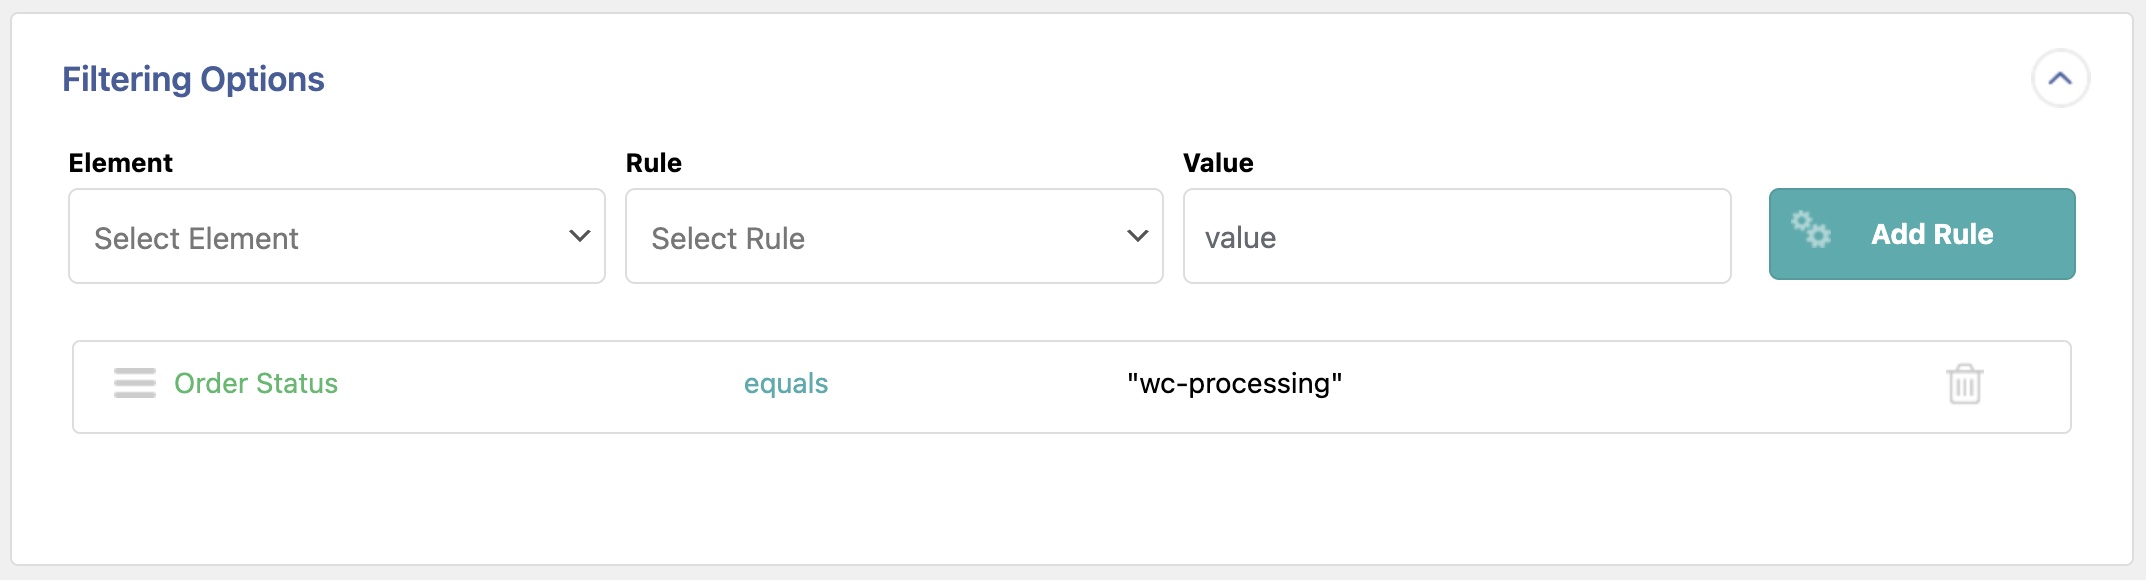
The real-time export for WooCommerce orders will export each order when it is completed on your site. However, you may need for the export to be fired for a different order status. For example, say you need to export orders when they reach the "processing" order status. To do this, you must perform two actions:
1. Add a filter to the real-time orders export so that it only exports orders with a "wc-processing" status:
2. Add the following code to your theme's child functions.php file or into a snippets plugin:
add_action('woocommerce_order_status_processing', function($order_id){
	// Don't try to call the WP All Export defined function if it's not available.
	if(function_exists('pmxe_woocommerce_order_status_completed')){
		// Execute export using provided order ID.
		pmxe_woocommerce_order_status_completed($order_id);
	}
});
Execute Real-Time Order Export As Soon As a New Order Is Added
The following snippet lets you run the real-time order export as soon as a new order is placed on your site rather than when the order is completed.
add_action('woocommerce_checkout_order_processed', function($order_id){
     // Don't try to call the WP All Export defined function if it's not available.
     if(function_exists('pmxe_woocommerce_order_status_completed')){
     // Execute export using provided order ID.
     pmxe_woocommerce_order_status_completed($order_id);
}
});
Changing A Previously Created Zap
You can change the behavior of a Zap that you've already created to change the way that you connect with Zapier and WooCommerce. Navigate to Zapier, locate your Zap in the Zaps menu, then click on its name. Once the Zap loads, click on Edit Zap, and you'll be able to create a new version of the Zap and publish it.
Integrate Zapier and WooCommerce — Frequently Asked Questions
Can I Use a Different App in My Zapier Action?
Yes. You can set up using this workflow but choose a different app. While we don't provide specific instructions on how to set that particular part, you can get an idea from our example. Everything else from the guide should still apply.
How Do I Use Zapier with WordPress
To use Zapier with WordPress, just follow the steps in this guide but use a WordPress post type for the initial export, e.g., Posts, Pages, Users, etc. Otherwise, there is no difference in the use of Zapier with WordPress versus WooCommerce.
Integrate Zapier and WooCommerce — Related Docs
See the step-by-step instructions on how to set up a Real-time export.
Learn how to integrate a Real-Time export with a programmable API.
Learn how to send your exported data to Zapier.
