The default WordPress registration and login forms don't offer any customization options. That means they display the WordPress logo on top and look different from your website’s design. Unless you know how to code, there’s not much you can do to change this.
In this article, we'll show you how to create custom WordPress registration and login forms using ProfilePress — a paid membership plugin that we cover in more detail here.
Why Create Custom WordPress Registration and Login Forms?
In addition to standardizing your website's appearance, there are several other reasons why you should customize your WordPress registration and login forms, including:
- Customizing the authentication flow. You can control the roles assigned to people when they sign up, and where they get redirected after registration or login.
- Gathering more user information. Using custom forms, you can add fields to collect additional information from your users.
- Better security. You can add 2-factor authentication for better user protection, and reCAPTCHA for spam protection.
How to Create Custom Registration and Login Forms Using ProfilePress
The easiest way to create custom WordPress registration and login forms is to use a plugin. There are hundreds of plugins available, but we're not big fans of stuffing websites with one-task plugins. Since the main reason to register users on a website is to deliver something of value to them, we prefer plugins that handle the entire process, of which registration and login are only a part.
One of our recommended plugins for this is ProfilePress, which is an all-in-one tool for selling digital products and memberships on your website. One of its core features is to restrict access to a website's pages based on user roles. This allows you to sell paid memberships to your content, as well as hide content from people who aren't logged in.
But ProfilePress also makes it easy to create custom registration and login forms. It's built for beginners, doesn’t require any technical knowledge, and offers dozens of customization options.
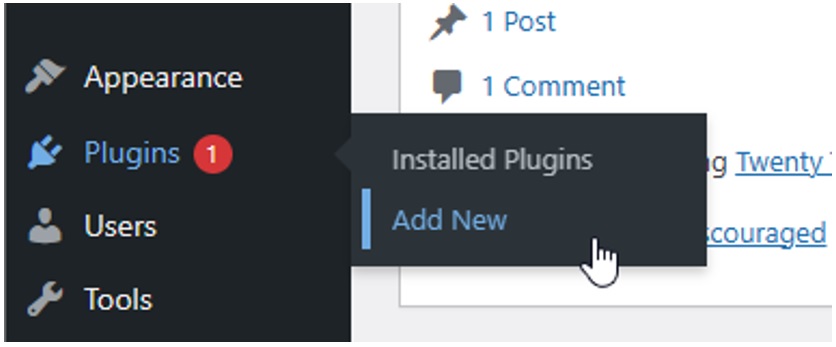
If you don’t have ProfilePress installed on your website, go to Plugins > Add New in your WordPress dashboard.
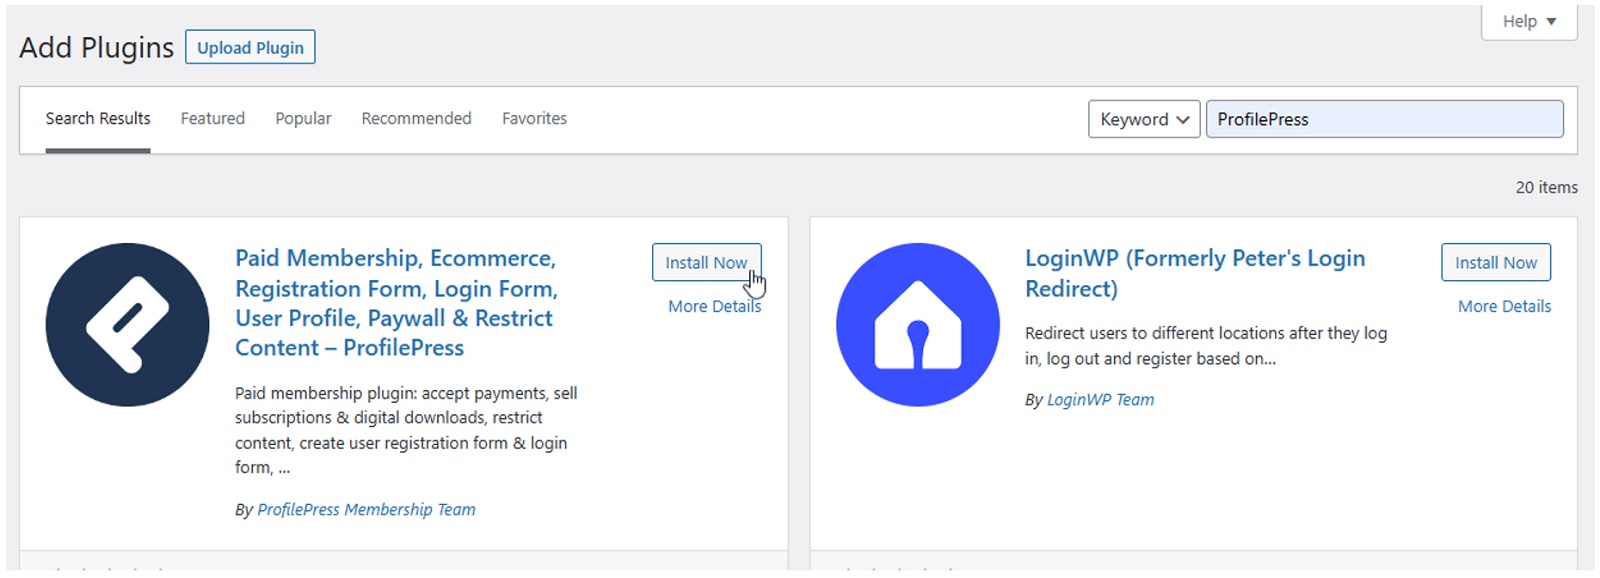
Search for ProfilePress and click its Install Now button:
Once the plugin is installed, click the Activate button:

You’ll now see this notification on top of all your WordPress dashboard pages:

Click the Create Pages button. ProfilePress needs some essential pages, such as the default registration and login pages. Although you can create these pages manually, clicking this button will automatically create and set up these essential pages for you.
Next, visit the Settings section of your WordPress dashboard and check the Anyone can register checkbox:
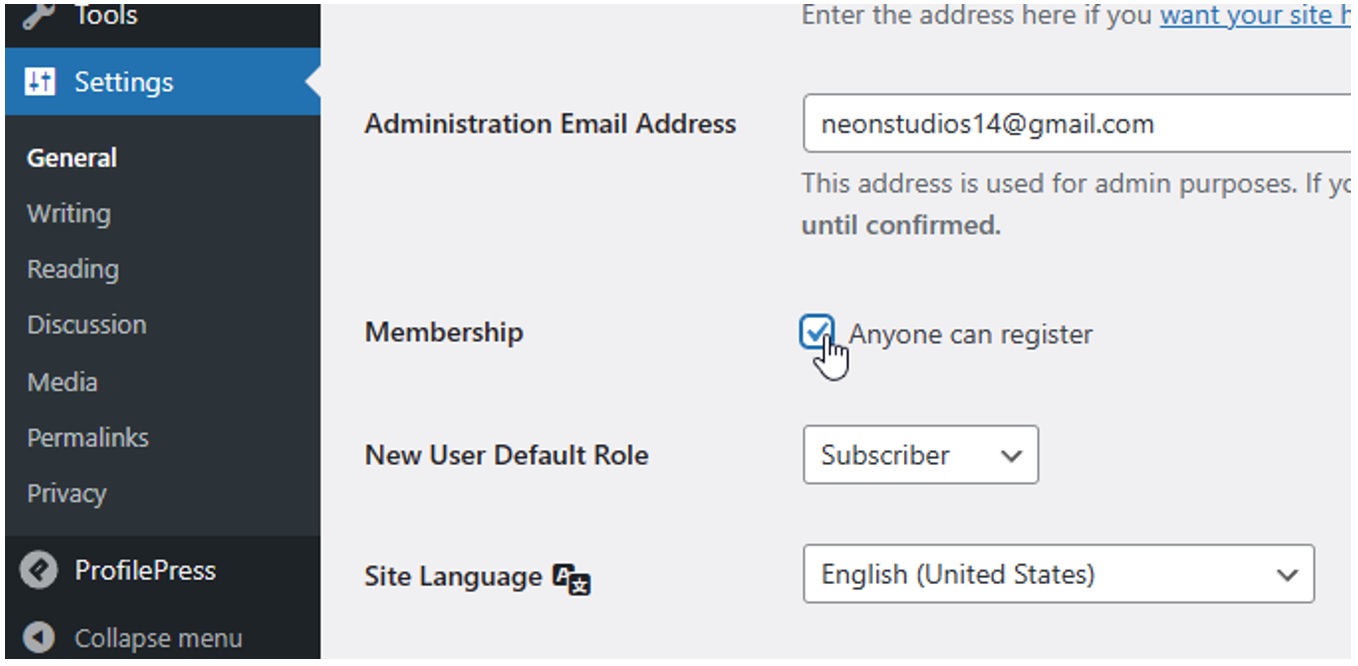
Enabling this option allows your website visitors to create an account on your website. Click the Save Changes button at the bottom of the page to save this change.
If you visit the Pages section of your dashboard, you’ll see a new page called Sign Up:
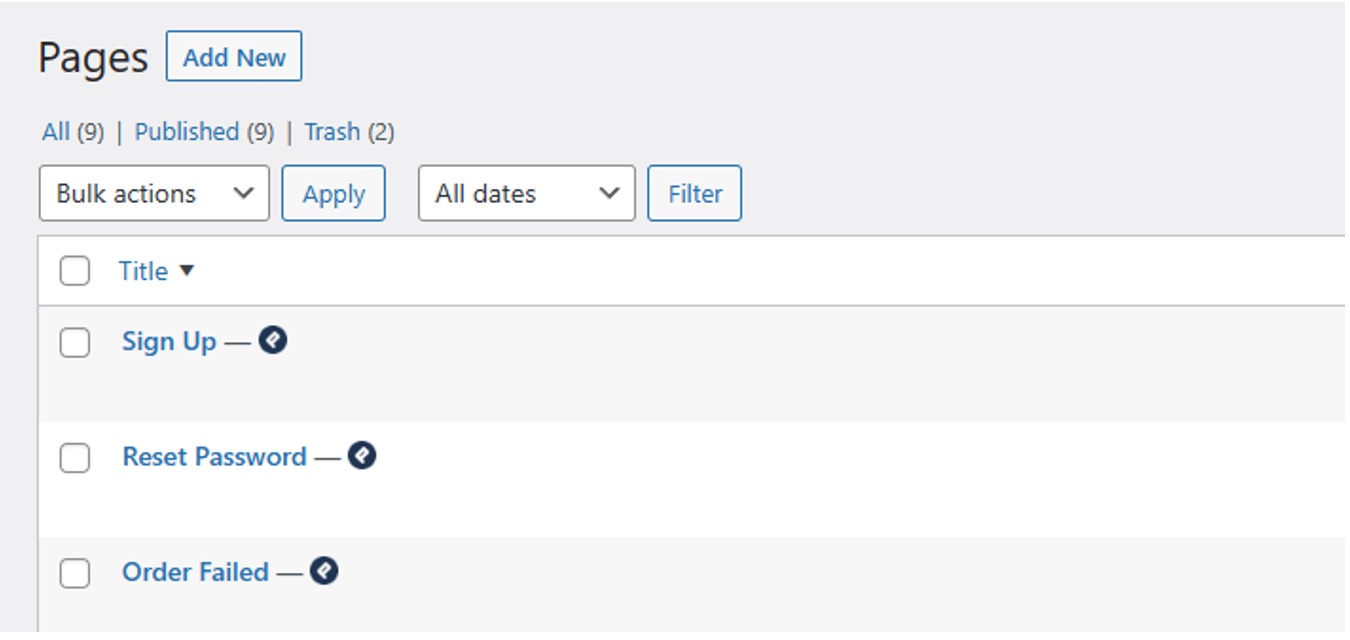
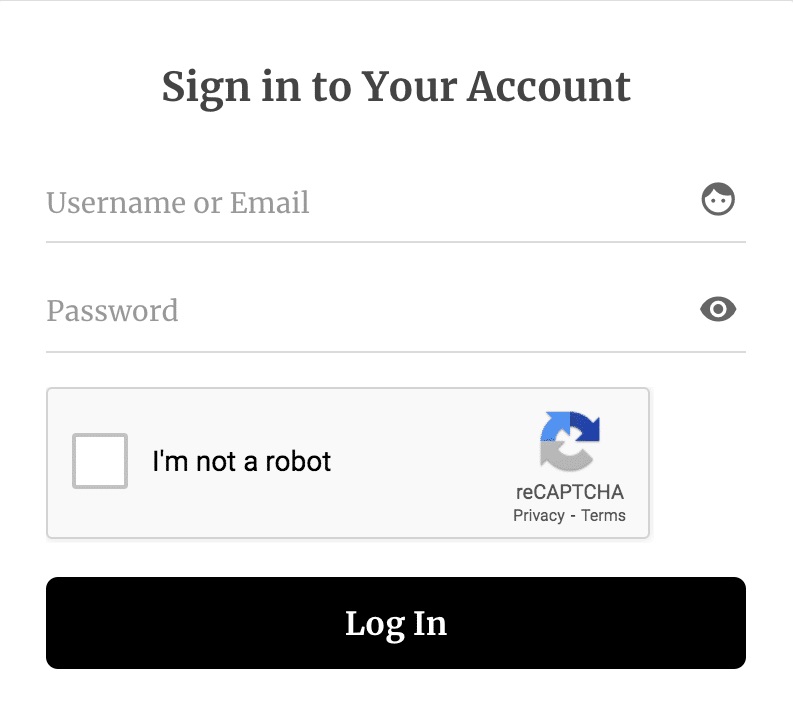
If you view this page in incognito mode, you’ll see something like this:
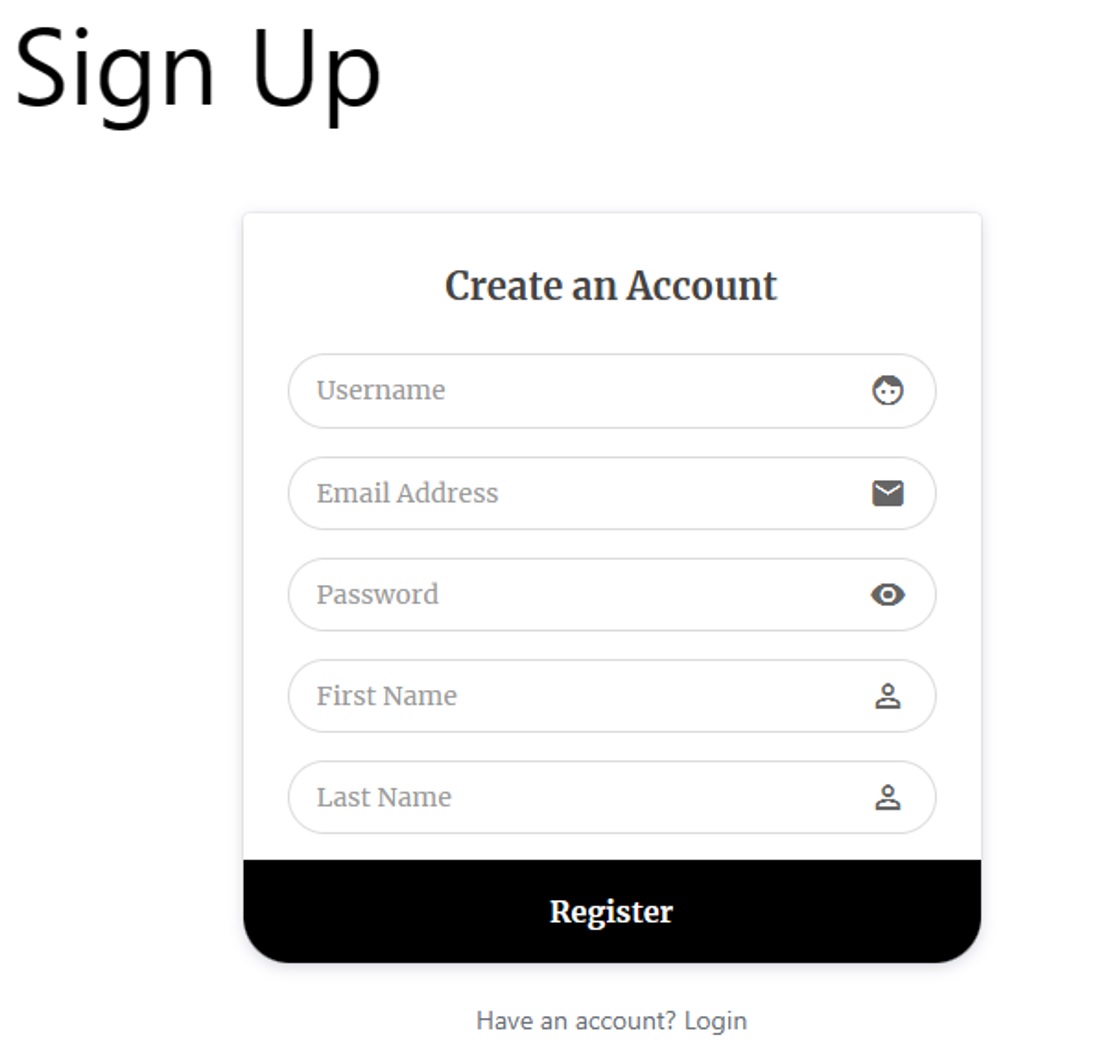
Anyone who visits this page can now create an account on your website.
In the next section, we'll show you how to customize this form.
How To Create a Custom Registration Form
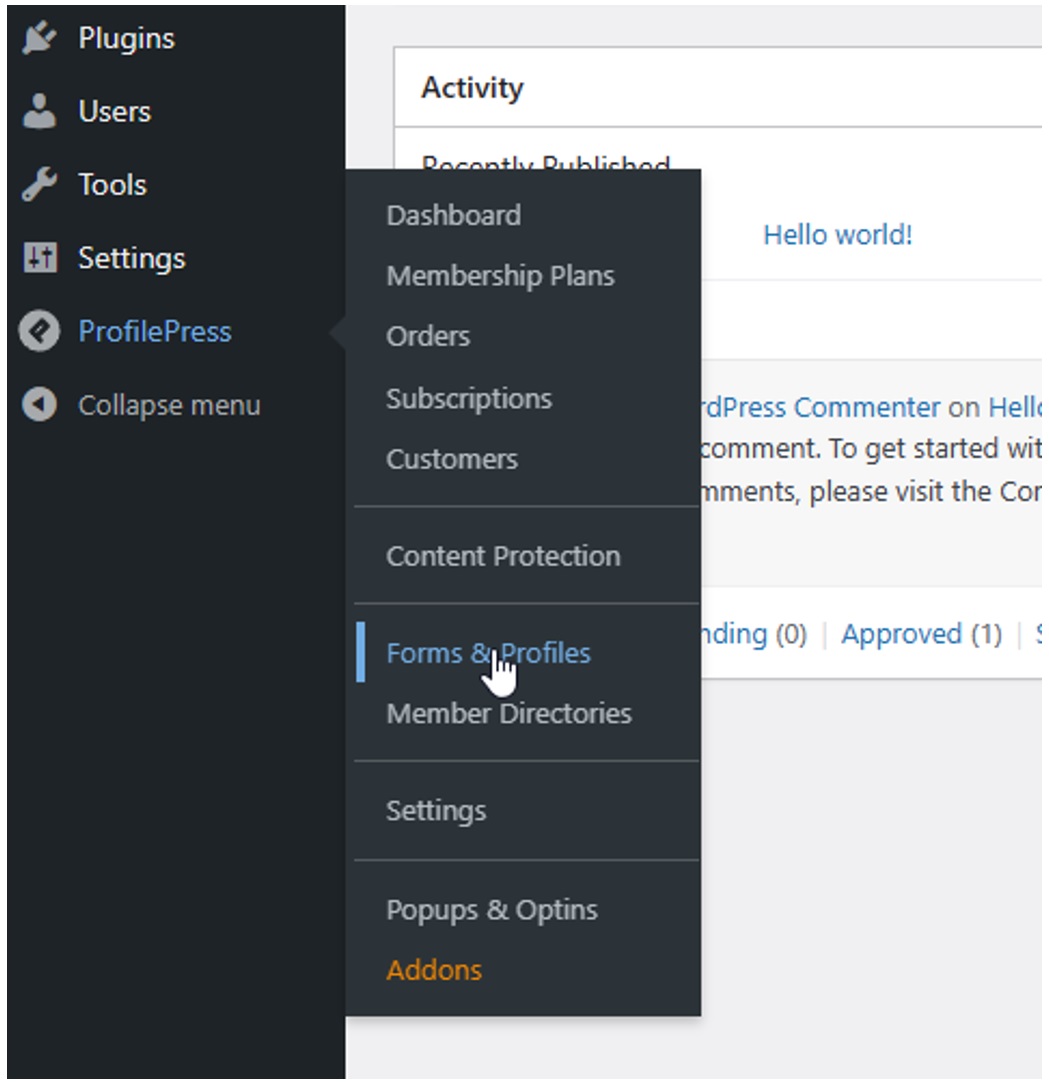
To customize your website’s registration form, visit ProfilePress > Forms & Profiles in your WordPress dashboard:
Select the Registration tab from the top:
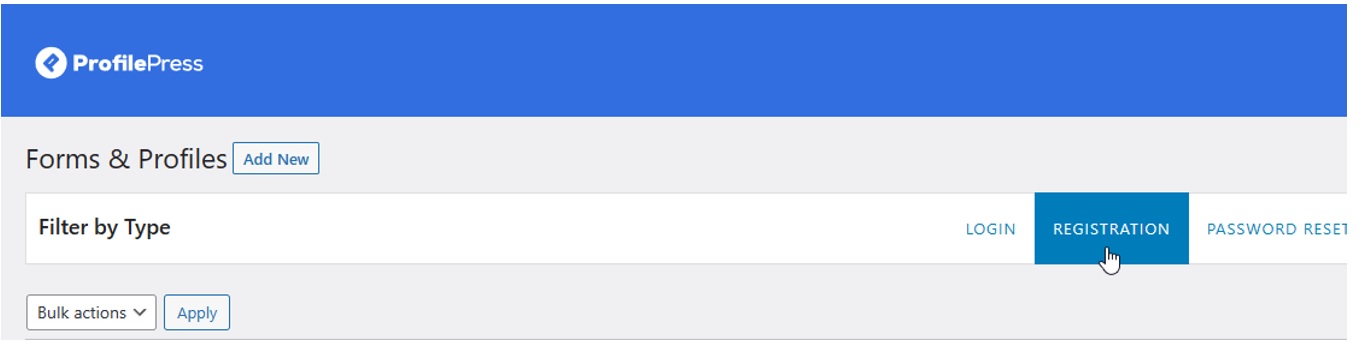
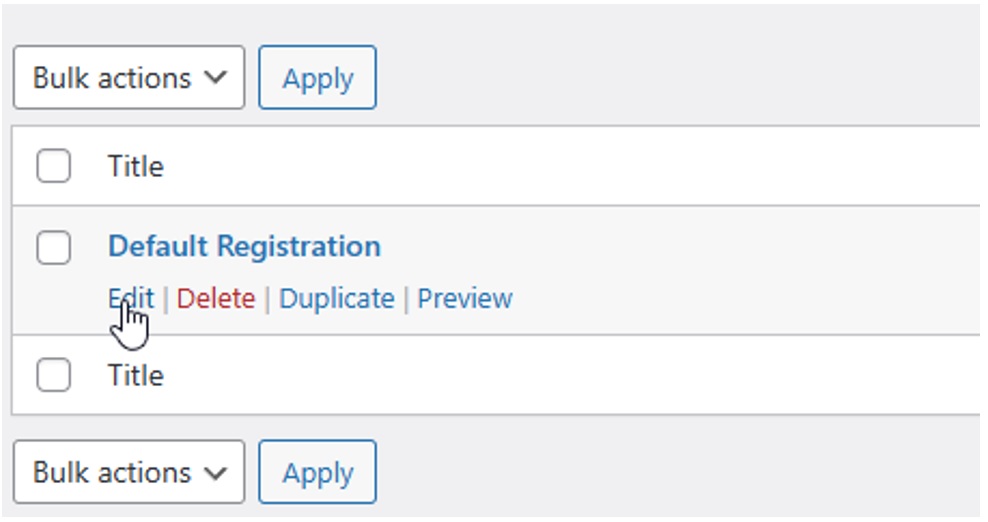
You’ll now see a list of registration forms created using ProfilePress.
The Default Registration form is the one that ProfilePress will display by default on your website’s registration page. Hold your mouse pointer over this form and click the Edit button:
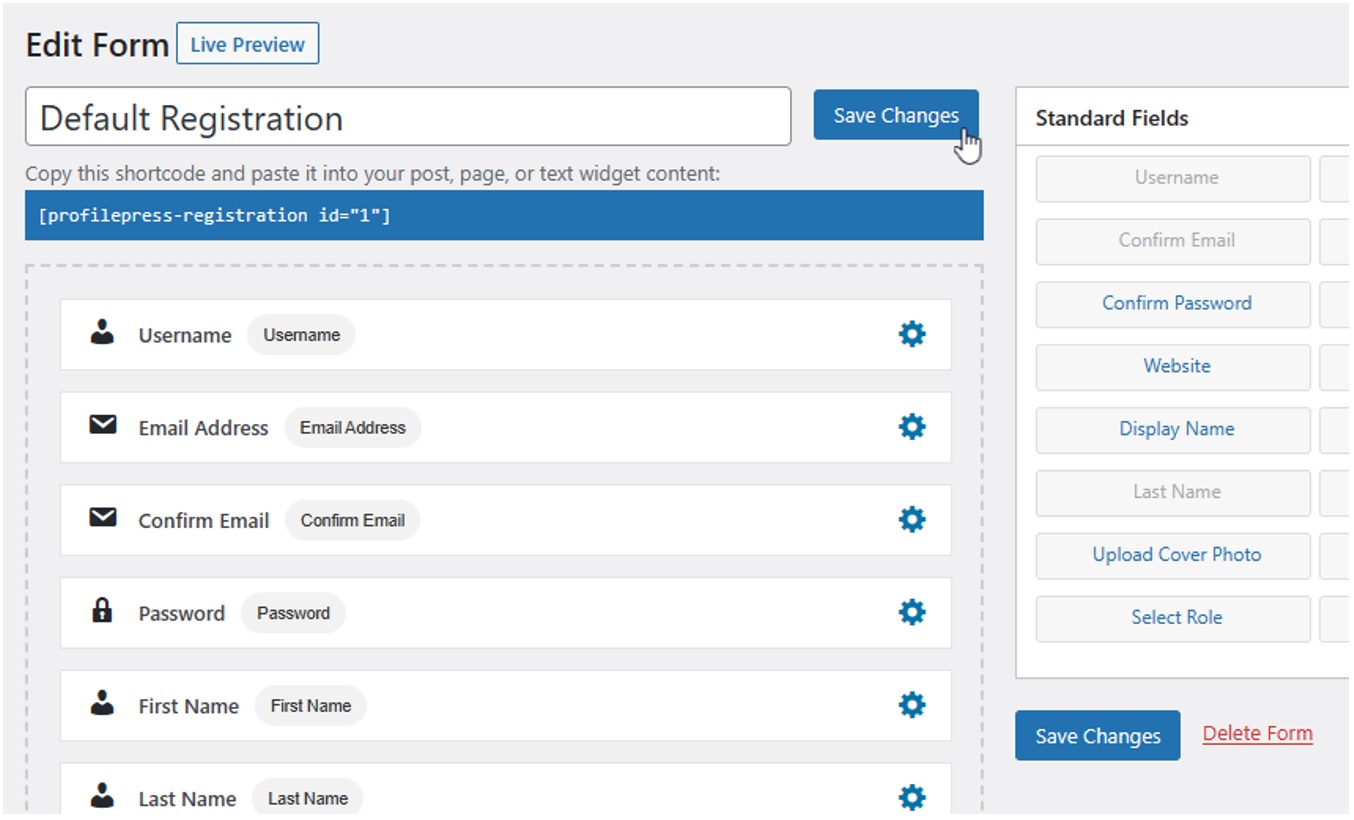
You’ll now see ProfilePress’ drag-and-drop form builder:

Here, you can customize the look and feel of your form.
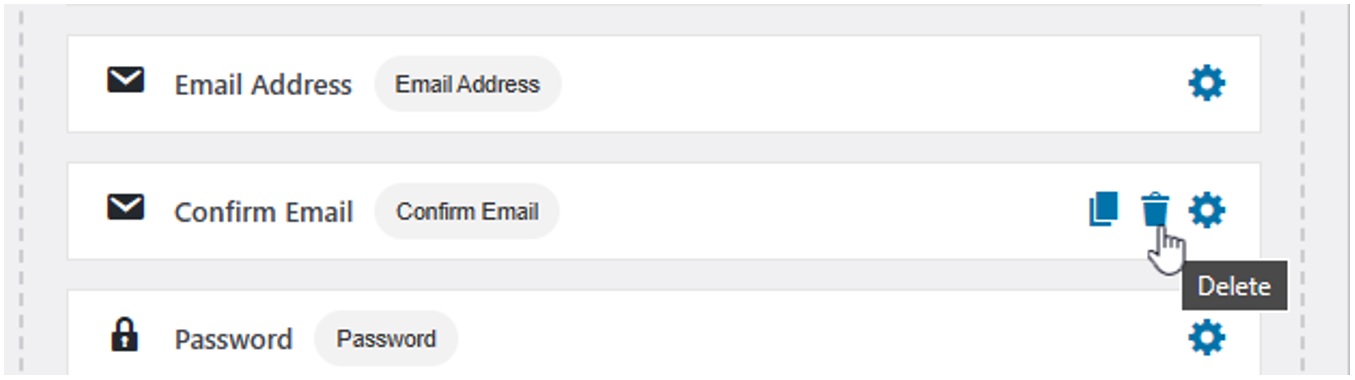
Drag fields from the right sidebar onto the canvas if you want to add more fields to your registration form. For example, if you want to add a field that asks the user to confirm their email, drag the Confirm Email field from the right sidebar onto the canvas:

You can also remove fields by holding your mouse pointer over them and clicking the Delete button:
Once you've finished adding and removing fields from your form, scroll down to the Form Settings section:
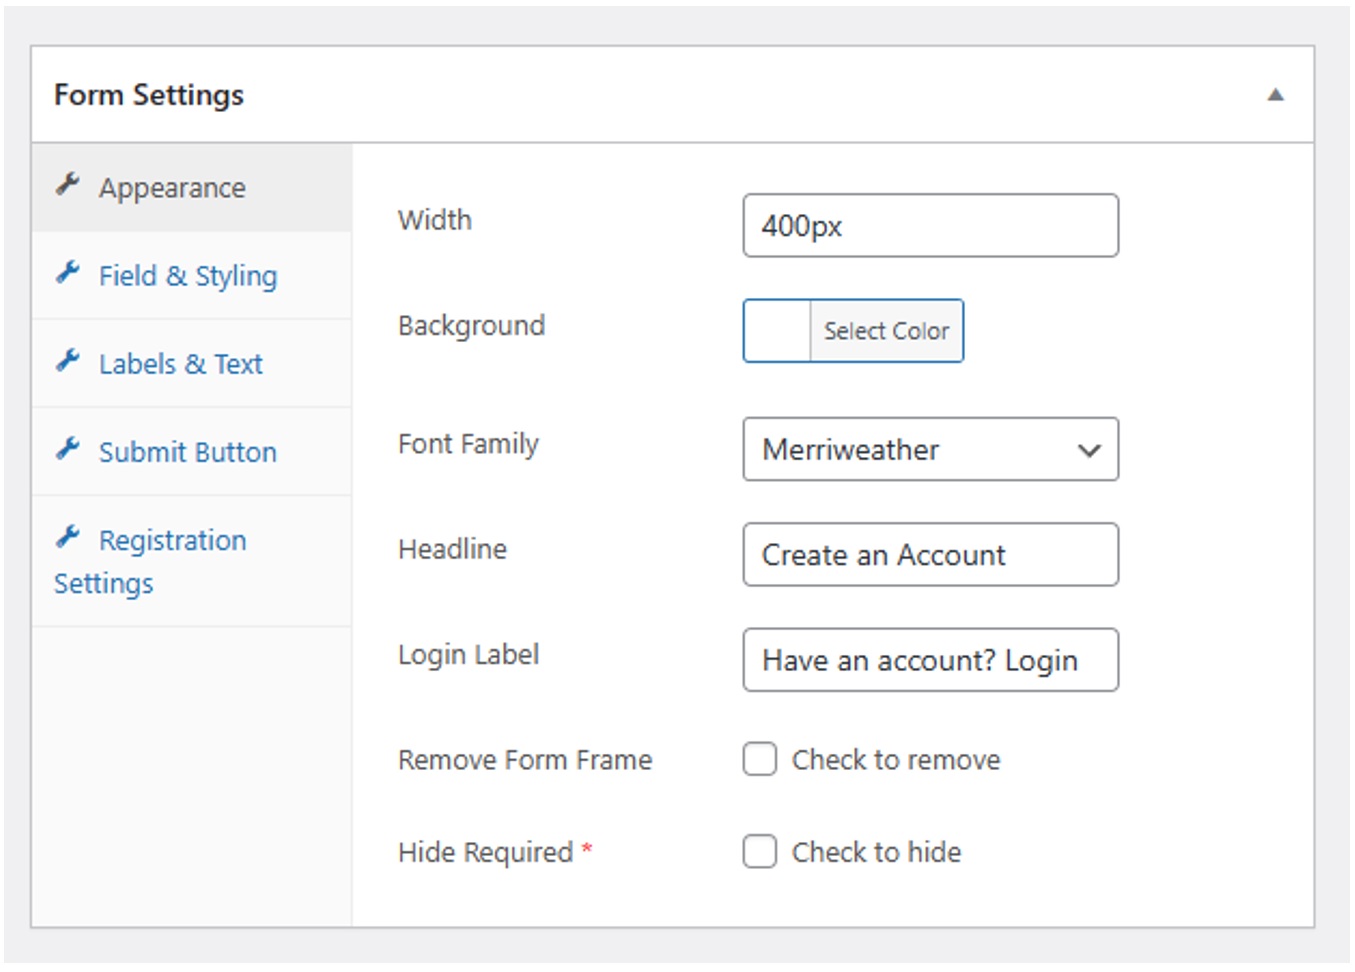
This section offers many advanced customization options. The Appearance tab, which is selected by default, allows you to customize the overall look of your form. For example, you can change the Headline (H2) displayed on top of your form.
You can also change the Font Family to any font from the Google Fonts directory, customize the background color of the form, and change the label for the login link displayed under your form.
The Field & Styling tab allows you to customize the look and feel of your form’s fields:
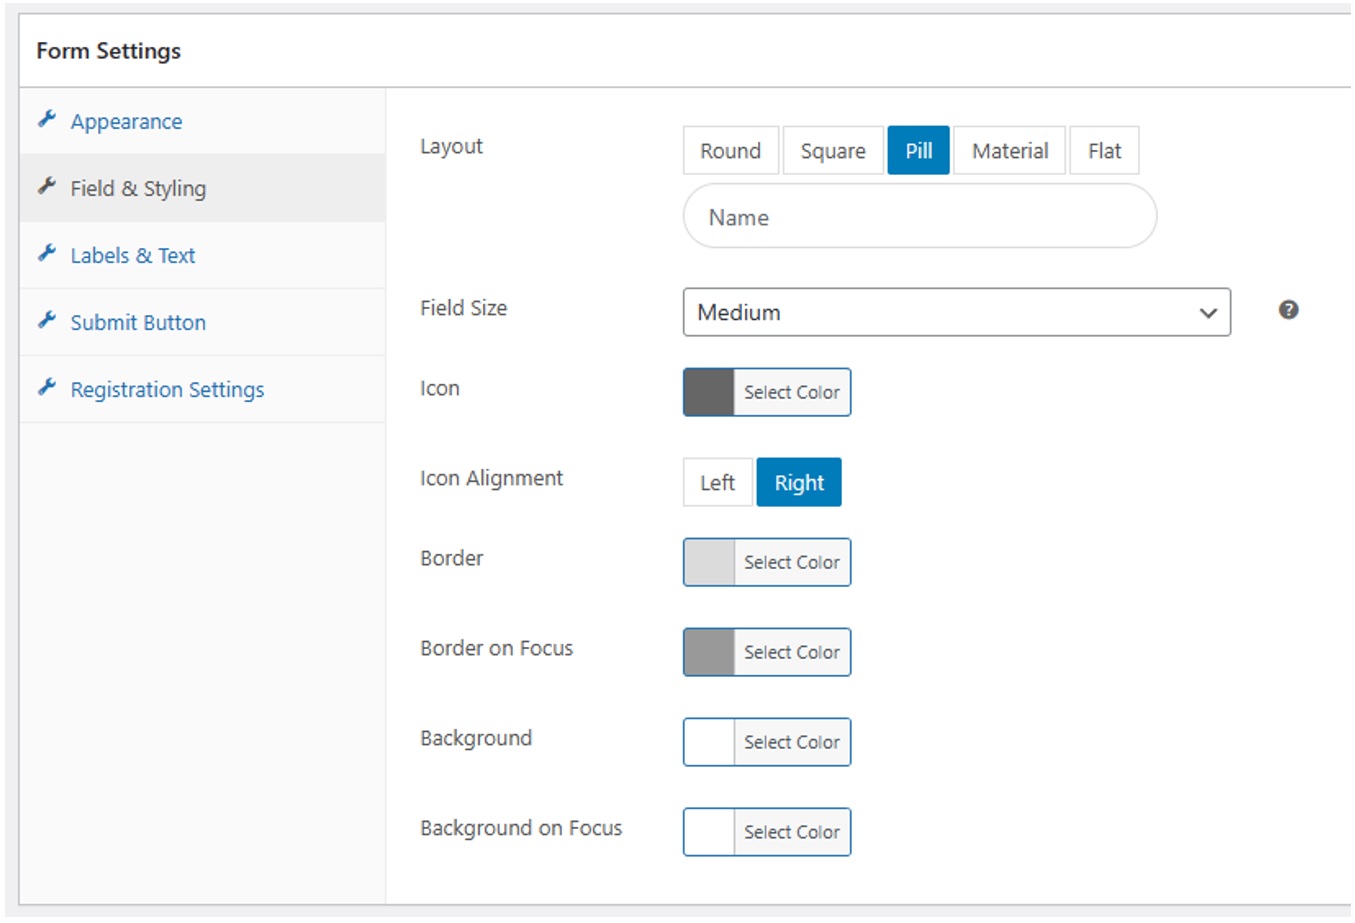
For example, you can modify the colors used for your form’s fields, including the border color used when the field is in focus and out of focus. You can also change the design style of your fields to Round, Square, Pill, Material, or Flat.
Use the Labels & Text tab to customize the design of your form’s labels, which are the text displayed above a field:

Here, you can adjust the font size, weight, and color of your labels. You can also customize the color and font size of field descriptions, which are displayed below the fields.
The Submit Button tab enables you to customize the appearance and behavior of the Submit button on your form:
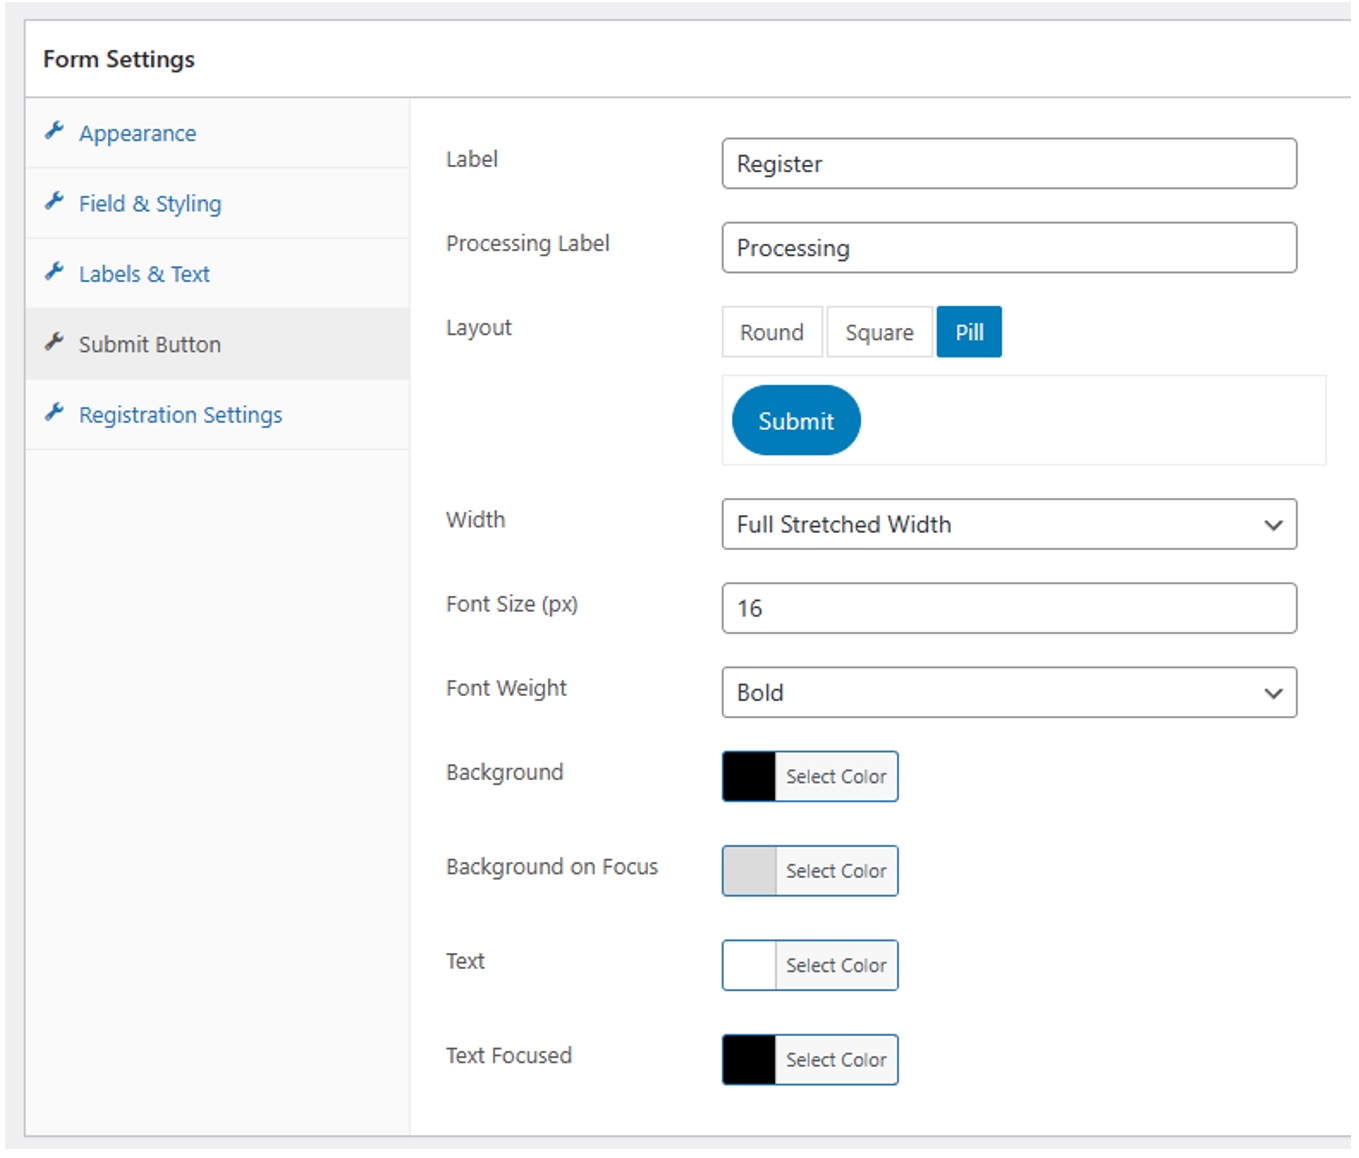
You can change the label text displayed on the button and the text displayed when the user clicks it. Additionally, you can adjust the font size, weight, and colors of the Submit button.
Finally, the Registration Settings tab lets you decide what happens after the user registers:
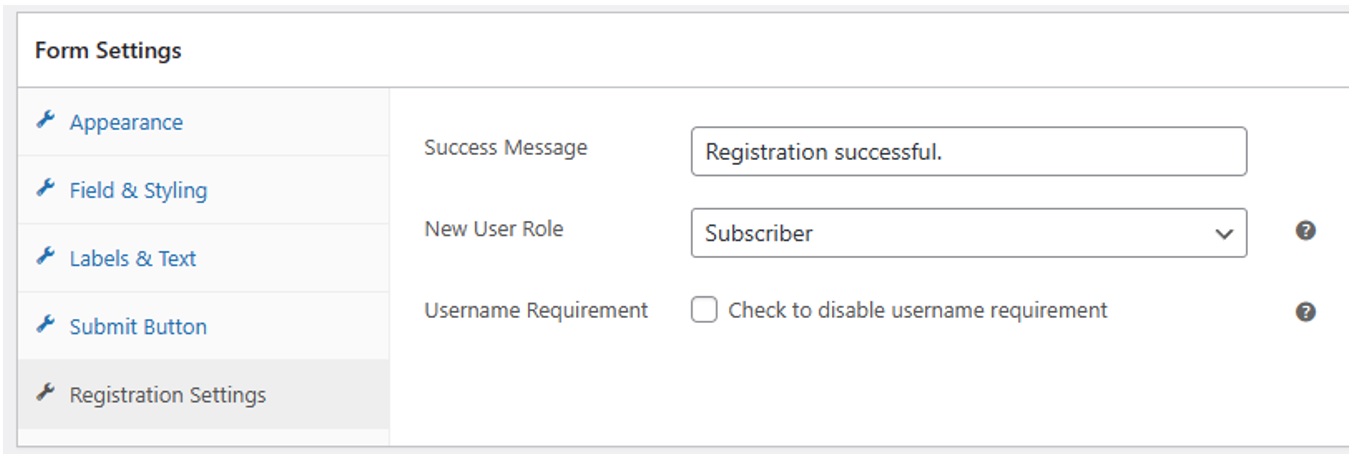
You can start by changing the message that is displayed on success. You can also change the role that is assigned to a user when they sign up. Check the checkbox at the bottom if you want to allow your users to register without entering a username.
Click the Save Changes button to save your changes:
How To Create a Custom Login Form
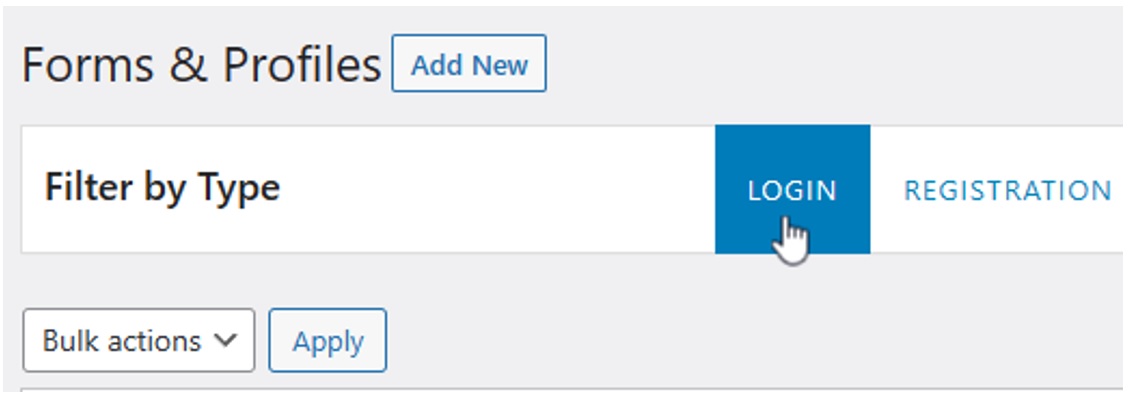
Navigate to ProfilePress > Forms, but this time select the Login tab (if it isn’t already selected):
Hold your mouse pointer over the Default Login entry and click the Edit button:

You will now see ProfilePress’s drag-and-drop form builder:
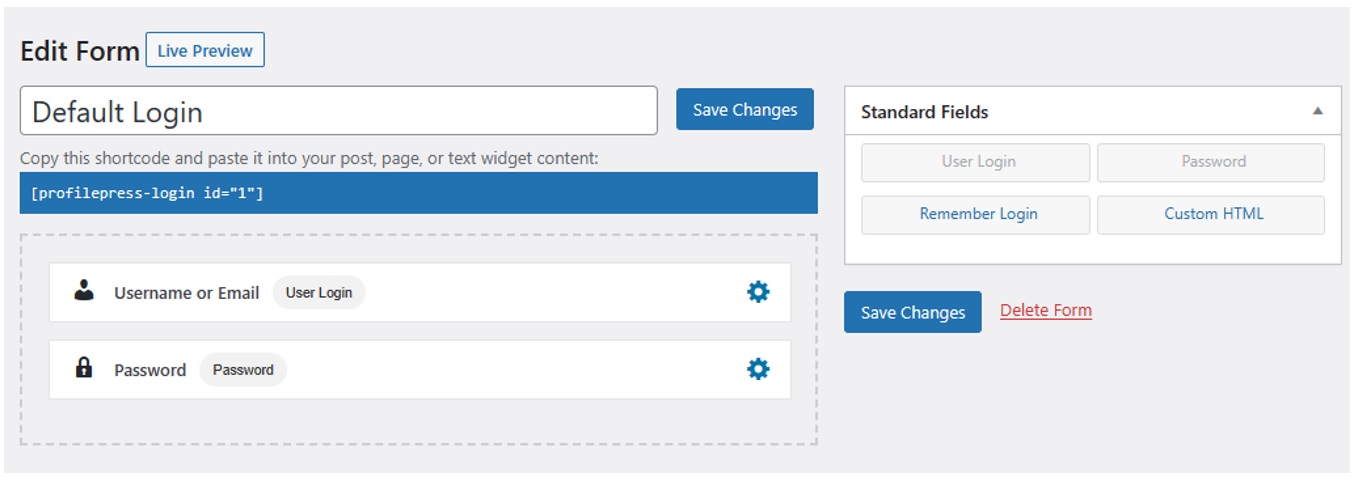
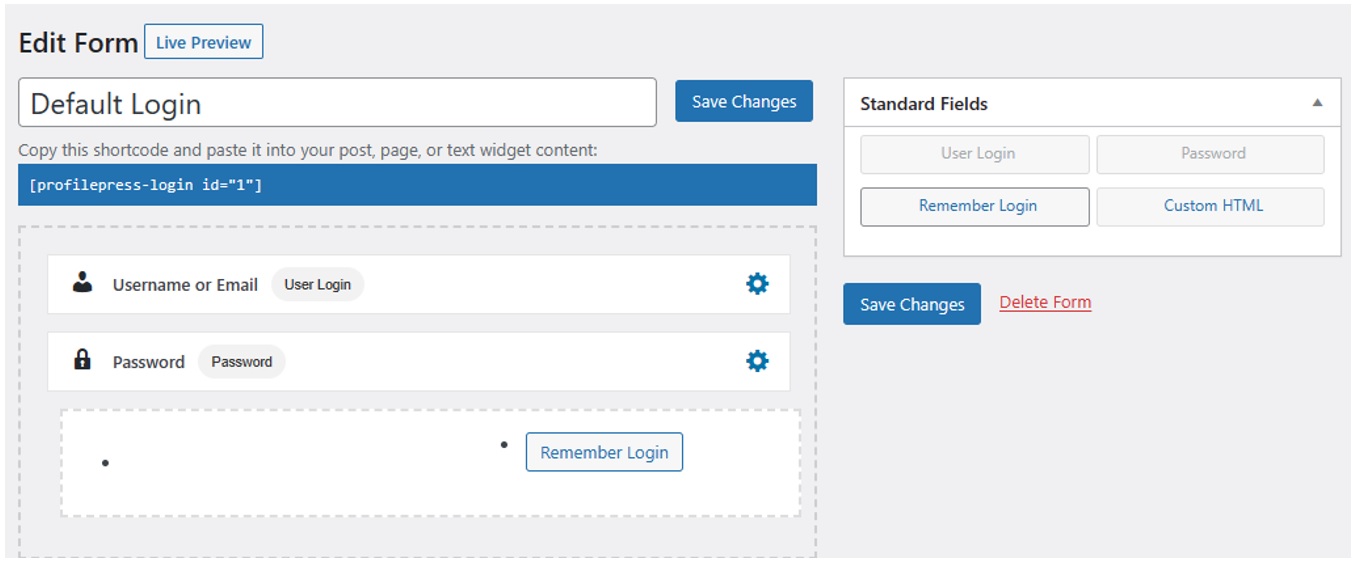
Once again, you can use this form to add or remove fields. If you want to add a Remember Login checkbox, drag and drop the Remember Login field from the Standard Fields sidebar:
Scroll down to see the customization section:

The options in this section are the same as the customization options for the registration form.
The Appearance tab lets you customize the overall look of your login form. The Field & Styling tab lets you change the design of your form's fields. The Labels & Text tab lets you customize the design of your field labels and descriptions. Lastly, the Submit Button tab lets you modify the appearance of your Submit button.
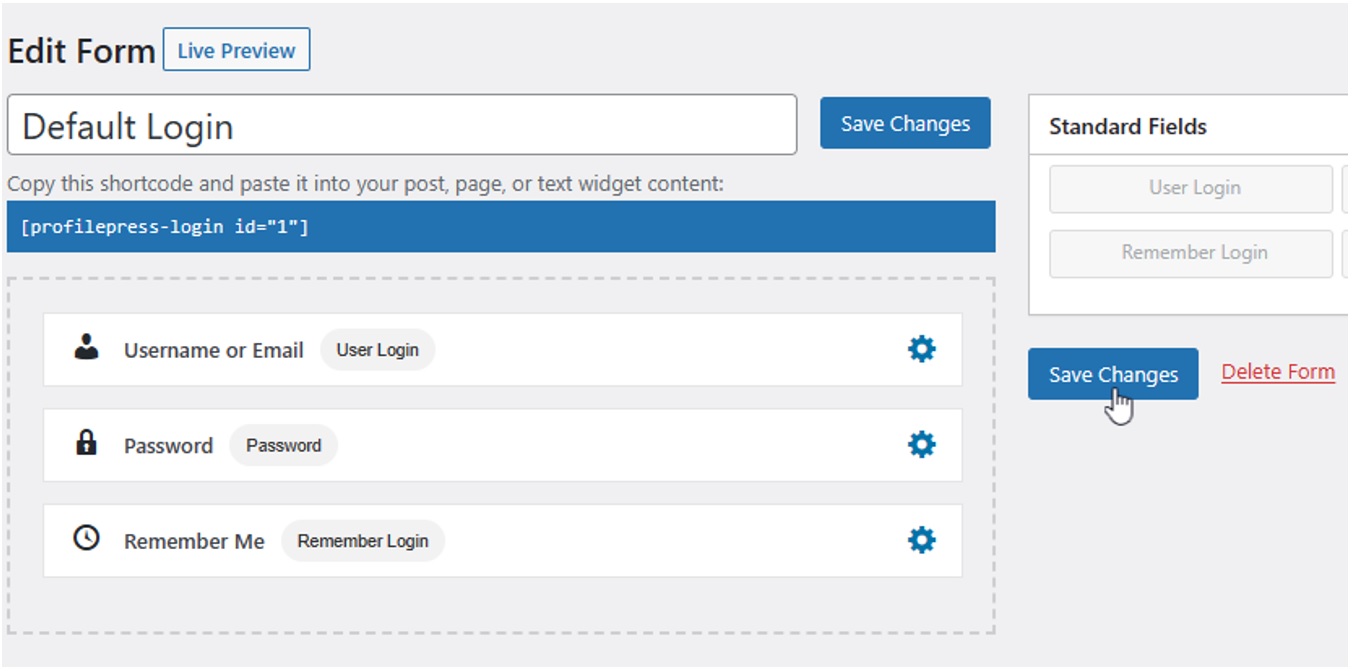
Once you are done customizing the form, click the Save Changes button:
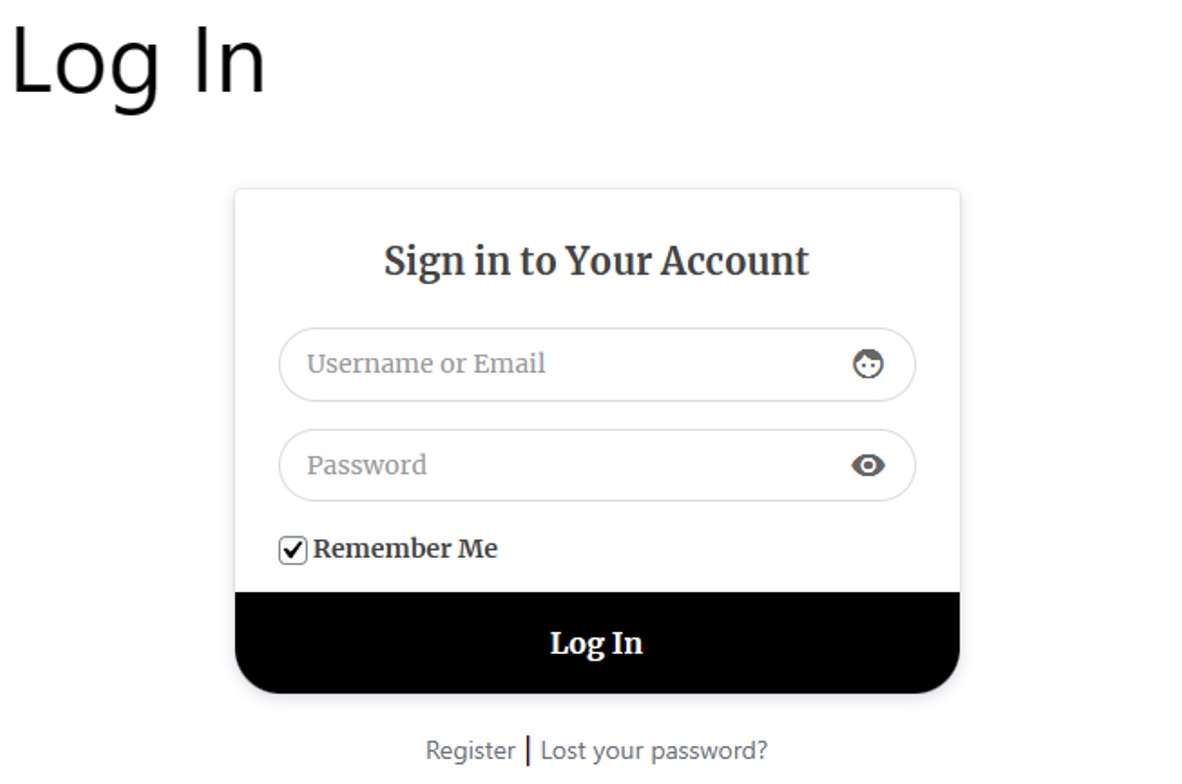
To view your changes live, visit your website's Login page in incognito mode:
Conclusion
If you followed the instructions in this guide, your website now has fully customizable login and registration forms.
We've only scratched the surface of how much you can customize these pages with ProfilePress. It offers dozens of other features that give you complete control. You can also use this plugin to sell any kind of digital product on your website, including paid membership sites, eBooks, online courses, and more.
If you want to learn more about these and other capabilities, check out ProfilePress’s knowledge base.
Related Info
How to Create a Paid WordPress Membership Site
Best WooCommerce Shipping Plugins

